Form 231 PDF Details

A Form 231 is an important document for any company doing business with the United States government. This form is used to identify the ultimate beneficial owner of a company, and it must be completed truthfully and accurately. Completing this form incorrectly can result in significant penalties, so it's important to understand how to complete it correctly. In this blog post, we'll provide a guide on how to fill out Form 231 accurately. Stay tuned for more information!

QuestionAnswer
Form NameForm 231
Form Length2 pages
Fillable?No
Fillable fields0
Avg. time to fill out30 sec
Other namessle_fm0231 below installation checklist form

Form Preview Example

Form 231

Solar Electric Installation Checklist

Solar Electric Program

This checklist does not include battery requirements. For a system with batteries, use Form 231B: Battery-Based Solar Electric Installation Checklist

Project Information

Verifier

Energy Trust

Verification Date(s)

Time of Measurement


Trade Ally*

1st:

2nd:


Customer


Trade Ally Contractor

PowerClerk #


Site Address


City


Zip


Ambient Temperature (°F)

Solar Radiation (W/m2)

Inverter Output (watts AC)

Initial Meter Reading


Notes:


*Solar Trade Ally that has qualified for Random Verification status shall complete the 1st installation checklist column and sign below.

Installation Checklist (Requirement numbers refer to sections of the Solar Electric Installation Requirements.)

Verification


1st 2nd

2.1

General


2.1.1

System installed on real property in Oregon and grid-tied to

PGE or

Pacific Power.


2.1.2

System meets local utility interconnection and net metering requirements, if applicable.


2.1.3

Installation is of industry standard and workmanlike quality.


2.1.4

System is designed to optimize annual performance, without sacrificing good aesthetics.


2.1.5

Installation is consistent with schematic diagram and documentation.


2.1.6

Installation is consistent with physical layout diagram.


2.1.7

System complies with all applicable codes


and jurisdictional inspection(s) have been passed. Permit #


Date


2.2

Materials


2.2.1

Materials used outdoors are UV-resistant and listed for outdoor locations.


2.2.2

Materials are designed to withstand the temperatures to which they are exposed.


2.2.3

Dissimilar metals that have galvanic action are isolated.


2.2.4

Aluminum is not placed in direct contact with concrete.


2.2.5

Stainless steel fasteners are used on modules and racking. High quality fasteners are used elsewhere.


2.2.6

Structural members are made of approved materials.

2.2.7

Rails used for mounting modules are aluminum or stainless steel (residential, roof mounted only)

2.3

Equipment and Installation

2.3.1 All system components are new. 2.3.2 All components are mounted securely.

2.3.3 All building penetrations are sealed and fire resistance is maintained 2.3.4 All electrical components are listed and meet required standards. 2.3.5 Inverter and modules meet minimum warranty requirements.

2.3.6 All electrical components are listed for the voltage and current ratings necessary for the application. 2.3.7 Equipment is not modified such that it voids the listing or manufacturer warranty.

2.3.8 Required overcurrent protection devices installed and accessible.

2.3.9 Means of inverter disconnection are installed and designed to be safely switched under load.

2.3.10 Terminations torqued to specification, secured, and strain-relieved. Wire ends coated with terminating compound. 2.3.11 Conduit, conductors, and electrical boxes are secured and supported according to code and product ratings.

Form 231 v04 120824

Page 1 of 2

Solar Electric Program

1.866.368.7878 Fax 503.546.6863

pv@energytrust.org

Form 231

Solar Electric Installation Checklist

Solar Electric Program

This checklist does not include battery requirements. For a system with batteries, use Form 231B: Battery-Based Solar Electric Installation Checklist

2.3.12 Conduit used for DC conductors is EMT. Heavy-weight flexible steel or hospital grade MC may be used per OESC.

2.3.13 Grounding conductors (EGC and GEC) are copper and 6 AWG or sized according to Code.

2.3.14 Twist-on wire connectors are not used on DC conductors or ground wires.

2.3.15

Junction boxes and combiner boxes are listed and suitable for their environment and conditions of use. Boxes used in

damp or wet locations are appropriately waterproofed.

2.3.16 Permanent engraved, stamped or printed labels are applied to system components as required by Code.

2.3.17 Disconnect switch cover plates (not switch handles) are secured closed for safety.

2.3.18 Inverter is installed in an appropriate location, shaded by a permanent structure if necessary, meets all mfg. specs.

2.4Array Mounting

2.4.1 If roof-mounted, the roofing material has at least 10 years of useful life remaining.

2.4.2 If roof-mounted, the roof system is capable of handling additional load of the System.

2.4.3 Array racking and mounting systems engineered and installed to meet wind, snow and seismic load requirements.

2.4.4

All roof penetrations made watertight using roofing industry-standard methods of flashing.

2.4.5

All mounting hardware is installed according to manufacturer specifications.

2.5Solar Access

2.5.1

Solar resource is documented with an Energy Trust approved tool from location where shading is most significant.

2.5.2

Total Solar Resource Fraction (TSRF) is 75% or greater at all points on the array(s).

2.6Performance

2.6.1

Array sized to operate within the inverter current, voltage and power limits at the record high and low temperatures.

System size does not exceed 125% of inverter output power rating.


2.6.2

Wires sized to keep voltage drop at or below 2% in the DC conductors from the array to the inverter.

2.6.3

Wires sized to keep voltage drop at or below 2% in the AC conductors from the inverter to point of tie-in with the main

distribution or a pre-existing sub-panel.


2.6.4 AC voltage at the inverter is within the operating limits specified by the inverter manufacturer.

2.6.5

Voltage mismatch is minimized, allowing the inverter to operate within its maximum power point window. All modules

in a string are installed at the same tilt and orientation.


2.7Output Meter

2.7.1 A qualifying production meter is installed on the AC output of the System.

2.7.2 If multiple-inverter system, output combined before meter or one electric meter installed for each inverter.

2.7.3

UV-resistant label identifying meter as the Solar Generator Output.

2.7.4

Meter reading consistent with setting of 000000 or 999999 at time of shipment to the installer.

3.0

Customer Manual


Complete and accurate System Overview page

Inverter owner’s manual*


Electrical as-built diagram

Manufacturer data sheets for modules and inverter(s)*


Contractor 2-yr parts & labor warranty*

* not applicable to third-party owned systems

Owner Education

Owner understands basic system operation. Owner understands proper shut-down and start-up procedure. Owner understands potential performance impacts of shading. Owner understands required maintenance. Owner knows who to call in the case of an emergency. Owner can accurately read meter.

Trade Ally Self-Verification Signature (For use by Solar electric Trade Allies on Random Verification status.)

I certify that the system listed on this Form 231—Solar Electric Installation Checklist was installed as indicated on the Incentive Application and that the system complies with the Solar Electric Installation Requirements in effect. Should a subsequent random verification of the system identify a Program violation, I understand that I will be required to remedy the violation within thirty (30) days of the random verification report. If I do not cure the violation, I will be required to refund to Energy Trust an amount equal to the incentive funds paid by Energy Trust for this system.

Trade Ally Name

Trade Ally Representative Signature

Date

Form 231 v04 120824

Page 2 of 2

Solar Electric Program

1.866.368.7878 Fax 503.546.6863

pv@energytrust.org

How to Edit Form 231 Online for Free

In case you intend to fill out Form 231, there's no need to install any programs - simply use our online PDF editor. The tool is consistently maintained by our team, receiving powerful functions and becoming greater. Starting is effortless! All you need to do is take these easy steps below:

Step 1: Open the PDF doc inside our tool by hitting the "Get Form Button" above on this webpage.

Step 2: Using this state-of-the-art PDF editing tool, you'll be able to do more than just fill out blank form fields. Edit away and make your forms look high-quality with customized textual content put in, or fine-tune the original content to perfection - all supported by an ability to insert any photos and sign it off.

If you want to fill out this PDF form, ensure that you type in the required details in every blank field:

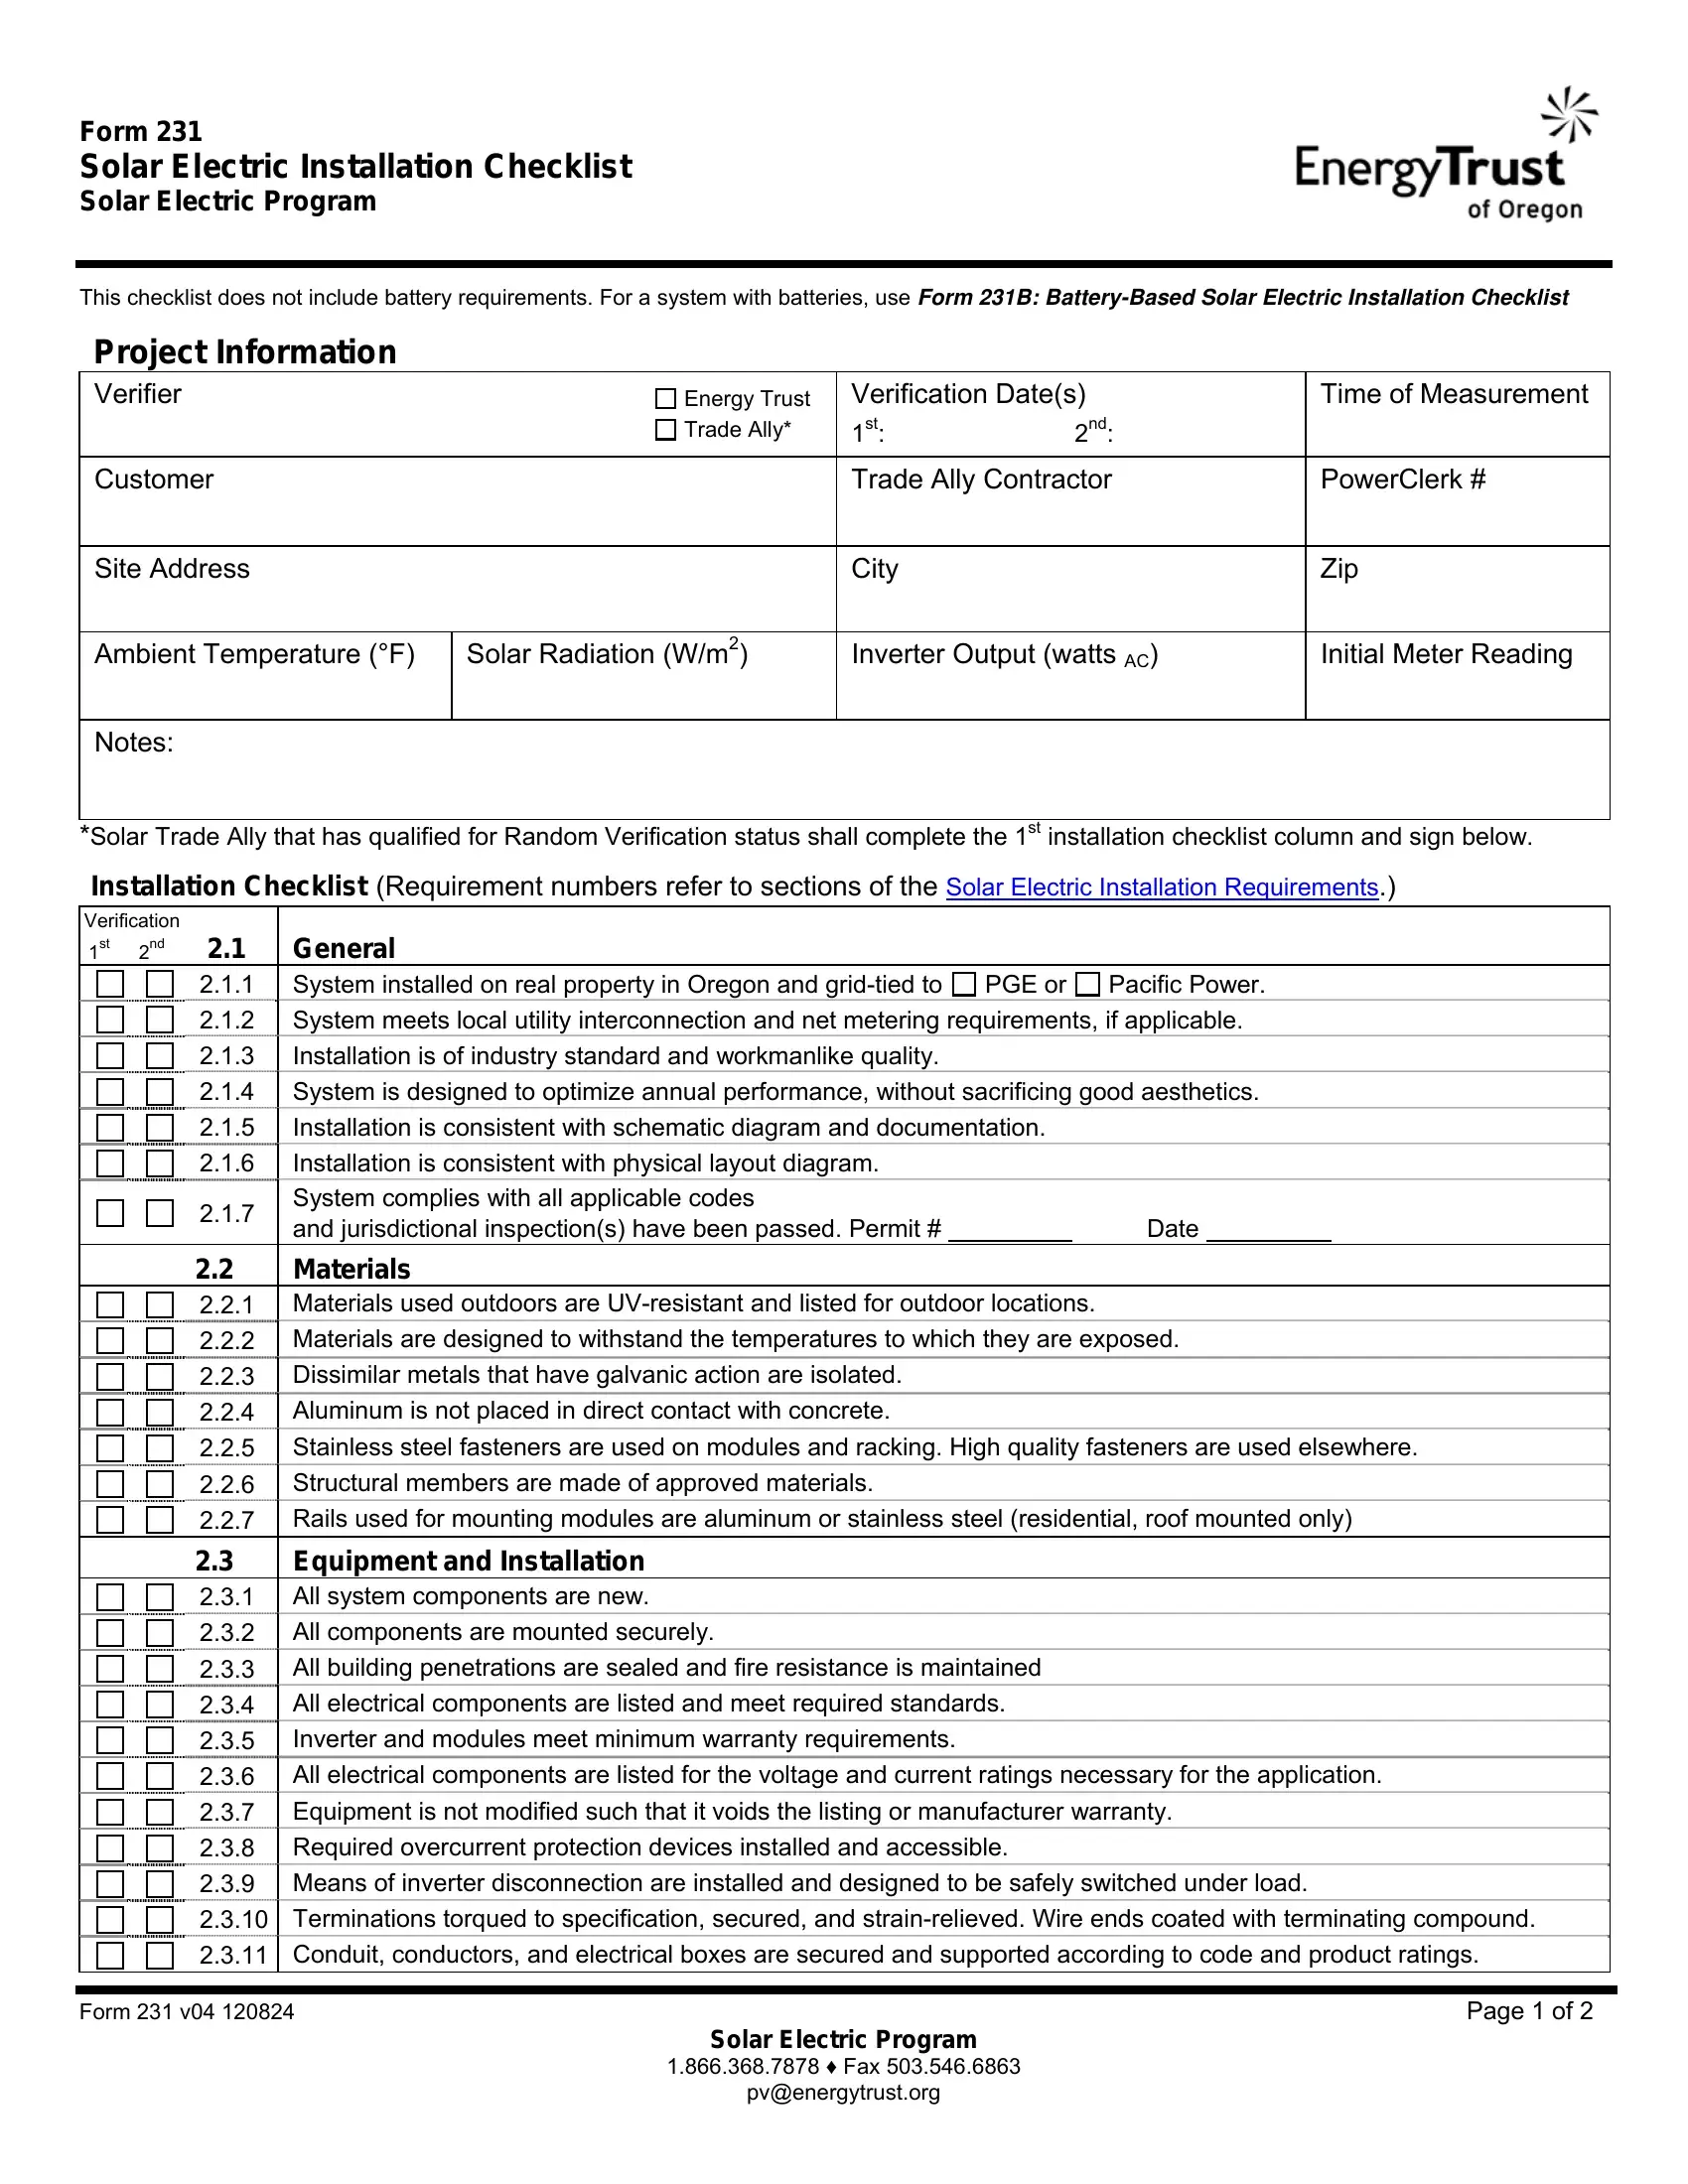
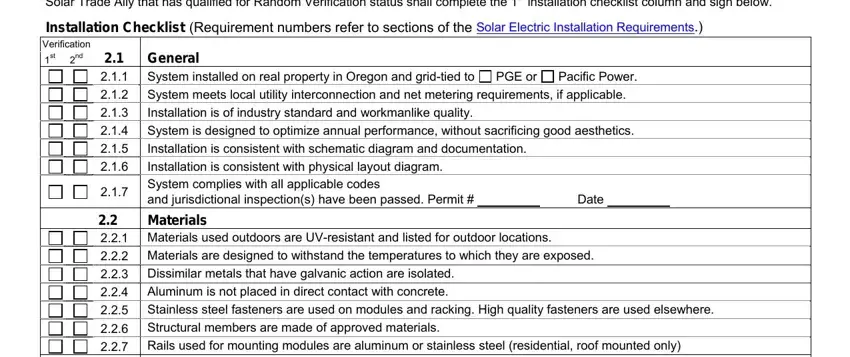
1. It's very important to fill out the Form 231 correctly, thus pay close attention when working with the areas containing all of these blank fields:

Form 231 conclusion process explained (part 1)

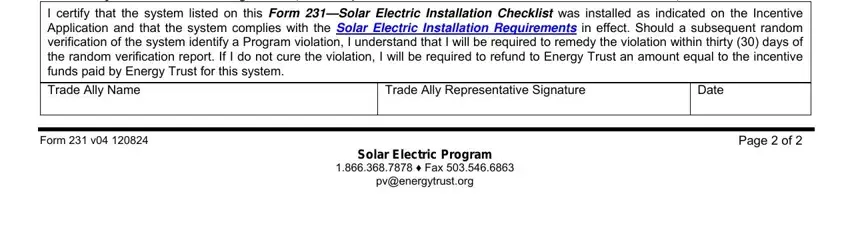
2. Once the previous part is done, it is time to insert the necessary specifics in Owner can accurately read meter, Trade Ally Name, Form v, Trade Ally Representative Signature, Solar Electric Program, Fax, pvenergytrustorg, Date, and Page of allowing you to go further.

Learn how to fill in Form 231 part 2

It is easy to make a mistake while filling out your pvenergytrustorg, thus be sure you reread it before you'll submit it.

Step 3: Proofread everything you have inserted in the form fields and then hit the "Done" button. Get your Form 231 the instant you join for a free trial. Conveniently view the document from your personal account page, along with any edits and adjustments being all kept! Here at FormsPal.com, we do everything we can to be certain that all your information is maintained private.