The ODOT Form Number 731-0668, also known as the Electronic Monthly Employment Utilization Report (eMEUR), plays a crucial role in maintaining transparency and accountability in the employment practices within projects managed or overseen by the Oregon Department of Transportation (ODOT). Designed to be completed and submitted by both prime contractors and subcontractors, this form ensures that every employee's work is accurately reported each calendar month throughout the duration of a project—including periods when no work is performed. The form gathers detailed information such as the worker's name, social security number, ethnicity, gender, trade, skill level, hours worked, and pay rate. This information is critical for monitoring labor utilization and ensuring compliance with civil rights and labor standards. The process of submitting the form involves specific steps for prime contractors, subcontractors, and the Project Manager's office, each of whom plays a significant role in verifying and approving the submitted details. Moreover, the involvement of Civil Rights Regional Field Coordinators in reviewing submissions underscores the form's importance in upholding civil rights compliance. Through detailed instructions for both electronic mail and internet email systems, the ODOT has streamlined the submission process, emphasizing the necessity for timely and accurate reporting to support equitable employment practices across its projects.
| Question | Answer |
|---|---|
| Form Name | Odot Form Number 731 0668 |
| Form Length | 4 pages |
| Fillable? | No |
| Fillable fields | 0 |
| Avg. time to fill out | 1 min |
| Other names | odot form 731 0668, odot meur, oregon deparment of transportation monthly employment utilization report, monthly employement utilization reports 731 0668 |
ELECTRONIC MONTHLY EMPLOYMENT UTILIZATION REPORT (eMEUR)
BOX SPECIFIC INSTRUCTIONS
ODOT Form Number
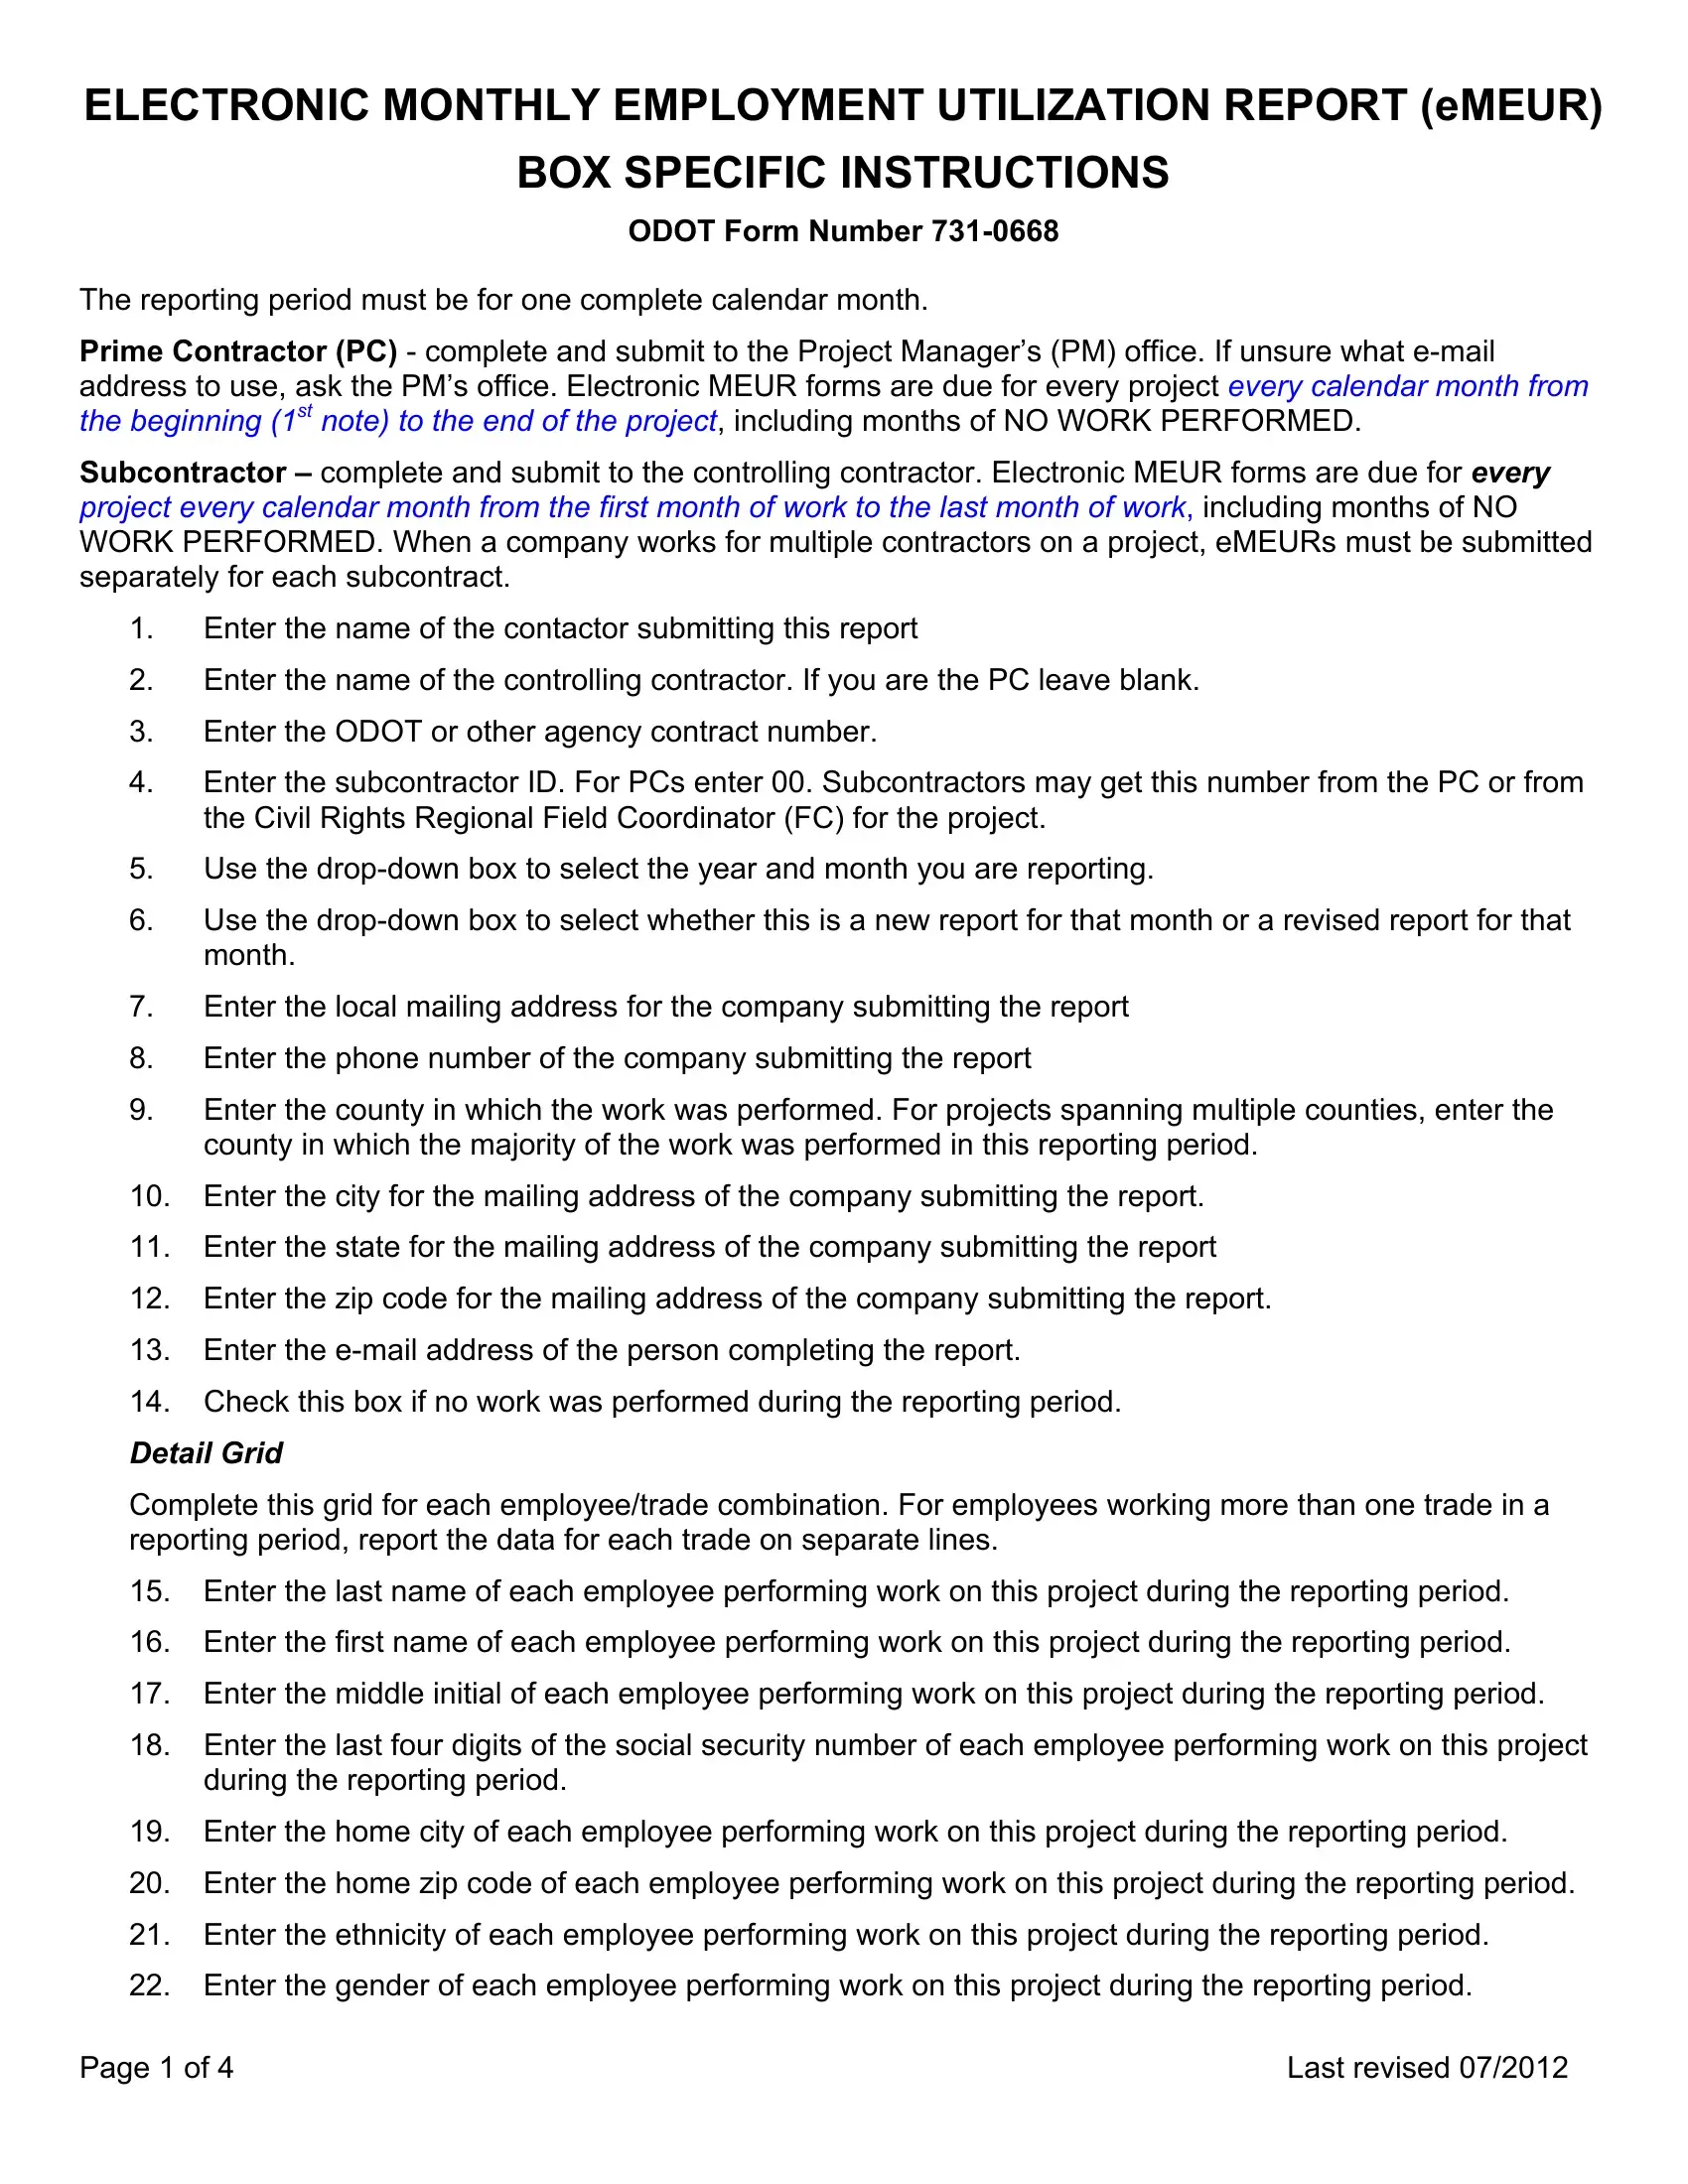
The reporting period must be for one complete calendar month.
Prime Contractor (PC) - complete and submit to the Project Manager’s (PM) office. If unsure what
Subcontractor – complete and submit to the controlling contractor. Electronic MEUR forms are due for every project every calendar month from the first month of work to the last month of work, including months of NO WORK PERFORMED. When a company works for multiple contractors on a project, eMEURs must be submitted separately for each subcontract.
1.Enter the name of the contactor submitting this report
2.Enter the name of the controlling contractor. If you are the PC leave blank.
3.Enter the ODOT or other agency contract number.
4.Enter the subcontractor ID. For PCs enter 00. Subcontractors may get this number from the PC or from the Civil Rights Regional Field Coordinator (FC) for the project.
5.Use the
6.Use the
7.Enter the local mailing address for the company submitting the report
8.Enter the phone number of the company submitting the report
9.Enter the county in which the work was performed. For projects spanning multiple counties, enter the county in which the majority of the work was performed in this reporting period.
10.Enter the city for the mailing address of the company submitting the report.
11.Enter the state for the mailing address of the company submitting the report
12.Enter the zip code for the mailing address of the company submitting the report.
13.Enter the
14.Check this box if no work was performed during the reporting period.
Detail Grid
Complete this grid for each employee/trade combination. For employees working more than one trade in a reporting period, report the data for each trade on separate lines.
15.Enter the last name of each employee performing work on this project during the reporting period.
16.Enter the first name of each employee performing work on this project during the reporting period.
17.Enter the middle initial of each employee performing work on this project during the reporting period.
18.Enter the last four digits of the social security number of each employee performing work on this project during the reporting period.
19.Enter the home city of each employee performing work on this project during the reporting period.
20.Enter the home zip code of each employee performing work on this project during the reporting period.
21.Enter the ethnicity of each employee performing work on this project during the reporting period.
22.Enter the gender of each employee performing work on this project during the reporting period.
Page 1 of 4 |
Last revised 07/2012 |
23.Use the
24.Use the
25.Enter the total hours worked by trade for each employee performing work on this project during the reporting period. If employee works more than one group within a trade, list each separately.
26.Enter the base rate of pay by trade for each employee performing work on this project during the reporting period.
27.Click this “X” to delete a line of data.
28.Click this box to add another employee.
29.Enter the name of the person completing this report.
30.Enter the position title of the person completing this report.
31.Enter the name of the person completing this report. This entry is the same as signing a paper form.
32.Enter the date you are completing this report.
33.Click here to print the form.
34.Click here to submit the form by
SUBMISSION INSTRUCTIONS
If using an
1.Select the “Submit by
2.Select “Desktop
3.Send to the PM, Prime, or controlling contractor as appropriate.
4.Send only ONE form per
If using an internet
1.Save the form to your computer by clicking the “Save As” button at the bottom of the form.
2.Sign on to your
3.Create a new
4.Enter the contract number, form number, subcontract ID, and year/month (YYYYMM) for the reporting period in the subject line.
5.Attach the saved form.
6.Send to the PM, Prime, or controlling contractor as appropriate.
7.Send only ONE form per
ROLES & RESPONSIBILITIES
Subcontractors
The Subcontractor’s role in the eMEUR process is to ensure that an eMEUR is completed for each reporting period (every calendar month) for all apprentice, trainee, and journey level employees on the project.
Once all of the information has been entered on the eMEUR (ODOT Form
the
Page 2 of 4 |
Last revised 07/2012 |
Prime Contractors
The PC’s (PC) role in the eMEUR process is to ensure that each of the subcontractors working on the project submits an eMEUR each reporting period (calendar month), and to verify that the information they have submitted is complete and accurate. In addition, the PC is responsible for completing and submitting an eMEUR for their workforce each reporting period from 1st note to 2nd note.
PC’s review of
1.Open the attachment received from the subcontractor.
2.Verify the form is complete and accurate.
3.If Acceptable: the PC will forward the
4.If Unacceptable: the PC will return the eMEUR to the subcontractor by forwarding the original e- mail with the attached eMEUR form to the subcontractor. In the body of the
Prime Contractor’s eMEUR
Follow the instructions above for filling out the eMEUR.
Once all of the information has been entered on the eMEUR select the “Submit by
If using an
1.Select the “Submit by
2.Select “Desktop
3.Add the message “I have reviewed and approve the attached eMEUR” and send the form to the Project Manager’s office. If unsure where to send, ask the PM’s office..
If using an internet
1.Save the form to your computer by clicking the “Save As” button at the bottom of the form.
2.Sign on to your
3.Create a new
4.In the subject line of the
5.Attach the saved form.
6.Add the message “I have reviewed and approve the attached eMEUR”.
7.Send to the Project Manager’s office. If unsure where to send, ask the PM’s office.
Project Manager’s Office
The role of the Project Manager’s (PM’s) office is to review all eMEURs submitted by the PC and its subcontractors. The PM will ensure that the forms are complete and accurate.
Acceptable: the PM’s office will forward the
Unacceptable: the PM’s office will return the eMEUR to the PC by forwarding the original
Page 3 of 4 |
Last revised 07/2012 |
the question or discrepancy. It is recommended that a due date be established to ensure the eMEUR is corrected and
Civil Rights Field Coordinators
The Civil Rights FC’s (FC) role is to conduct a cursory review of the eMEUR ensuring the form is complete, consistent, and accurate.
If Acceptable: the FC will convert the
If Unacceptable: the FC will return the eMEUR to the PM’s office by forwarding the original
Page 4 of 4 |
Last revised 07/2012 |