North Carolina Boat Bill of Sale Form
When you want to purchase a boat in the State of North Carolina, it is essential to use a North Carolina boat bill of sale to execute the transaction. A North Carolina bill of sale form is a binding agreement that shows the actual sale occurred at a specific date between the buyer and seller. A free bill of sale template displays the particulars of both parties such as the name, date of sale, condition of the boat, notary information, among other relevant information regarding the boat sale.
The North Carolina boat bill of sale protects both the customer and seller from liabilities after the sale. Before finalizing the sale, all parties involved must sign the document in the presence of a legal representative. It is vital to incorporate a bill of sale form for record-keeping and proof of ownership.
North Carolina bill of sale forms – read more about bills of sale for other assets in the State of North Carolina.
Our general guide to a bill of sale might also be useful if you need to refresh your memory on the basics of a bill of sale.
Registering a Boat in North Carolina
In the State of North Carolina, you must register your newly acquired watercraft before you start operations in the waterways. It is essential to commence the process of registration immediately after finalizing the purchase. Read our article if you want to learn more about the steps that should be taken in any vessel purchase.
The Wildlife Service Department in North Carolina executes all the vessel registrations. All you have to do is identify an agent location in your county. It is advisable to make an appointment by calling to know their working hours. When you are ready, go to their offices in person with all of the required documents.
If you register a brand new watercraft, you must complete a form called NC Vessel Registration & Title Application (Form VL-1). Another essential document is the bill of sale form that the buyer used when purchasing the vessel. Proof of identification is also vital since the laws of North Carolina govern the process. You can provide your State ID or Driver’s license.
The purchaser who is registering the vessel must be ready to pay the registration fees and any other amount that may accrue due to the titling process.
The following are details that you must fill in for the vessel registration:
- Registration number
- Name of manufacturer
- The model
- Year of manufacture
- North Carolina Title number
- The Hull identification number
Individuals who want to register their vessels must also present a bill of sale form. Below are the details in the purchase agreement form that will facilitate proper registration:
- Full name of the seller and the customer
- Date of the sale
- Condition of the boat engine
- Boat description
- Name and signatures of the buyer, seller, and witnesses
- Notary public information
Once all the parties have agreed, they must sign the document in the presence of a witness and legal representative. The notary will confirm that all the details are accurate and attach a state seal to validate the bill of sale form. The seller must issue copies to all the parties concerned and give the original form to the purchaser for record-keeping purposes.
North Carolina Boat Bill of Sale Registration Details
| Boat Type | 1 Year Registration Fees | 3 Year Registration Fees |
| Less than 14 feet except PWC | $35 ($70 if with title) | $95 ($130 if with title) |
| Less than 26 feet but 14 feet or greater and PWC | $70 with title | $130 with title |
| 26 feet or greater | $90 with title | $190 with title |
| US Coast Guard Documented Vessels 26 feet or greater | $55 | $155 |
| US Coast Guard Documented Vessels less than 26 feet | $35 | $95 |
| Source: North Carolina Wildlife Resources Commission | ||

How to write North Carolina Boat Bill of Sale
The guidelines listed below are based upon our free bill of sale template. Nonetheless, it is best to opt for the official document if it is provided by your local authorities.
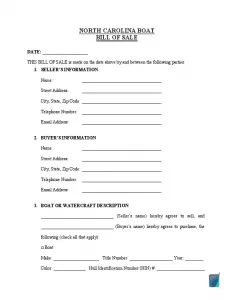
Step 1: Specify the bill of sale creation date.

Step 2: Provide the seller’s and buyer’s information:
- Full legal name
- Street address
- City of residence
- State of residence
- Area code
- Phone
- Email address

Step 3: Fill out the detailed information concerning the boat you’re selling:
- Manufacturer
- Title number
- Model year
- Distance traveled (odometer reading)
- Color
- Hull Identification Number (HIN)
- Trailer and motor details (if any)

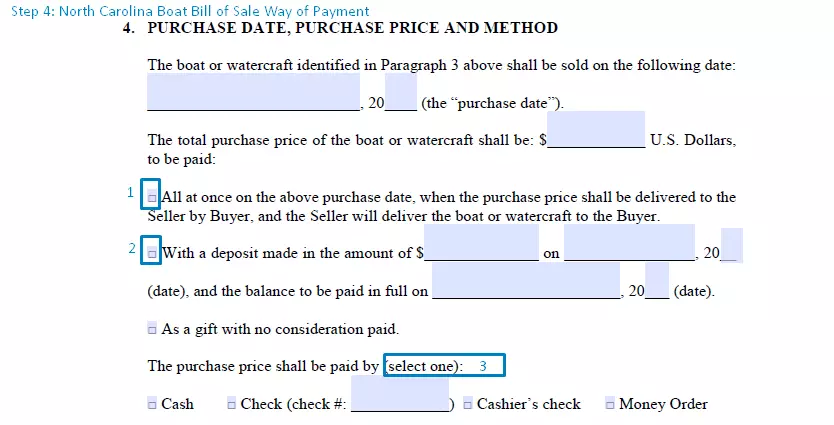
Step 4: Specify the transaction method and price.
This step also involves providing the exact date of the purchase and the total sum decided upon by both sides of the transfer. Once that has been done, you will need to specify the way of purchase:
- Giving the entire sum as a single payment. This one is very straightforward: on the same day, the buyer has the boat transported to them and transfers the whole amount of money.
- Installment payments. With this particular method, you have to indicate the dates when the buyer has to provide the initial and the last payments, as well as their sums.
The next step is deciding on the form of payment:
- Cash
- Check
- Cashier’s check
- Money order
Finally, specify if the purchase amount contains all applicable taxes.

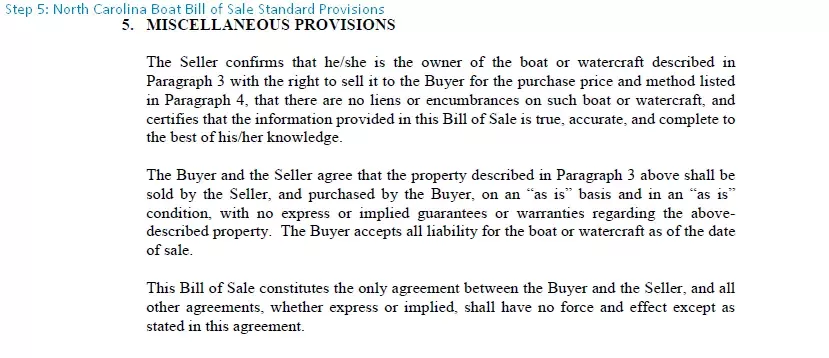
Step 5: Go through the miscellaneous terms.
These usually state that the buyer obtains the object sold in “as-is” condition and is responsible for it after the purchase is finished.

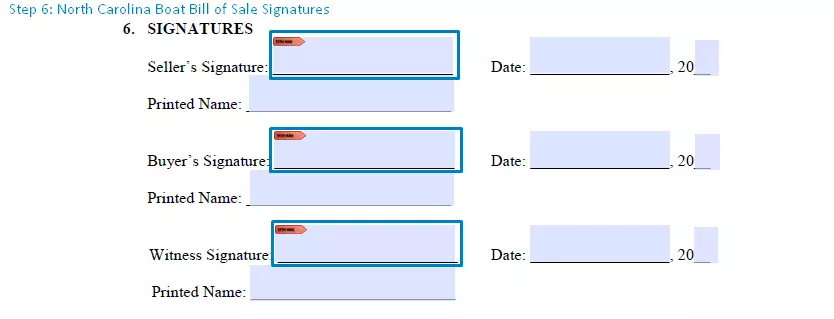
Step 6: Place your signature(s) in the appropriate fields.
The buyer’s signature is usually not needed. However, you’re more protected from legal issues if both sides sign the form. You may also have one or a number of witnesses attest the deal.

Step 7: Use the help of a notary public
Notarization is usually not required, but it can be a great way to add yet another layer of legal safety to your transaction.
The buyer will need to have the original bill of sale since it is often required during the title transfer. As a seller, you could either create a copy and store it or have a pair of identical documents signed and completed by both sides.
