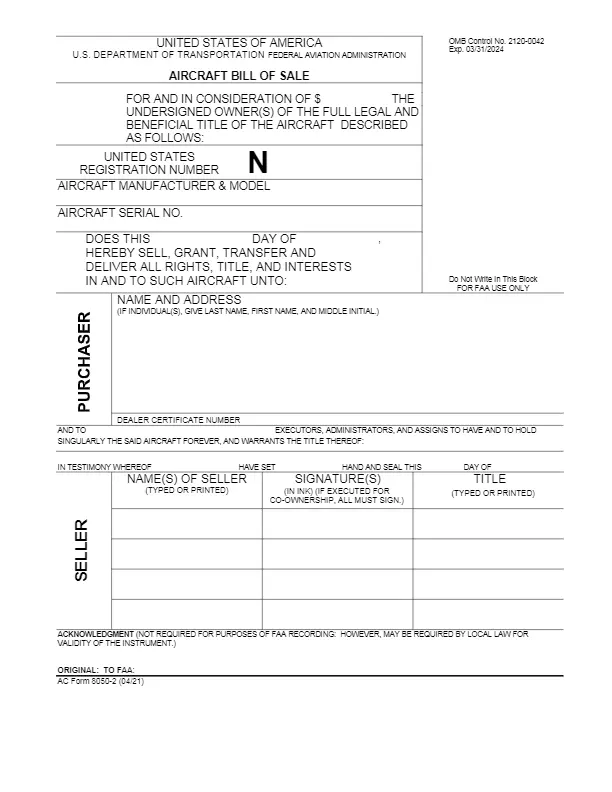
When selling an airplane, an FAA bill of sale, also referred to as Form AC 8050-2, or any other form that the Federal Aviation Administration approves must be completed. It is legal sale documentation that buying and selling parties utilize to record the transaction or sale of an airplane from a seller to a buyer. The aircraft bill of sale contains information about the name of the buyer, seller, and all relevant signatures pertinent to the deal.
Why Do I Need an Aircraft Bill of Sale?
You require a bill of sale to indicate and officiate an aircraft sale. It’s also mandatory documentation for registering your airplane as per the FAA. You must write down everything accordingly or you could land in trouble with the federal aviation and other relevant legislation governing aircraft sale. It also helps in answering pertinent questions that might arise regarding an airplane deal.
Aircraft Bill of Sale Form Details
| Document Name | Aircraft Bill of Sale Form |
| Other Names | FAA Bill of Sale, AC Form 8050-2 |
| Relevant Link | Federal Aviation Administration |
| Avg. Time to Fill Out | 10 minutes |
| # of Fillable Fields | 22 |
| Available Formats | Adobe PDF |
How Do I Fill Out an Aircraft Bill of Sale Form?
Fortunately, filling out an aircraft bill of sale isn’t hard. Moreover, you may get the airplane bill of sale online and follow simple steps to finish changing aircraft ownership. Read on below to see how the process unfolds.
Step 1. Negotiating the Best Buying Price

The first step involves negotiating the right price for the aircraft with the seller. As a smart buyer, you should determine the deposit amount for your dream plane. Also, agree with the seller if the down payment is refundable or otherwise. If it’s refundable, then define the circumstances and terms under which the refund happens.
Step 2. Filling Out the Bill of Sale
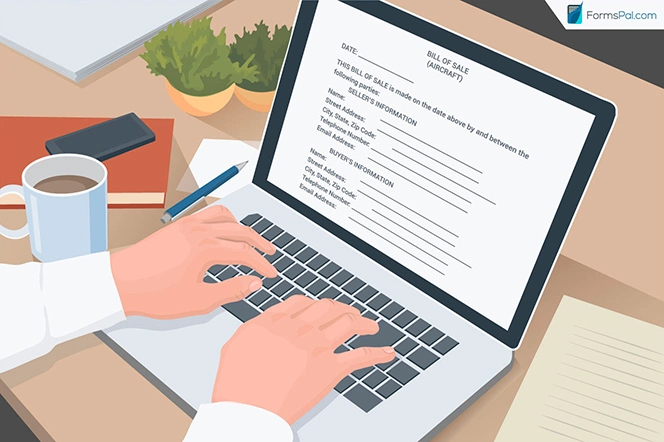
The second step involves filling out two copies of the airplane bill of sale form. The FAA demands that the form has to feature critical information on record. So, it’s necessary to complete our pre-approved form. Otherwise, you might omit some essential information if you use any other form. Next, provide relevant information for secure ownership transfer as per what the federal aviation stipulates:
- Sale date
- Buyer’s name and postal address
- Seller’s name and postal address
- Essential aircraft information such as its make, model, registration number, and serial number
- Purchase price
- Agreed delivery date
- Deposit amount
Step 3. Establish Refund Status

Next, state if the deposit is refundable or not. If it is, then clearly state how long the inspection time frame will be and the state or American region where the aircraft is being sold. It also has to contain signatures and legibly-typed names of the purchasers, vendors, and their witnesses. After agreeing upon all of the terms, the two parties should complete the form to let the buyer make a down payment for the plane.
Step 4. Inspecting the Aircraft Before Selling
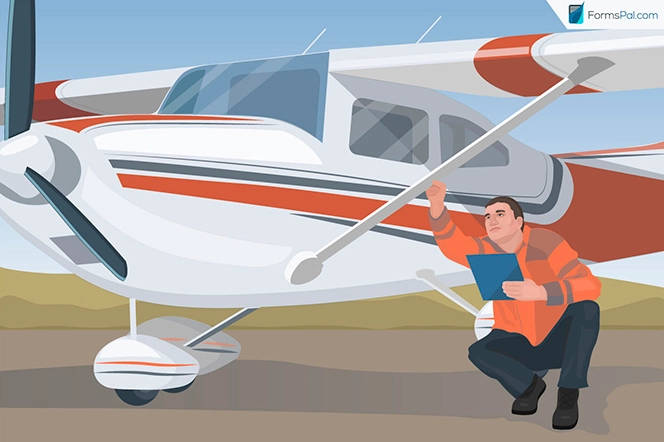
After filling out the bill of sale, the customer has a given time frame to complete the aircraft’s inspection. They can hire an expert mechanic to do it. The required time depends on how big or small the plane is.
Step 5. Finalizing the Sale of Aircraft

Once the inspection is complete, the two parties can finalize the deal. The purchasing party should deposit a full amount to let the current owner deliver the plane on the date that the two agreed upon. The new owner can start using the aircraft once the provisional registration is complete.
Step 6. Registration of an Aircraft with the FAA
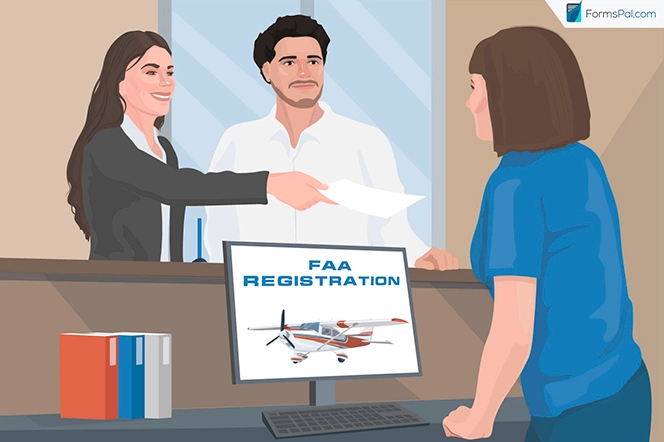 Registration of aircraft with the FAA is the next stage. They can do this by filling out the FAA aircraft registration form or the Form 8050-1, FAA form 8050, or form 8050 that the FAA provides. The buyer should also submit the initial registration certificate from the seller. This document must contain all of the sales details on its reverse, any previous sale bill, and a $5.00 fee to the FAA. Afterward, they receive their final possession certificate.
How Do I Transfer the Aircraft After the Buyer Signs the Bill of Sale?
The aviation administration requires the seller to fill out a bill of sale, which is in FAA Form 8050-2 that can be downloaded on the FAA’s site. Alternatively, you can get it on AOPA’s website. This bill of sale needs duplicate filling. If you need any other relevant forms such as the AC form, you can download them here. Two original of the bill of sale goes to the buyer while another copy is attached to the registration and goes to the FAA. The buyer maintains another copy. Sellers may make copies if they need them for record purposes.
Please note that the seller’s name must match the one on the existing registration. Don’t initialize names, for instance, Samuel to Sam.
Transferring Funds
This stage happens at the time of signing the bill of sale. The seller should be careful to accept a secure payment method, especially a bank wire transfer. since checks can bounce. This way, they will receive the funds and complete the transaction smoothly. They can also use AOPA’s partner to help with escrow services. Sellers working with brokers or dealers should sign legally-binding agreements to ensure they get the agreed amount once the customer makes payment. After a successful sale, sellers should notify their insurers to end their policies. Afterward, it becomes the insurer’s job to organize for another cover for the new aircraft owner upon assuming complete ownership and possession of the plane.
The current owners also need to remove the initial aircraft registration certificate bearing their names. They must also complete the sales info on the reverse of the certificate and post it to the FAA’s registry to protect themselves should future problems arise. They should also remove all FCC radio station licenses bearing their names if they had them. The present owners should also give the new owners all of the logbooks and records on their newly acquired aircraft.
Upon completing form 8050-1, present owners should duplicate it and pin it on the sold aircraft. This copy will act as a provisional registration. They can get form 8050-1 online. When new owners apply for registration, they must show how the plane’s ownership moved from the last registered aircraft owner down to them.
How to Fill Out the Aircraft Bill of Sale?
Form AC 8050-2, also known as the Aircraft (FAA) Bill of Sale, is an official form to record the aircraft ownership transfer. The document is short and straightforward, but you should prepare it carefully not to miss any essential details. We’ve prepared step-by-step guidelines for you to go through the process of preparation as efficiently as possible.
Step 1: Indicate the consideration amount

In the first section, it’s necessary to indicate the amount of consideration the buyer gives the seller to get ownership of the aircraft. Consideration is usually the purchase price of the aircraft.
Step 2: Fill out the information about the aircraft

The next step is to describe the aircraft being sold and purchased. It’s required to fill out the following information:
- United States registration number. US registration number, or N-Number, is a unique number consisting of alphanumeric characters. This number identifies the aircraft and may not exceed five characters.
- Aircraft manufacturer and model. For example, Piper M600/SLS, where “Piper” is the manufacturer (Piper Aircraft Corporation) and M600/SLS is the model.
- Aircraft serial number. It’s the aircraft serial number assigned to the aircraft by the manufacturer.
Step 3. Identify the date of the transaction

The third section is devoted to the date when the transaction occurs. You will need to specify the following details:
- Day.
- Month.
- Year.
Step 4. Provide the purchaser’s and dealer’s information

You are required to provide the personal information and contact details of the purchaser, including:
- Full name (last name, first name, and middle initial).
- Street address.
- City.
- State.
- Zip code.
If the transaction involves a dealer, it’s necessary to indicate the Dealer Certificate Number. Otherwise, it would be best if you left the space blank.
You will also need to put her/his/their before the “Executors, administrators, and assigns…”
Step 5. Identify the seller(s) and their titles
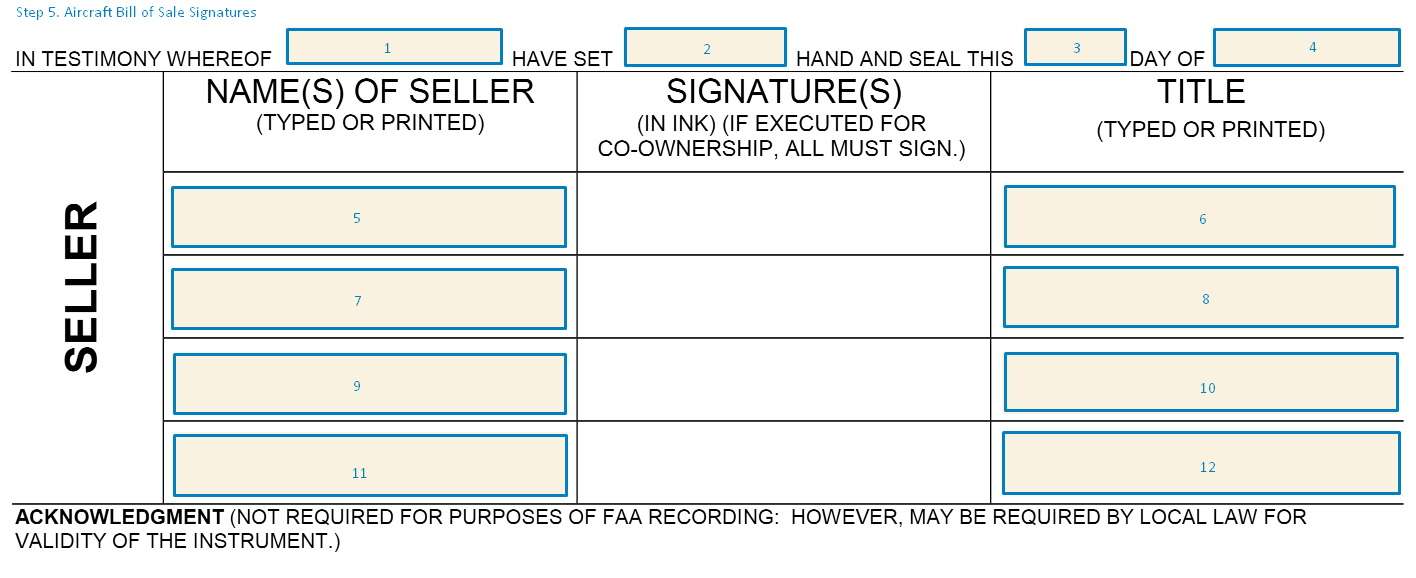
The last step is devoted to the information about the seller(s) and their title(s). You will need to indicate the following details:
- Date of signature(s) – day, month, and year.
- Typed or printed name(s) of the seller(s).
- Typed or printed title(s) of the seller(s).
All the sellers must sign the bill of sale in ink, and the form must be prepared in duplicate. The Federal Aviation Administration (FFA) does not require to provide the notary acknowledgment, but the local laws sometimes may require one.
