It is a piece of cake to complete the envision rx. Our PDF editor was meant to be assist you to fill in any document easily. These are the steps to follow:
Step 1: Press the "Get Form Now" button to begin.
Step 2: At the moment, you can start modifying the envision rx. The multifunctional toolbar is at your disposal - add, remove, adjust, highlight, and undertake many other commands with the content in the document.
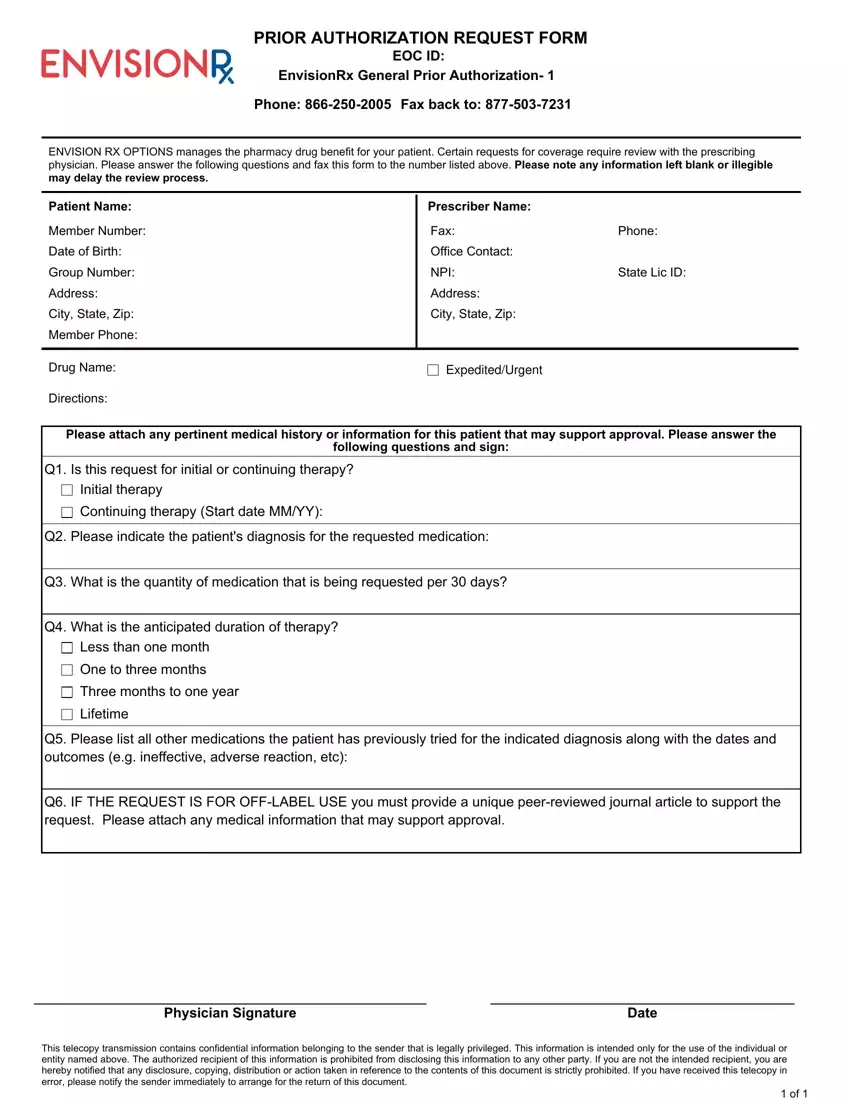
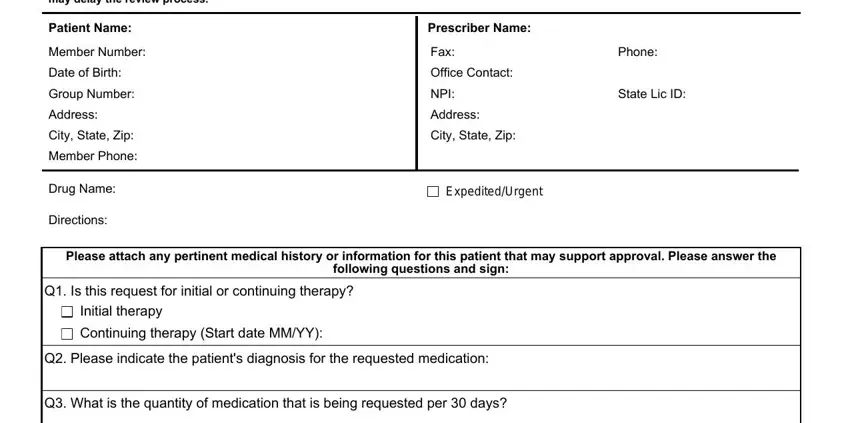
Enter the requested information in each one area to complete the PDF envision rx
Include the essential details in the Q What is the anticipated duration, Q IF THE REQUEST IS FOR OFFLABEL, Physician Signature, Date, and This telecopy transmission section.

Step 3: Once you've selected the Done button, your file is going to be obtainable for export to any kind of device or email address you specify.
Step 4: Create copies of the file - it will help you refrain from potential future issues. And don't be concerned - we are not meant to reveal or view your data.
