The Colorado general financial power of attorney form is a legal document that allows an individual (known as the “principal”) to designate another person (known as the “agent” or “attorney-in-fact”) to manage their financial affairs. This power of attorney form grants broad powers to the agent, including handling financial transactions, managing property, and making decisions related to the principal’s assets. Unlike its “durable” counterpart, a general power of attorney becomes ineffective if the principal becomes incapacitated.
In Colorado, the general power of attorney must be completed in compliance with state laws. This document ensures that a trusted person can act on the principal’s behalf in various financial and legal matters.
If you need other Colorado power of attorney forms, please visit our dedicated state page in this paragraph.
Build Your Document
Answer a few simple questions to make your document in minutes
Save and Print
Save progress and finish on any device, download and print anytime
Sign and Use
Your valid, lawyer-approved document is ready
In Arkansas, the general power of attorney is governed under the Uniform Power of Attorney Act, which defines this document as any writing or other record authorizing an agent to act in the principal’s stead. The main aspects of Arkansas’s regulations include:
These provisions aim to protect the integrity of the agent’s financial actions, guaranteeing that all transactions are legally valid and align with the principal’s wishes.
| Document Name | Colorado General Power of Attorney Form |
| Other Name | Colorado Financial Power of Attorney |
| Relevant Laws | Colorado Revised Statutes, Sections 15-14-701 to 15-14-745 |
| Avg. Time to Fill Out | 10 minutes |
| # of Fillable Fields | 41 |
| Available Formats | Adobe PDF |
Completing the Colorado general power of attorney form is straightforward but requires attention to detail to ensure it meets legal standards and accurately reflects the principal’s wishes.
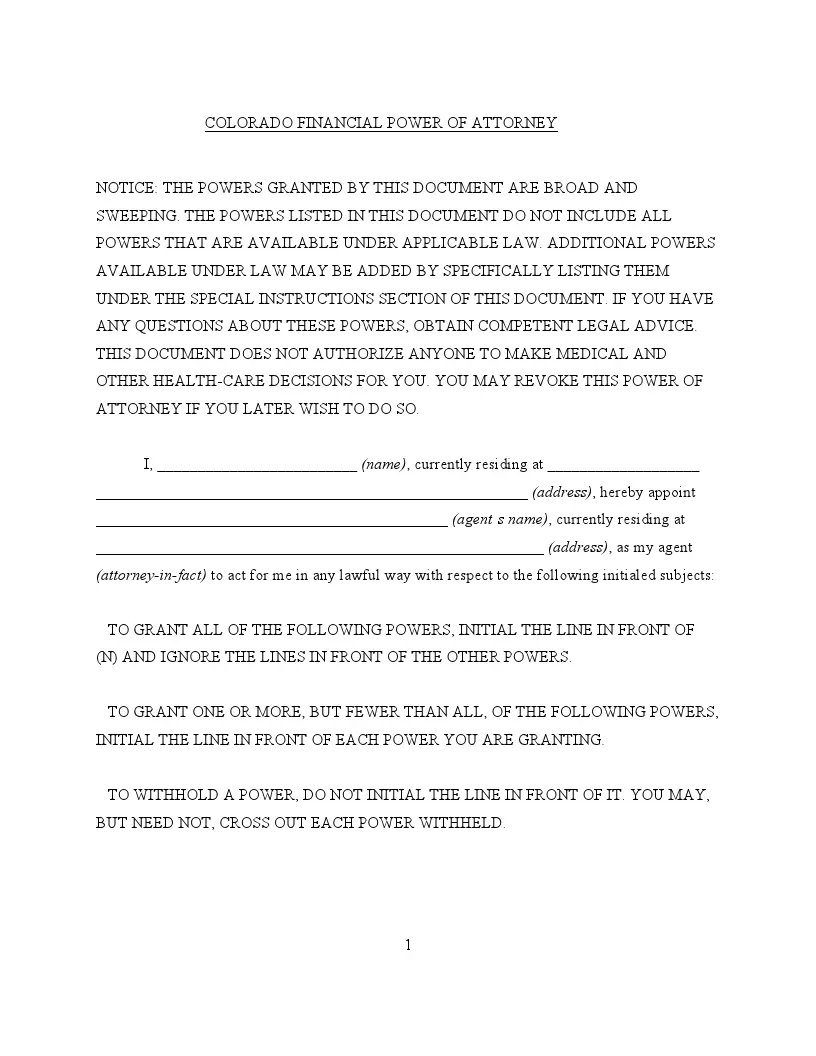
1. Principal and Attorney-in-Fact Information
Begin by filling in the principal’s name and address in the designated fields. Next, enter the name and address of the person you appoint as your attorney-in-fact. This individual will have the authority to act on your behalf.
2. Granting Powers
You will encounter a list of powers you can grant to your attorney-in-fact. Each power is associated with a checkbox that you must initial to activate that authority. These powers include, but are not limited to:
Carefully review each item and initial next to the powers you wish to assign.
3. Signatures and Notarization
Once all the necessary fields are filled and you’ve designated the powers, the principal must sign the document in the presence of a notary. This step is crucial as it validates the authenticity of the power of attorney.
4. Attorney-in-Fact Acceptance
The appointed attorney-in-fact must also sign the document, acknowledging their acceptance of the responsibilities granted by the principal.
5. Notary Acknowledgment
The form will conclude with a section for the notary public. The notary will fill out this part, confirming that the principal has signed the document of their own free will and that they verify the principal’s identity through appropriate means.
6. Secure Storage and Copies
Once notarized, store the original document in a secure location. It’s advisable to provide copies to the attorney-in-fact and perhaps a trusted advisor like an attorney or financial consultant. Ensuring relevant parties have access to the power of attorney can prevent delays or issues when needed.