The Idaho general financial power of attorney is a legal document that allows an individual (the principal) to appoint another person (the agent or attorney-in-fact) to handle their financial affairs. This authority can include managing bank accounts, signing checks, selling property, and handling other financial transactions on behalf of the principal.
The power granted through this document is broad and not limited to specific activities, unlike a limited power of attorney. Notably, a general power of attorney in Idaho typically is ineffective if the principal becomes incapacitated or mentally incompetent. This would require a durable form, extending its validity beyond the principal’s incapacity. On FormsPal, you can get all Idaho power of attorney templates for any case.
Build Your Document
Answer a few simple questions to make your document in minutes
Save and Print
Save progress and finish on any device, download and print anytime
Sign and Use
Your valid, lawyer-approved document is ready
In Idaho, the laws governing a general power of attorney are defined under the Idaho Statutes, Title 15, Chapter 12. According to Section 15-12-102, “power of attorney” denotes any written or recorded document that assigns an agent the authority to act on behalf of the principal, regardless of whether the specific phrase “power of attorney” is used. Other provisions include:
For the power of attorney form to be valid, it must meet specific signing requirements. According to Section 15-12-105 of the Idaho Statutes, the document must be acknowledged by a notary public. This legal framework ensures that the power of attorney is executed properly and reflects the principal’s intentions.
| Document Name | Idaho General Power of Attorney Form |
| Other Name | Idaho Financial Power of Attorney |
| Relevant Laws | Idaho Statutes, Sections 15-12-101 to 15-12-403 |
| Avg. Time to Fill Out | 10 minutes |
| # of Fillable Fields | 41 |
| Available Formats | Adobe PDF |
Here’s a detailed step-by-step guide on how to fill out an Idaho general power of attorney form.
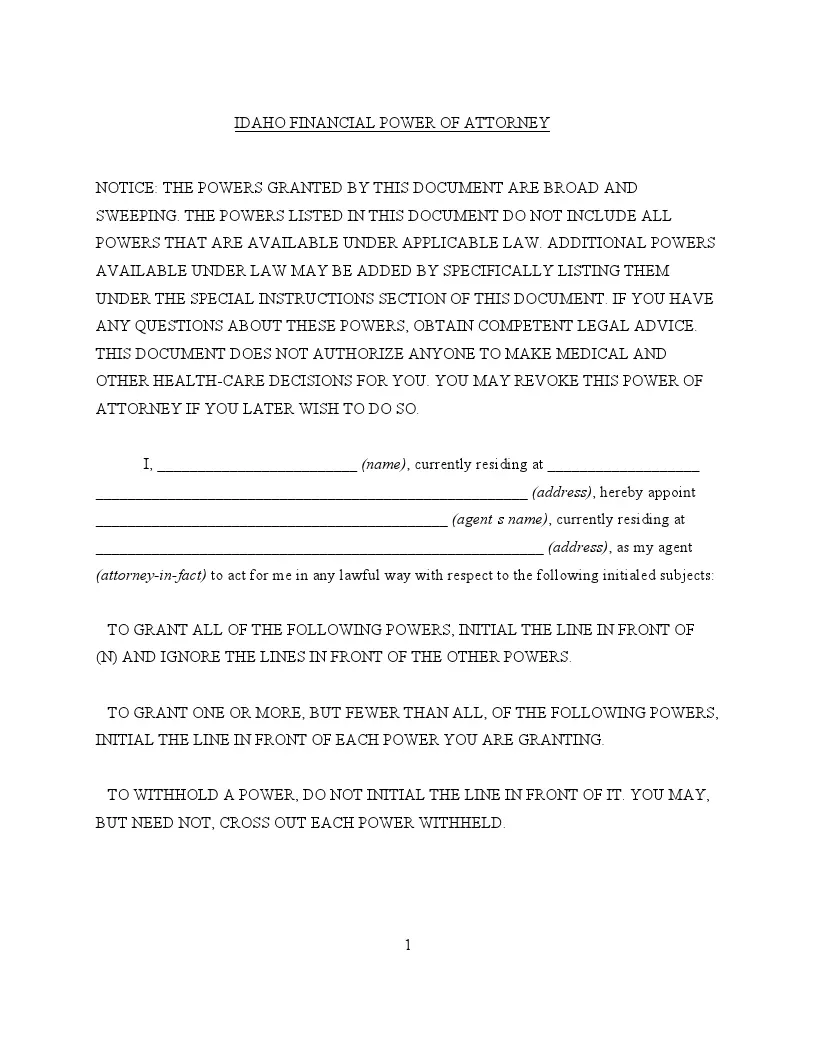
1. Understand the Notice
Begin by carefully reading the initial notice on the form. It provides essential information about the broad and sweeping powers this document grants.
2. Designate Your Agent
Fill in your full name and address in the designated spots at the top of the form. Then, enter the name and address of the person you appoint as your attorney-in-fact or agent. This individual will manage your financial affairs under the powers you grant.
3. Assign Powers
On the form, you will see a list of specific powers ranging from real estate transactions to handling tax matters. You must initial next to each power you wish to grant to your agent. If you prefer to grant all listed powers, simply initial next to the option that allows this and ignore the individual lines.
4. Include Special Instructions
Use the “Special Instructions” section of the form to detail any specific powers or conditions not already covered. It can include instructions about digital assets, retirement plans, or other unique aspects of your financial management.
5. Set the Effective Date
Decide when the power of attorney should take effect. You can choose for it to be effective immediately, or you can specify a future date. Initial the corresponding option on the form to indicate your choice.
6. Determine Termination Conditions
You have options regarding how the power of attorney will end. You can make it revocable upon your signed declaration, set a specific date for its termination, or stipulate that it ends if you are legally deemed incapacitated. Specify your choice by initialing the appropriate line.
7. Appoint a Successor Agent
If your chosen agent is unable or unwilling to serve at any point, you should designate a successor agent. Provide their name and address on the form to ensure no interruption in managing your affairs.
8. Sign and Date the Form
After completing all sections of the form, sign and date it in the presence of a notary. This is a legal requirement to ensure the form’s validity.
9. Notarization
The last administrative step is the notarization of the form. A notary public will verify your identity, witness your signature, and apply their seal, formally validating the document.
