Connecticut Limited Power of Attorney Form
The Connecticut limited power of attorney allows an individual (the principal) to grant specific powers to another person (the agent) to act on their behalf in designated matters. Unlike a general power of attorney covering a broad range of actions, this document is narrowly tailored to specific tasks or situations. For example, a limited power of attorney might give someone the authority to sell property or manage certain financial transactions, but only under certain circumstances or for a defined period.
The form must specify the powers being granted, the circumstances under which these powers can be exercised, and when these powers will expire. A limited power of attorney in Connecticut is helpful for those who need to temporarily delegate responsibilities without relinquishing control over all their affairs. You can obtain Connecticut power of attorney forms online to authorize someone to handle your legal and financial matters.

Build Your Document
Answer a few simple questions to make your document in minutes
Save and Print
Save progress and finish on any device, download and print anytime
Sign and Use
Your valid, lawyer-approved document is ready
In Connecticut, the laws governing the creation and execution of a limited power of attorney are outlined in §§ 1-350 to 1-353b of the Connecticut General Statutes. According to § 1-351, an agent designated in a power of attorney may act on the principal’s behalf within the scope of authority expressly granted in the document. It ensures that the agent’s powers are limited to specific tasks or decisions as detailed by the principal.
When it comes to the formal execution of a limited power of attorney in Connecticut, there are specific signing requirements (§ 1-350d):
- Presence of a notary public to notarize the document.
- Two witnesses must observe the principal’s signature, enhancing the document’s validity and legal standing.
Additionally, under § 1-350i, a principal has the right to revoke the power of attorney at any time, provided the revocation is executed with the same formality as the original document. This aspect assures that principals can regain complete control of their affairs if necessary.
Connecticut Limited Power of Attorney Form Details
| Document Name | Connecticut Limited Power of Attorney Form |
| Other Name | Connecticut Special Power of Attorney |
| Relevant Laws | Connecticut General Statutes, Section 1-351 |
| Avg. Time to Fill Out | 8 minutes |
| # of Fillable Fields | 32 |
| Available Formats | Adobe PDF |
Filling Out Connecticut Limited POA
Accurately filling out the Connecticut limited power of attorney form is essential to ensuring it meets all legal requirements. Here’s a detailed guide to help you through each step.
1. Identify the Principal and Agent
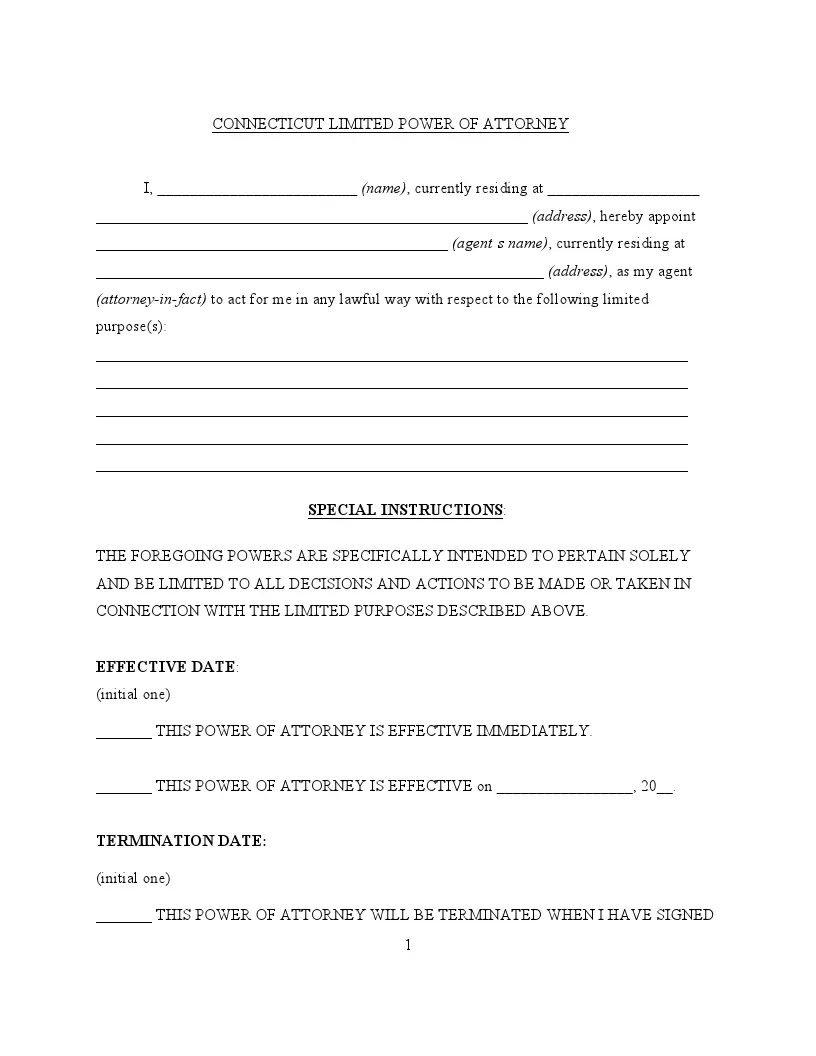
Start by entering your full legal name and address in the fields labeled “name” and “currently residing at,” respectively, to identify yourself as the principal. Following this, specify the name and address of the person you are designating as your agent (attorney-in-fact) in the fields designated for the agent’s information.
2. Define the Powers
The next section clearly outlines the specific powers you are granting to your agent. These powers should be explicitly defined to avoid ambiguity, encompassing actions like financial decisions, property management, or other specified legal actions that the agent is authorized to perform on your behalf.
3. Specify Effective and Termination Dates
You must decide when the power of attorney will become effective and when it will terminate. Fill in the appropriate fields to indicate whether a power of attorney takes effect immediately or on a specified future date. Additionally, specify how the POA form will end — whether it will terminate on a specific date, upon your written revocation, or if you are determined to be incapacitated.
4. Appoint a Successor Agent
If there’s a possibility that your primary agent might be unable to serve, appointing a successor is prudent. In the fields provided, enter the full name and address of the successor agent who will take over responsibilities if the initial agent is unable or unwilling to serve.
5. Acknowledge Third Party Rights
In the acknowledgment section, you must confirm that third parties may act under this POA until informed of its revocation. This part protects third parties who rely on the limited power of attorney in good faith.
6. Sign and Date the Form
Completing the form requires your signature. Make sure to sign the document in the presence of a notary public and two witnesses to enhance the form’s validity. Accurately fill in the date on the form to confirm when the document was executed using the fields labeled “day,” “month,” and “year.”
7. Notarization
For the POA to be legally binding, it must be notarized. The notary will verify your identity and ensure you are signing the document of your own will. This step is completed in the section labeled “Acknowledgment,” where the notary confirms the identity of the individuals signing the document.
8. Distribute Copies
After the form is signed and notarized, distribute copies of the document to your agent, any successor agents, and relevant institutions or individuals who may require proof of the agent’s authority.
