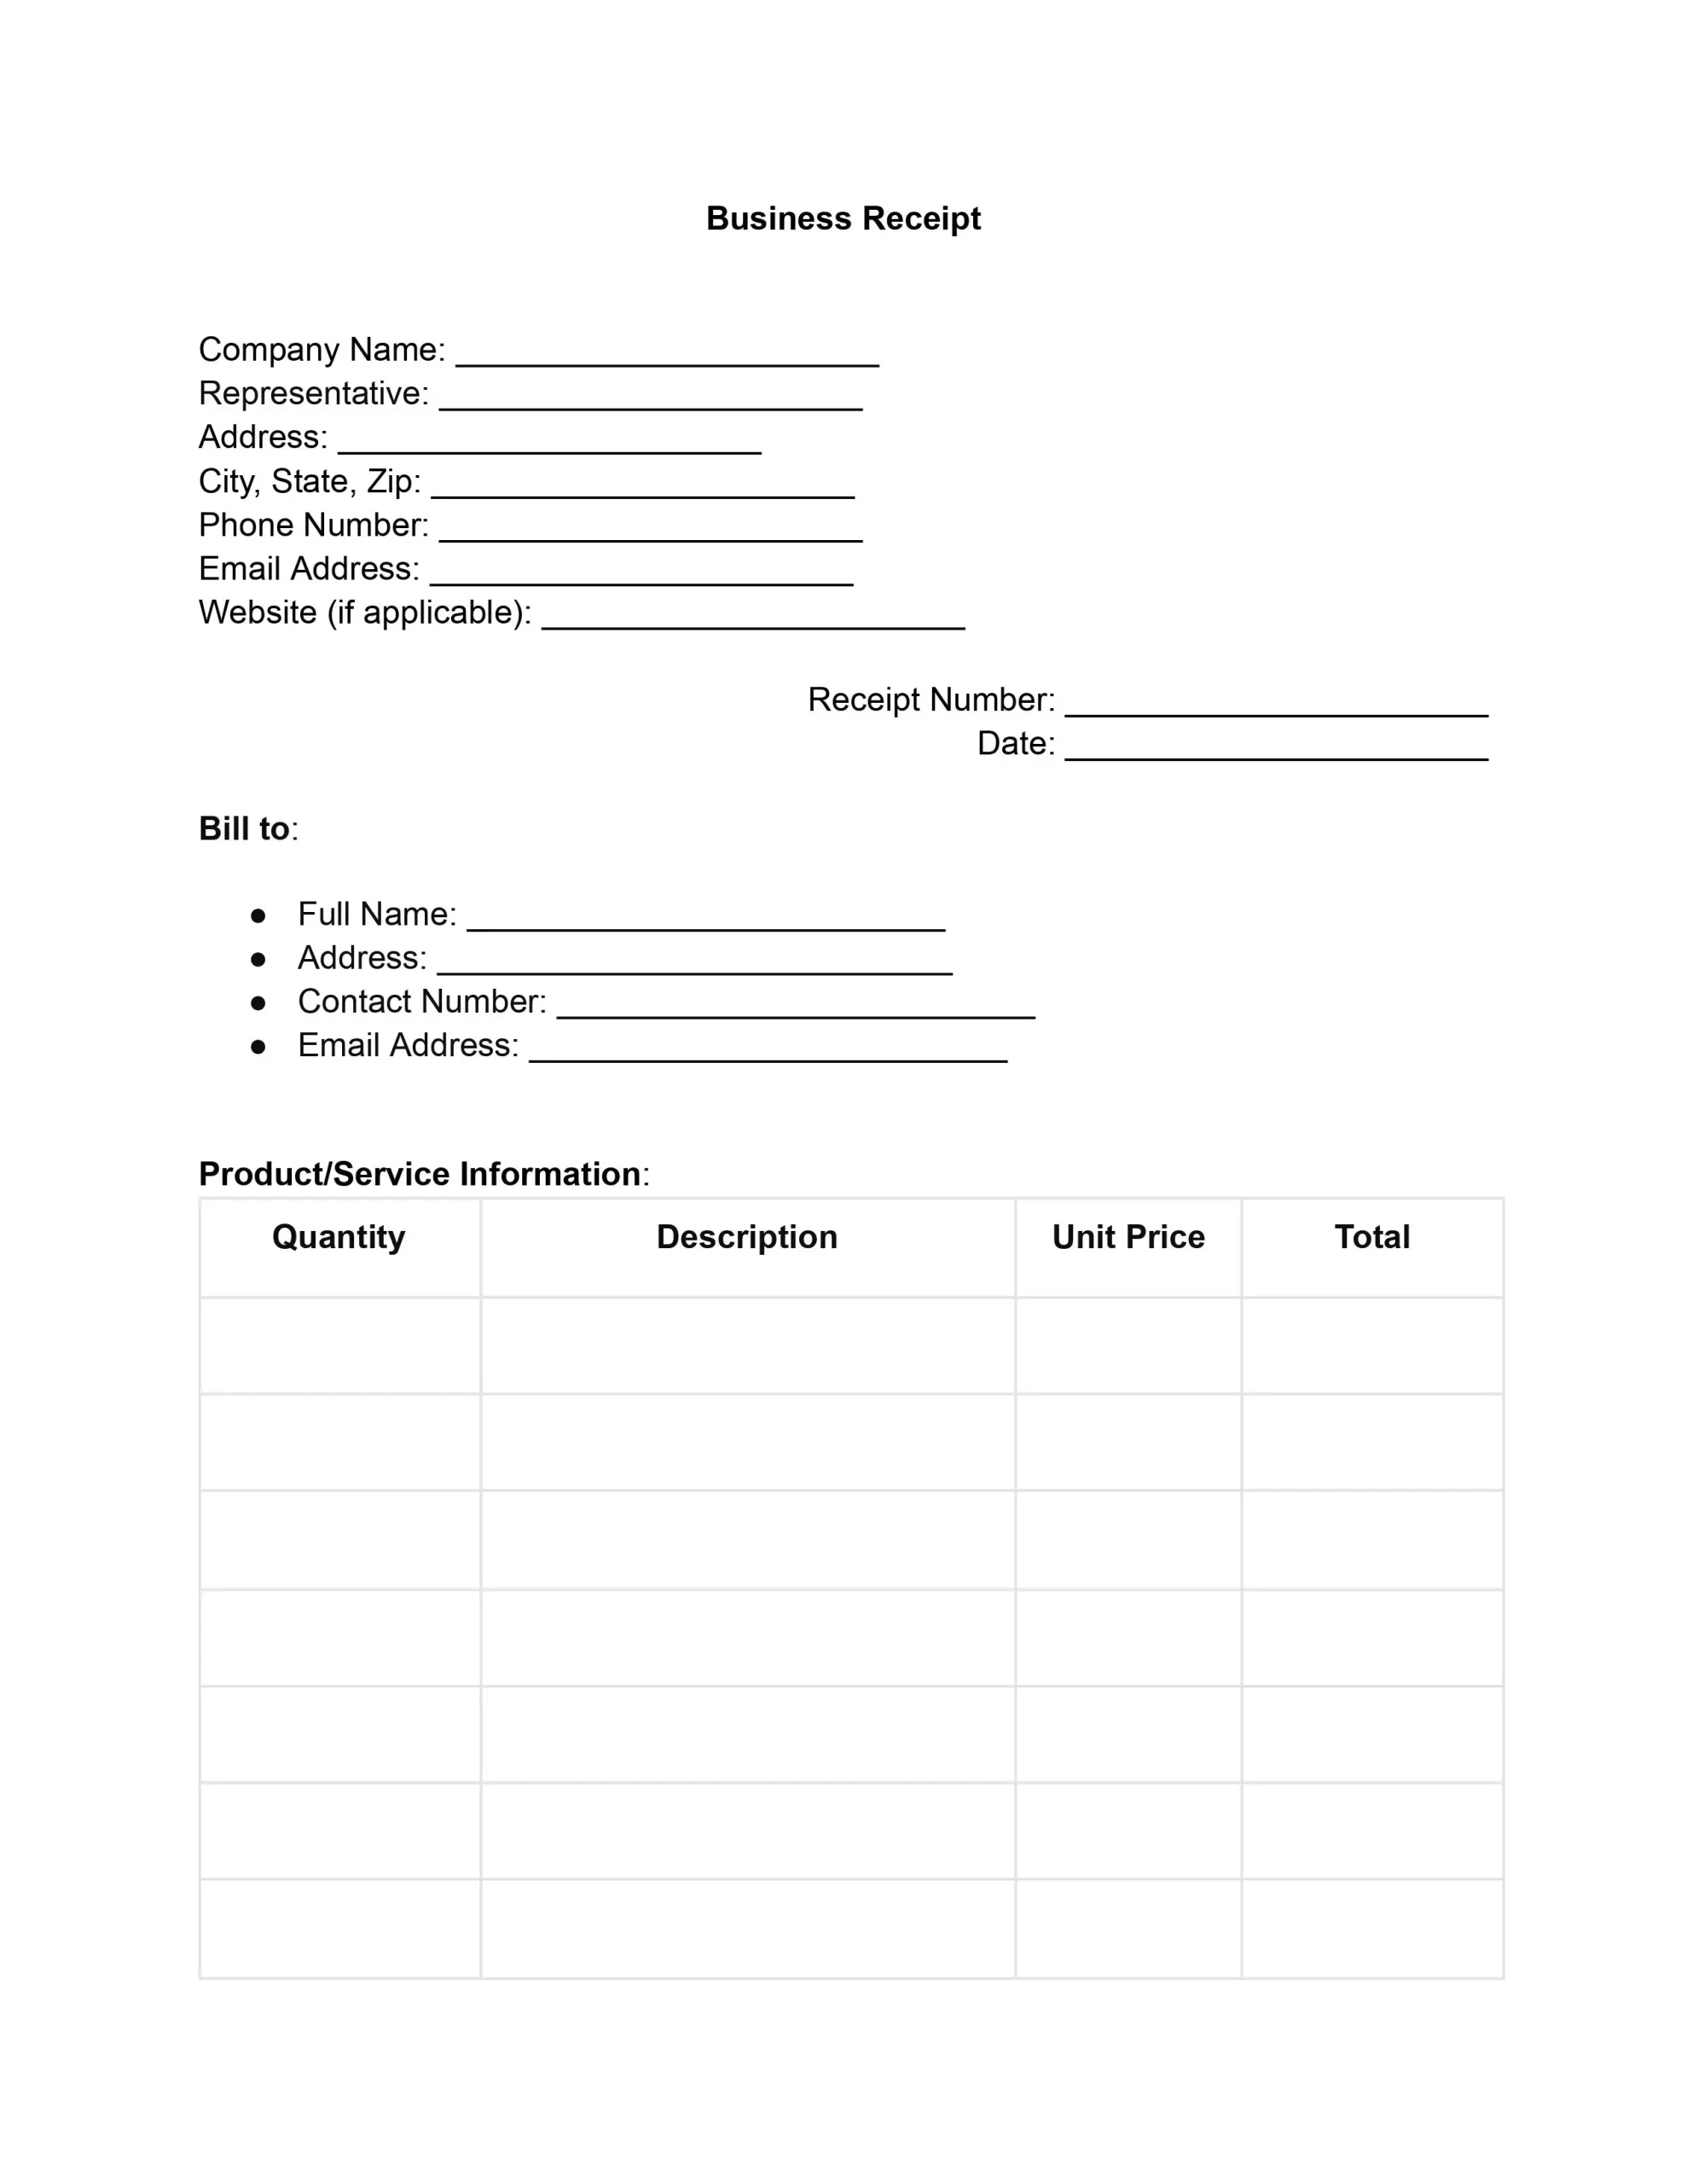
Business forms and receipts do more than acknowledge that a service or item was rendered. They provide a detailed account of the transaction that took place. This level of detail ensures transparency, allowing both parties to see exactly what was exchanged, from the quantity and description of goods or services to the financial figures that were agreed upon.
Moreover, receipts for business are indispensable for maintaining accountability. They allow companies to track their sales, manage inventories, and ensure accurate financial reporting. Business receipt forms also make it easier to comply with tax laws and regulations, helping to avoid legal complications and financial discrepancies.
Essential Components of a Business Receipt Template
The essence of a company receipt template lies in its ability to accurately and comprehensively record a transaction between a business and its customer. Essential components of a business receipt help to build confidence in any transaction:
Company and Representative Information. Lays the foundation by providing essential details like the business name, representative’s name, and contact information, establishing credibility and a point of contact.
- Receipt and Transaction Details. This section incorporates a unique receipt number and the transaction date, which is crucial for tracking and record-keeping purposes.
- Billing Information. This section details the customer’s full name, address, and contact information, ensuring clarity in communication and record accuracy.
- Product and Service Breakdown. Lists items or services with their quantities, descriptions, unit prices, and totals, offering a transparent account of the exchange.
- Financial Summary. This section breaks down the financial aspects, including subtotal, tax rate, total tax, and total amount, promoting transparency in billing.
- Payment Information. The payment method and pertinent details like check or card number are crucial for financial reconciliation.
- Terms and Conditions. Outlines the agreement terms, safeguarding both parties’ interests.
- Authorization. Includes an authorized signature, name, and title, validating the receipt.
Integrating these elements into business receipts templates ensures transparency and gives a more thorough record of transactions. It’s about the company’s dedication to professionalism and client satisfaction.
How to Edit Our Free Business Receipt Template
Following these steps will help ensure that your business receipts template is filled out comprehensively, providing a clear and professional transaction record.
1. Company and Representative Information
Enter your business’s full legal name to establish credibility and recognition. Follow this with the name of the individual representing your business in the transaction, ensuring personal accountability and a direct point of contact. Then, fill in your business’s physical address, including suite or unit numbers. It should be accompanied by the city, state, and ZIP code to complete the address details. Also, add a contact phone number and a professional email address for further communications.
2. Receipt and Transaction Details
Assign a unique receipt number to this document for easy tracking and reference. This step is crucial, as it aids in organizing financial records and addressing future inquiries. Next, accurately record the date the transaction occurred.
3. Billing Information
Here, you’ll write down the complete name of the customer or client you’re billing. Including the customer’s billing address ensures the document is properly addressed and can assist in any necessary follow-up. It’s also important to provide the customer’s primary contact number and email address, laying the groundwork for clear and effective communication.
4. Product or Service Information
This step involves a careful breakdown of the transaction. Specify the quantity and clearly describe each item sold or service provided. Next, list the price per item or service hour, then calculate the total cost for that line item. This detailed breakdown is crucial for transparency and trust.
5. Financial Summary
Enter the subtotal of all the items or services provided before tax. It gives you and the customer a clear view of the base cost. Specify the tax rate that applies to the transaction and calculate the total tax amount. Adding the subtotal and total tax together will give you the grand total owed by the customer.
6. Payment Information
Indicate the customer’s method of payment, whether cash, check, credit card, or another form. If payment was made via check or card, include the relevant check number or the last four digits of the card.
7. Terms and Conditions
It’s important to review any terms and conditions related to the transaction with the customer to ensure understanding and agreement. This step safeguards both parties’ interests and promotes a mutual agreement on the transaction’s terms.
8. Authorization
An authorized business representative should sign the receipt to validate the transaction. Additionally, print the name and title of the individual signing. Finally, record the date the receipt was signed, marking the official completion of the transaction documentation process.
