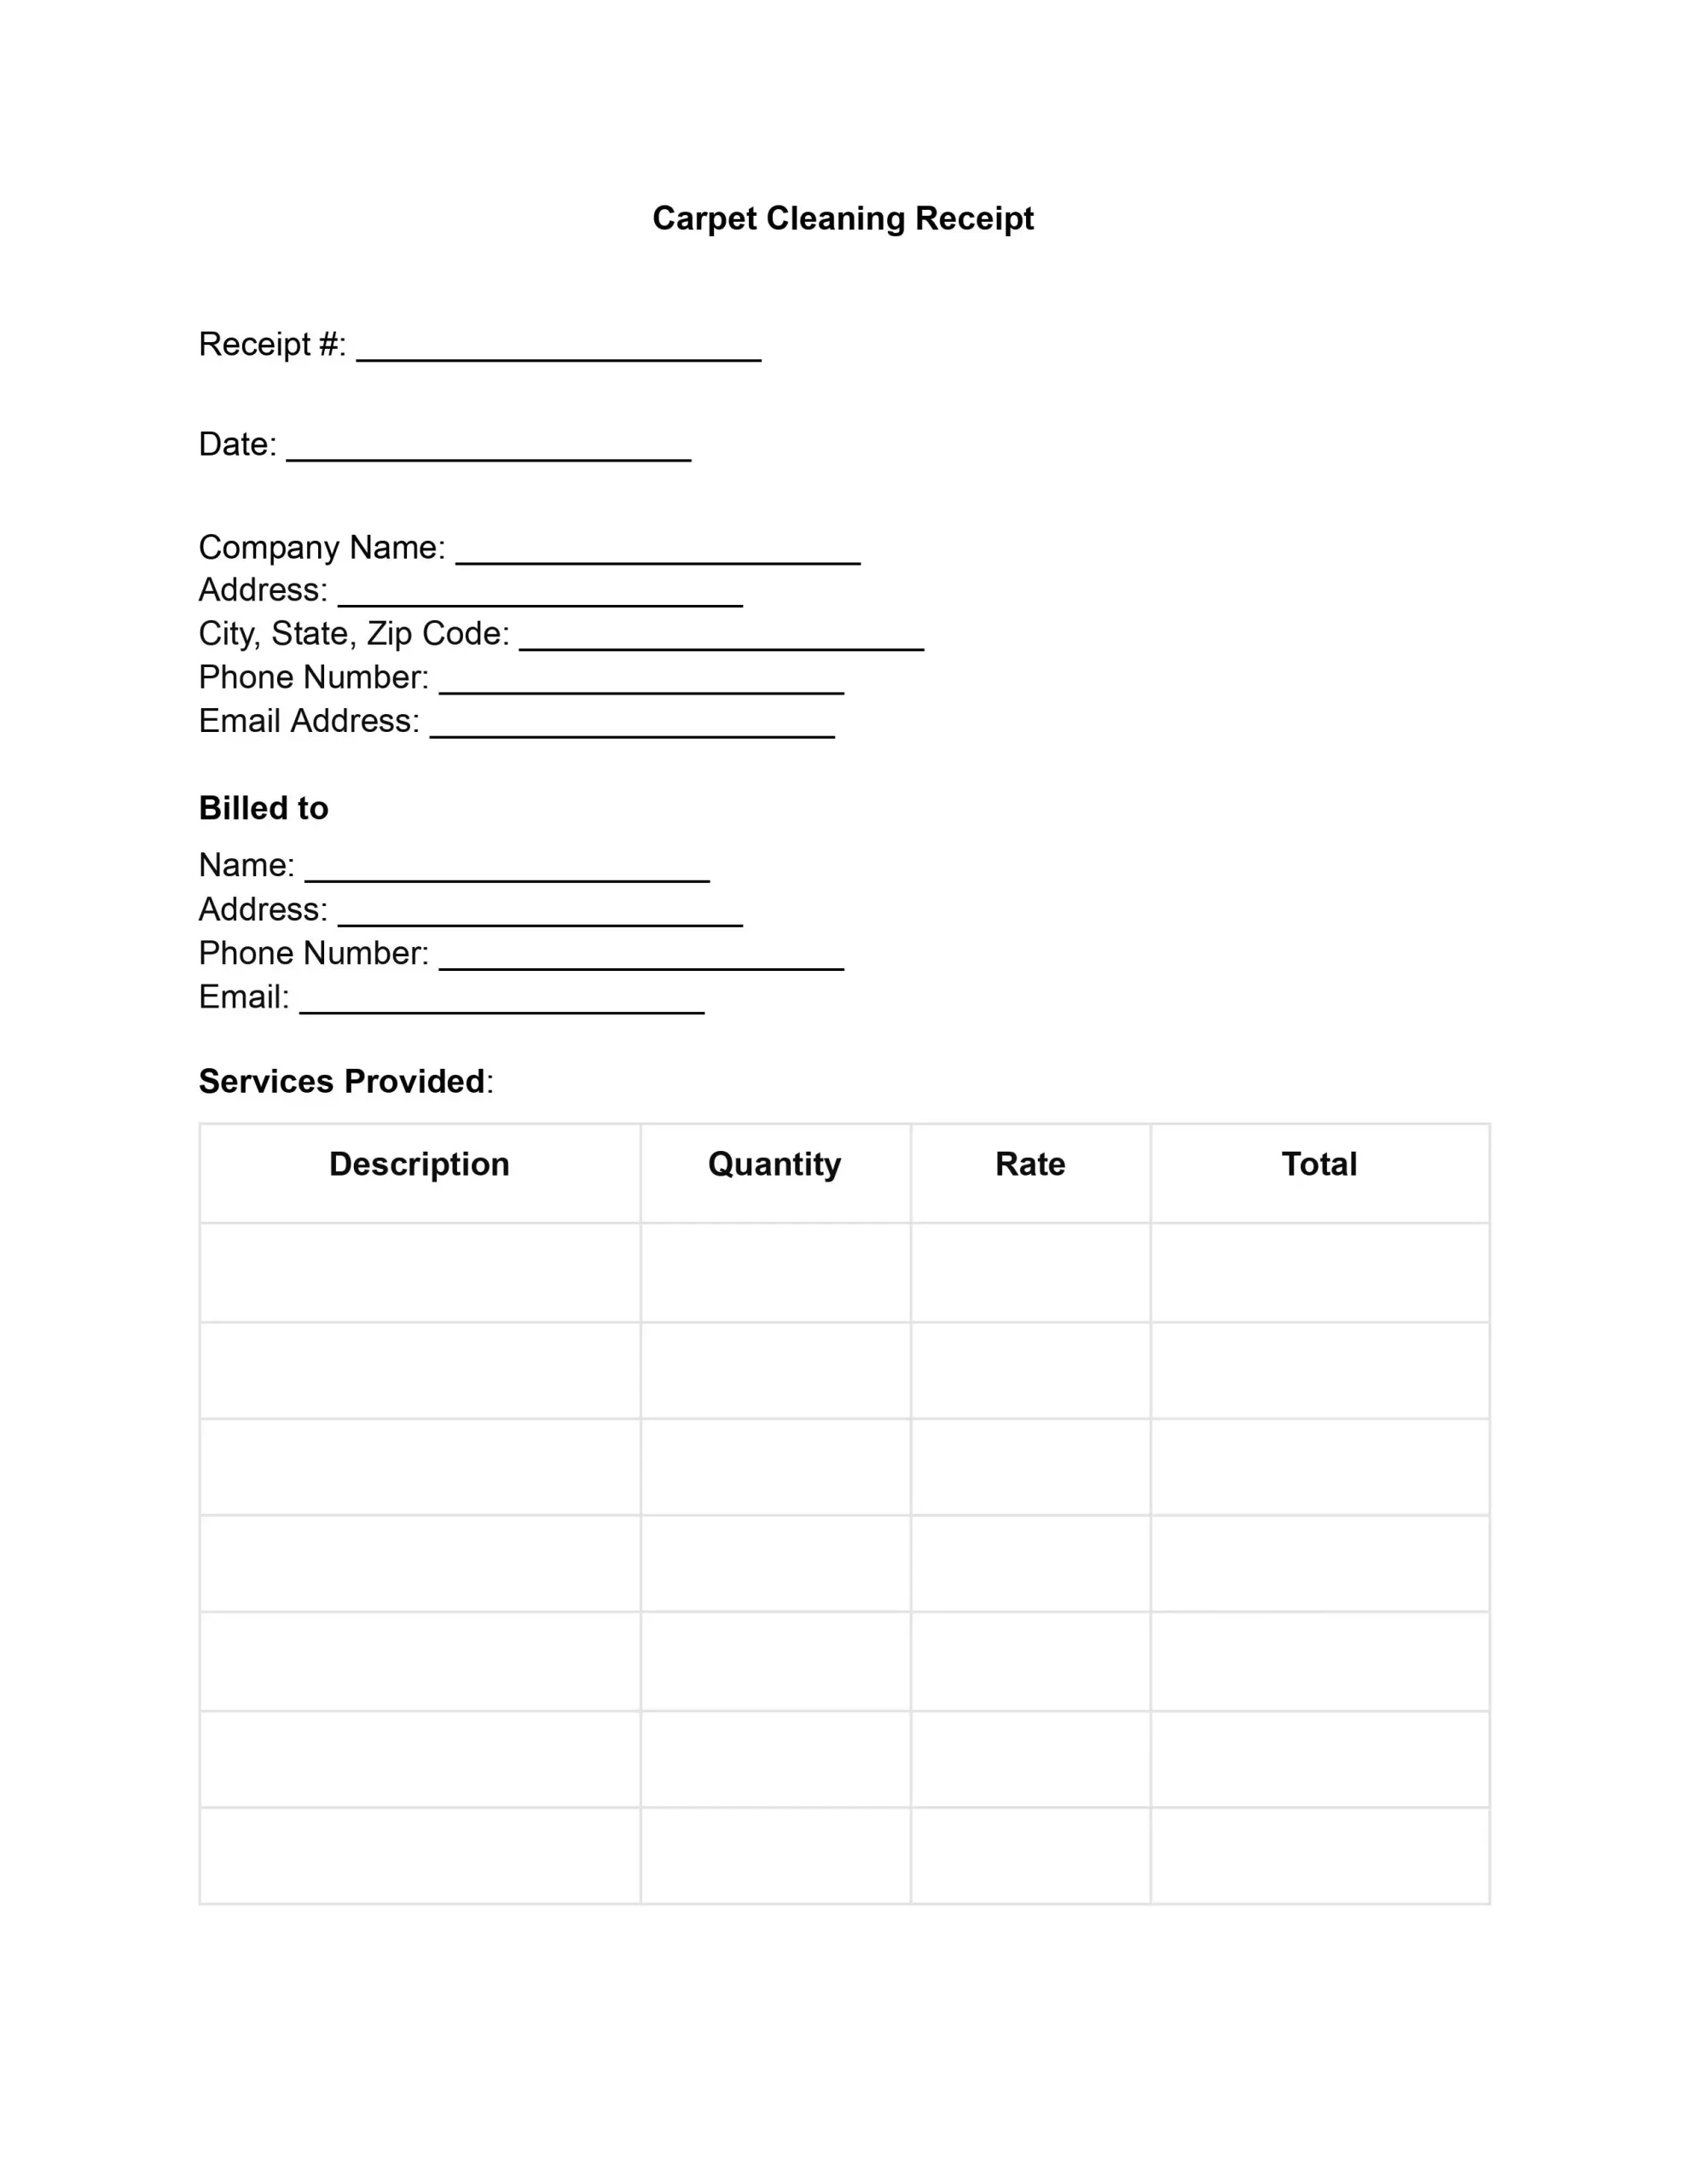
A carpet cleaning receipt is more than simply a piece of paper or a digital note. It records the transaction between the service provider and the customer, including the services delivered, the charges, and the final payment. This document is critical for accounting and legal compliance and developing a transparent, trusting connection between businesses and their consumers.
Furthermore, a carpet cleaning receipt represents the brand’s image and professionalism. It reassures customers that they are working with a trustworthy firm that provides not just the cleanliness of their carpets but also the transparency and integrity of their business processes.
Why Use Carpet Cleaning Receipt Template?
In the competitive carpet cleaning industry, using a receipt template is a strategic move to ensure efficiency, consistency, and customer trust. Here’s why adopting a carpet cleaning receipt template is beneficial:
- Pre-designed templates eliminate the need to create a new receipt from scratch for every transaction, streamlining the billing process.
- A standardized template ensures that all necessary information is consistently presented, maintaining a professional image across all customer interactions.
- A well-designed receipt template reflects the professionalism of your business, reinforcing your commitment to quality service.
- Financial transactions can be easily tracked and managed for both the business and the client, supporting smoother operational flow and accountability.
- Transparent detailing of services and costs helps build client trust, promoting transparency and clarity in every transaction.
Integrating a professionally designed carpet cleaning receipt template into your operations can significantly improve the way you conduct business. It simplifies the billing process and represents your business’s commitment to professionalism and customer service. In an industry where first impressions and trust are crucial, a well-crafted carpet cleaning receipt can be the detail that sets your service apart, encouraging repeat business and word-of-mouth recommendations.
How to Edit Carpet Cleaning Receipt Template
To edit the carpet cleaning receipt template, follow these steps to customize it for your business needs and transactions.
1. Update Company Information
Locate the section for “Company Name” and related fields (Address, City State Zip Code, Phone Number, Email Address). Click on each line or field and replace the placeholder text with your company’s actual information.
2. Edit Client Information Section
Scroll to the “Billed to” section. Here, you can enter your client’s information before printing or sending the receipt or leave these fields blank to be filled in manually later.
3. Modify Services Provided
In the “Services Provided” section, enter the specific services you offered, the quantity of each service, the rate charged, and the total cost for each service line. Repeat this process for as many services as you have provided.
4. Adjust Payment Details
Under “Payment Details,” fill in the “Subtotal,” “Taxes,” and “Total Amount Due” based on the services provided. If known, specify the “Payment Method” when creating the receipt.
5. Signature and Date
The “Client’s Signature” and “Date” sections at the bottom are for the client to sign and date, indicating acknowledgment and payment. If sending digitally, you might opt for an electronic signature option.
6. Save and Distribute
After making all necessary edits, save your document. You can print it out for in-person transactions or save it as a PDF for digital distribution.
