Among many financial documents, itemized receipts are indispensable tools for businesses and customers. These detailed records go beyond the traditional receipt by meticulously breaking down the cost of each product or service, offering a clear snapshot of every transaction.
The use of an itemized receipt template raises this clarity to new heights. By standardizing the format in which these details are presented, businesses streamline their record-keeping processes and reinforce their commitment to transparency. Templates ensure consistency across transactions, making it easier to track business expenses, prepare for tax season, and analyze spending patterns over time.
An itemized receipt is a detailed bill of all goods or services purchased, providing a comprehensive breakdown of each item’s cost, including taxes, discounts, and additional charges. Unlike a standard receipt, which offers a more generalized transaction overview, an itemized receipt includes the specifics, listing each product or service separately along with its corresponding price. This meticulous detailing not only ensures transparency but also aids in accurately tracking expenses for both businesses and consumers.
But why are itemized receipts important? For businesses, these receipts are crucial for managing inventories, understanding sales trends, and preparing accurate financial statements. For customers, they clearly understand what they’re paying for, allowing for easier budget management and the verification of charges.
The primary difference between a standard receipt and an itemized receipt lies in the level of detail. A standard receipt typically includes the total amount paid, the date of the transaction, and sometimes, a brief description of the purchase or the store’s information. It serves as proof of payment but lacks the specificity for detailed financial tracking or analysis. On the other hand, an itemized receipt lists each purchased item or provided service along with individual costs. This itemized invoice can include:
This granularity facilitates easier returns, exchanges, and warranty claims for consumers and supports businesses in managing their operations more effectively. By analyzing an itemized list in such receipts, companies gain insights into purchasing trends, customer preferences, and areas for cost reduction.
Using a template for itemized receipts can significantly speed up the generation of accurate financial documents. With a standardized format, businesses can quickly input data relevant to each transaction, reducing the likelihood of errors and omissions. This efficiency is invaluable for businesses of all sizes, saving precious hours that would be redirected to other critical operations. Moreover, digital itemized receipt templates can be integrated with accounting software, automating the entry of transaction details into financial records and further enhancing operational efficiency.
An itemized receipt template ensures that every transaction is recorded with a high level of detail, improving the accuracy of financial records. This precise tracking is crucial for monitoring business performance, as it gives a clear picture of income sources and expenditure patterns. Accurate financial data is the backbone of informed decision-making, enabling businesses to identify profitable areas, control costs, and devise strategies for growth.
Moreover, staying compliant and preparing for tax season is critical to running a successful business. Itemized receipts are used to prove income and expenses, support claims on tax returns, and ensure compliance with tax laws. These detailed receipts can also be crucial in the event of an audit, providing clear evidence of transactions.
Following these detailed steps, you can accurately and efficiently complete this document, ensuring clarity and accountability in every transaction.
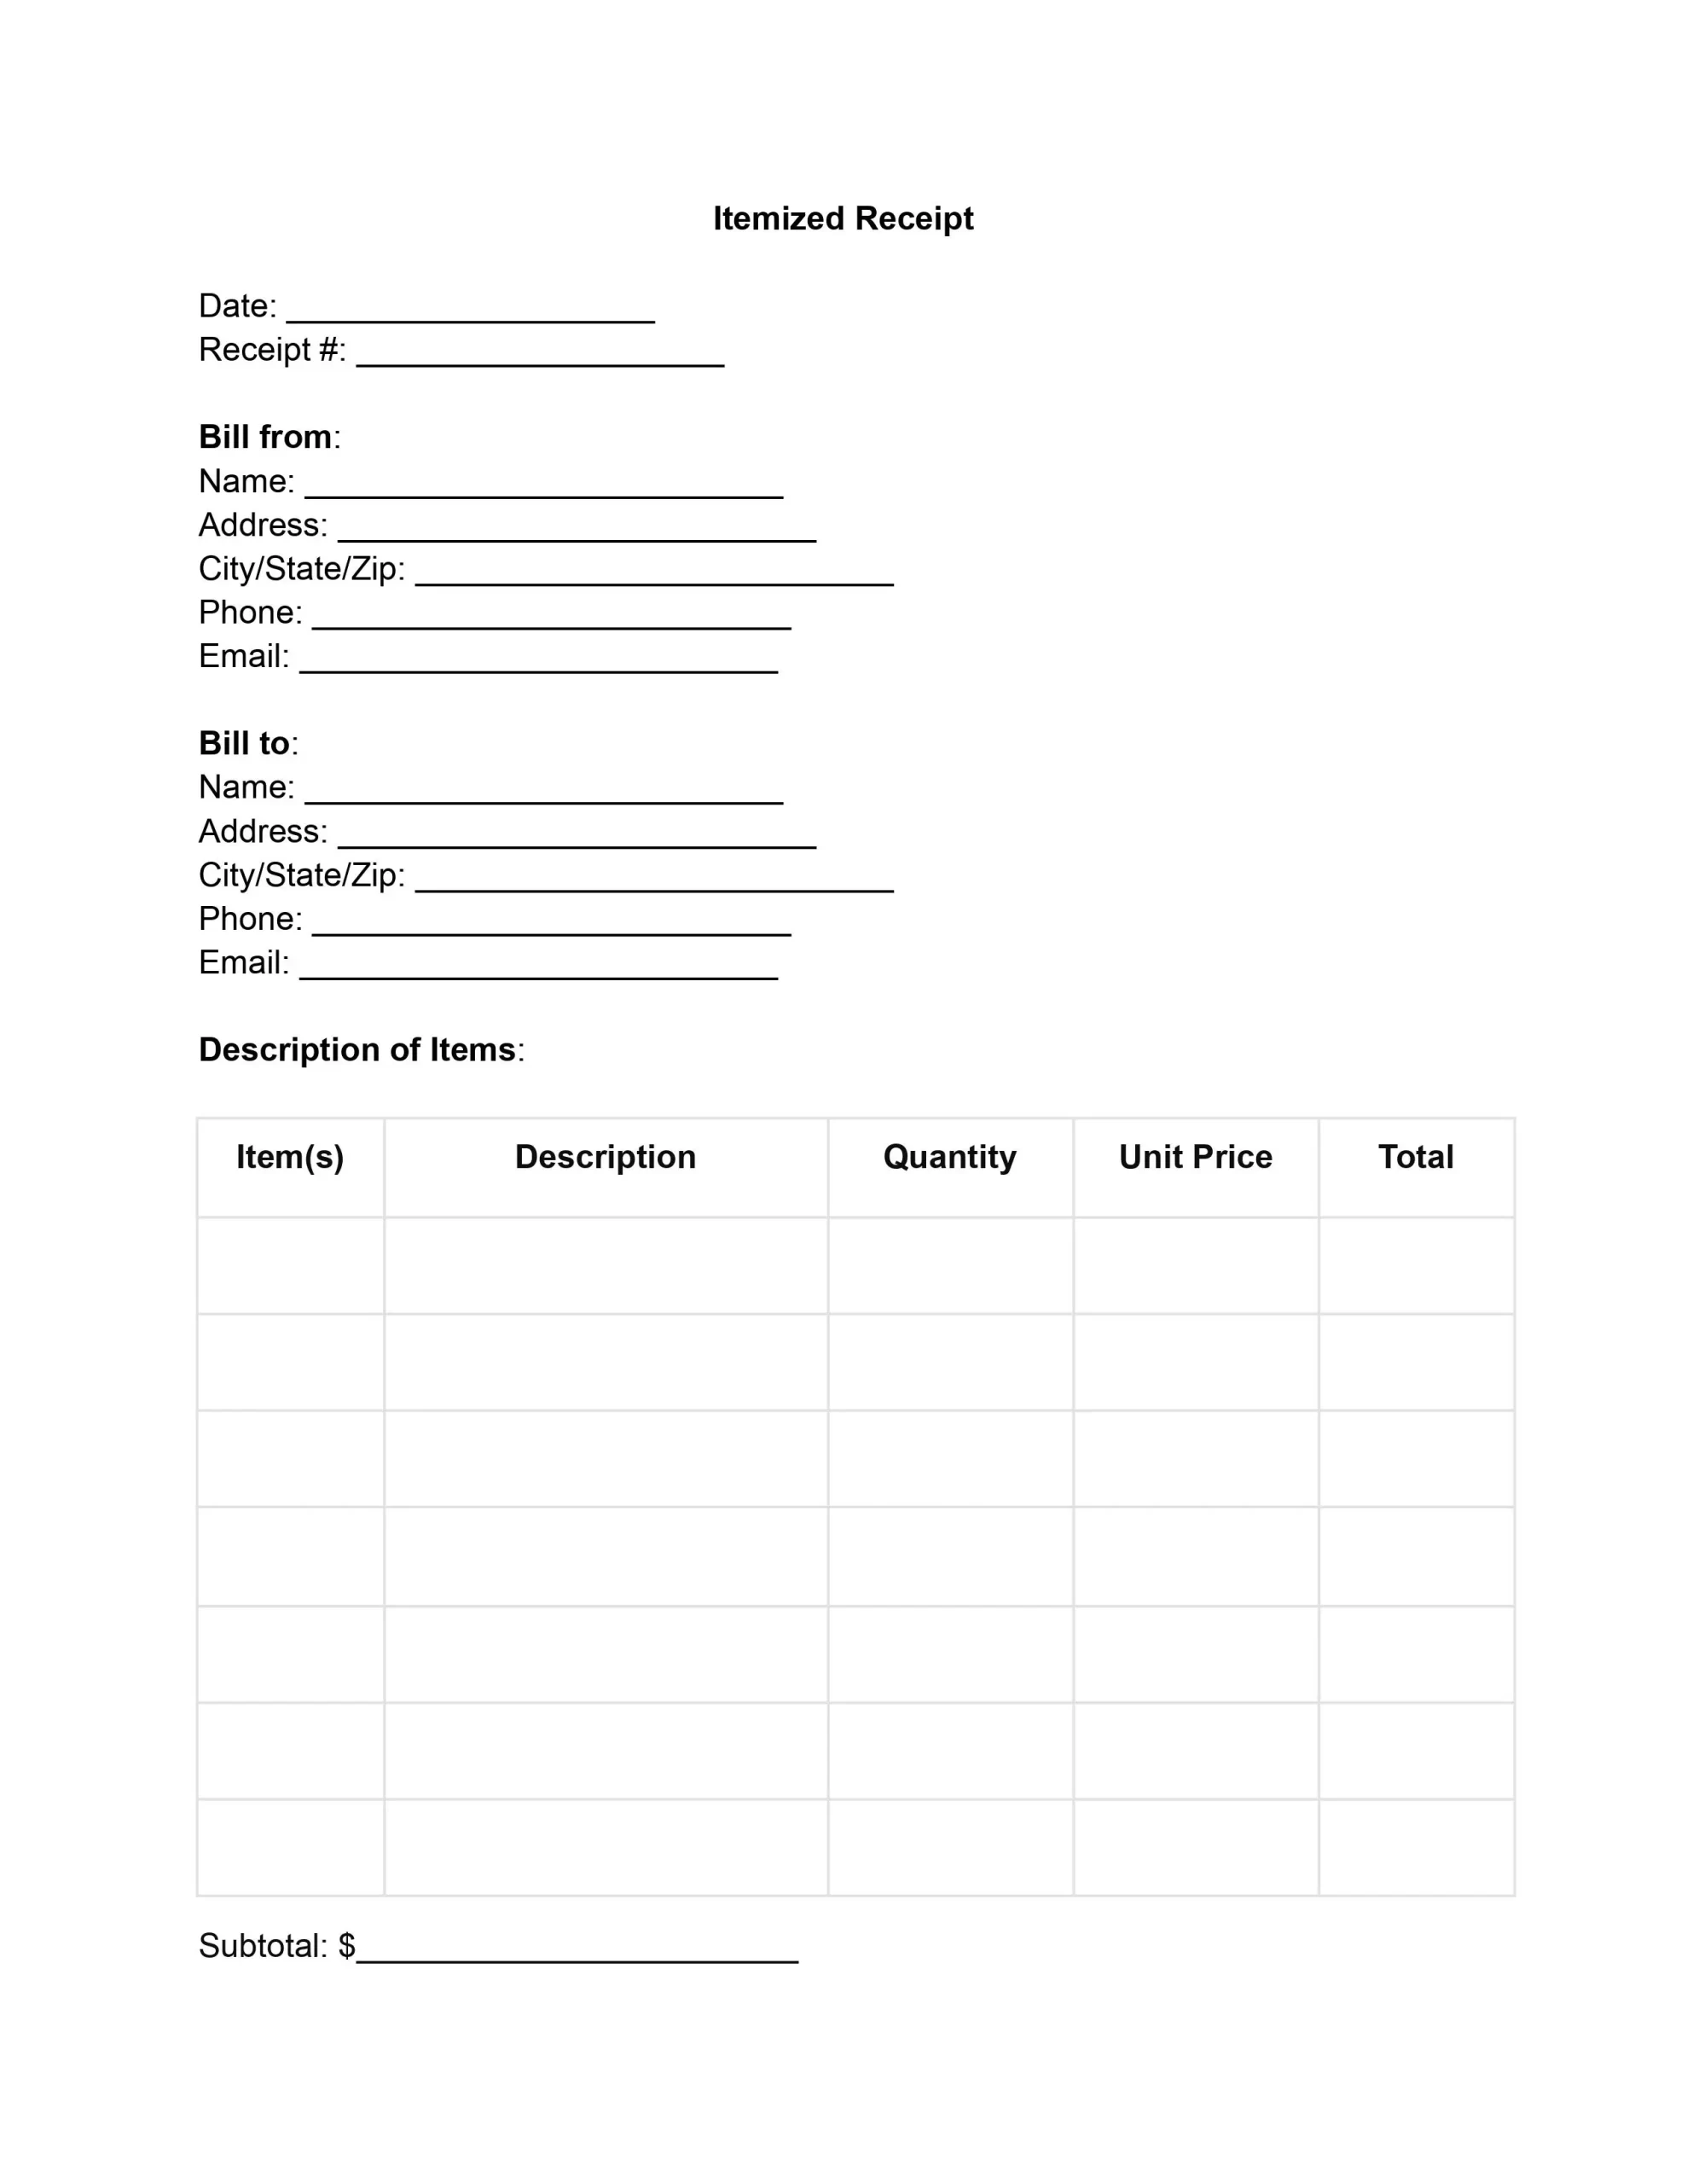
Enter the transaction’s date and the unique number distinguishing this detailed receipt from others. These details are essential for accurately tracking and managing financial records over time.
In this part of the template, input the details of the entity issuing the receipt. This includes the name of your business or your name, the business address, city, state, zip code, phone number, and email address. This information is vital for establishing the origin of the receipt and for any necessary communication.
You’ll enter the recipient’s information here, similar to the “Bill from” section. Include the customer’s name, address, city, state, zip code, phone number, and email address.
You must fill out several key details for each item or service provided. First, name the item or service in the “Item(s)” column. Then, add a brief description to clarify what is being billed. Specify the quantity of the items or the extent of services in the “Quantity” field. List the price per unit or service in the “Unit Price” column. Finally, calculate the total cost for each line by multiplying the quantity by the unit price.
Sum up all the totals from the “Description of Items” section to determine the subtotal. This figure represents the comprehensive cost before any taxes, discounts, or additional fees are applied. Then, compute the taxes due by applying the appropriate tax rate to the subtotal. This calculation must conform to the local tax regulations applicable to the products or services sold. Record the tax amount in the designated area.
If a discount applies to the transaction, subtract its value from the subtotal before adding taxes. Ensure the discount is noted, as this reduces the total amount due and serves as an essential record for both parties.
To find the total amount due from the customer, add the taxes to the subtotal and then subtract any discounts. This final amount represents the total charge for the goods or services provided. Then, mark the method of payment used by the customer — whether it’s cash, credit card, check, or another form. If the payment is made via credit card or check, include the relevant number for reference purposes.
The person responsible for the transaction must authorize the receipt with a signature. After signing, print the name of the signatory below the signature.