Maintaining the health of your vehicle is not just about keeping it running smoothly on the road; it’s about ensuring its longevity, efficiency, and safety for years to come. Among the myriad of maintenance practices, regular oil changes stand out as a cornerstone of vehicle care. They are essential for the engine’s optimal performance, reducing wear and tear by lubricating moving parts and preventing overheating. However, it’s also about the records you keep. Oil change receipts are crucial in documenting your vehicle’s maintenance history.
Oil change invoices are invaluable, not just for tracking the care your vehicle has received but also for bolstering its resale value. Prospective buyers often seek assurance that the vehicle they are considering has been well-maintained, and a history of oil changes can provide just that. An oil change record sheet can also be critical for warranty claims, proving that you have adhered to the manufacturer’s maintenance requirements.
Why Use an Oil Change Receipt Template?
Using oil change form templates offers several advantages for both service providers and vehicle owners. Such forms streamline the documentation process and ensure consistency across all transactions:
- A standardized oil change template ensures that each receipt contains all necessary information presented clearly and professionally.
- Templates save time for service providers by eliminating the need to write out each receipt by hand or create a new document from scratch for every transaction.
- Using an oil change form simplifies the record-keeping process for both the service provider and the vehicle owner. It ensures that all receipts are uniform.
- A detailed receipt can be invaluable if there’s a question about a vehicle’s warranty status or a dispute about the service performed.
- For vehicle owners, maintaining a complete service history, including oil change receipts, can significantly enhance the vehicle’s resale value.
Oil change forms can sometimes have legal and tax implications, particularly for businesses. They can serve as financial records for tax deductions related to vehicle maintenance or as evidence in legal situations. A standardized oil change invoice template’s clarity and detail are crucial in these contexts.
Filling Out Oil Change Receipts Template
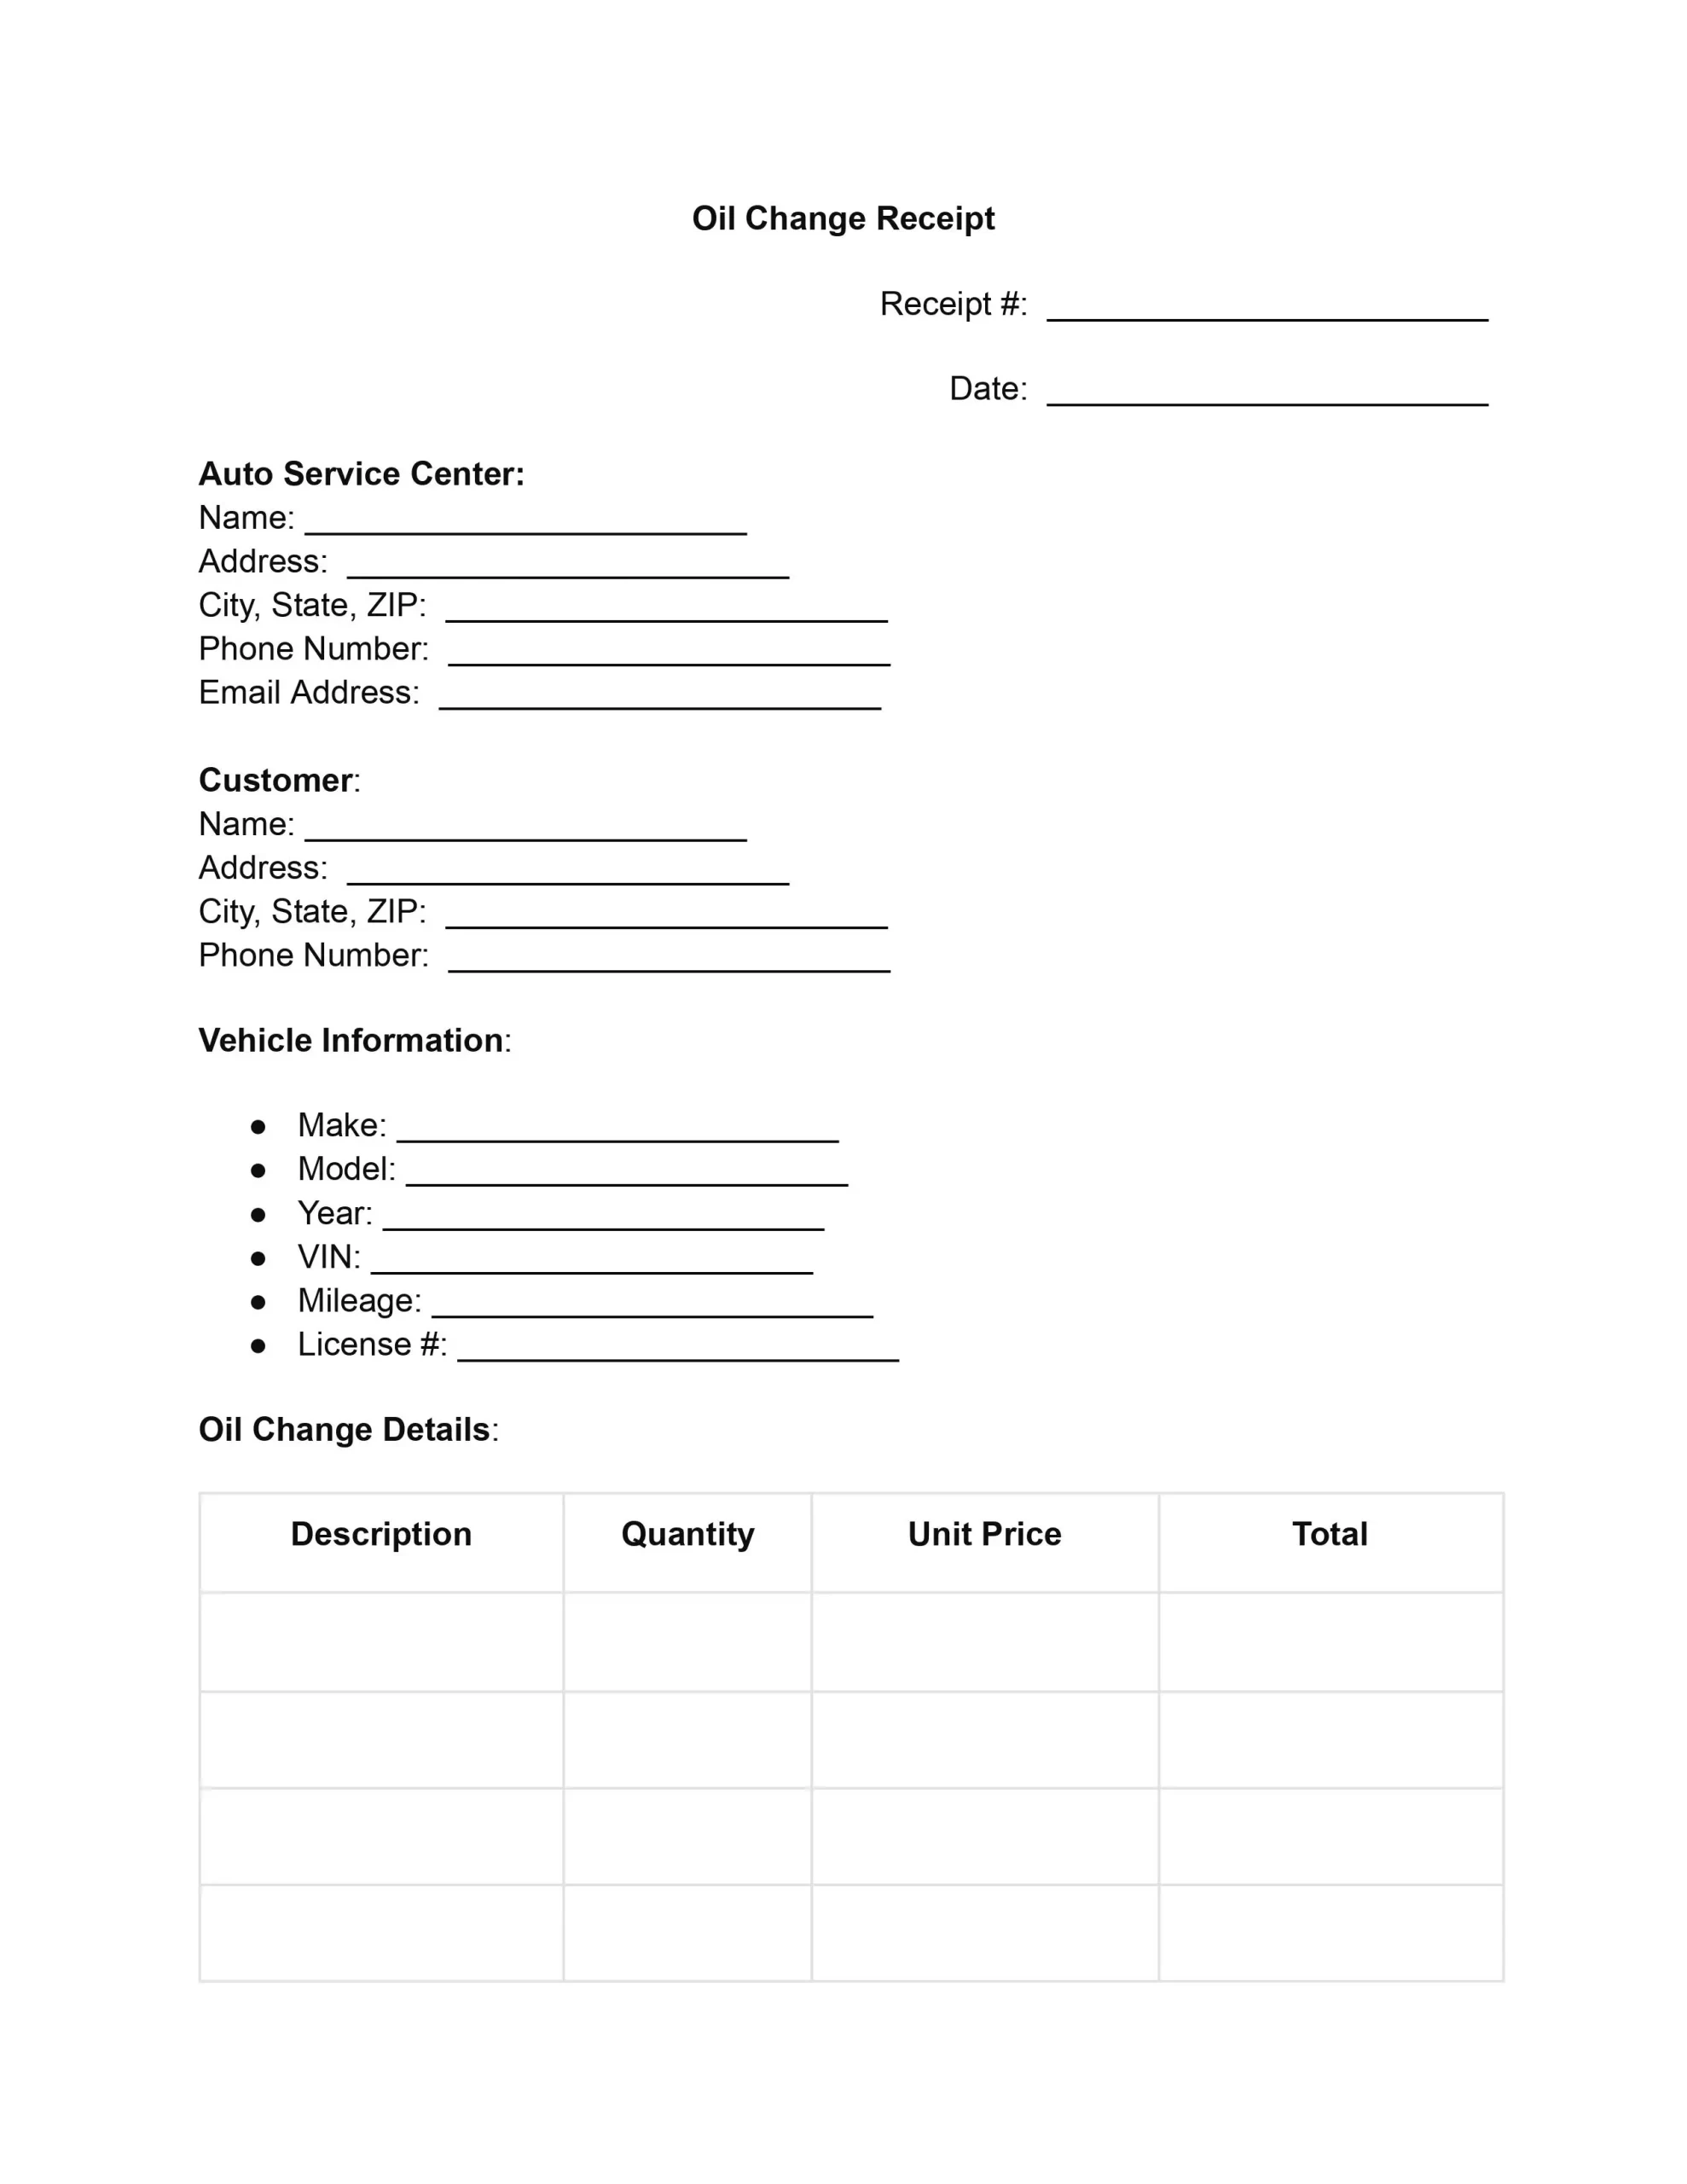
These steps will ensure that your oil change invoice is filled out completely and accurately, providing a clear record of the service performed.
1. Fill in the Receipt Number
Start by entering the unique receipt number for the transaction. This number helps track and reference the specific oil change service in future records or queries.
2. Date of Service
Record the date when the oil change service was performed. It ensures clarity on the service timeline and helps schedule future maintenance tasks.
3. Auto Service Center Information
Enter the full name of the auto service center where the oil change is being done. Include the service center’s complete address, city, state, and ZIP code. Also, fill in the contact details, including the phone number and email address.
4. Customer Information
Fill out the customer’s name and address, including city, state, and ZIP code. Provide the customer’s phone number for any follow-up or communication regarding the service.
5. Vehicle Information
Detail the vehicle’s make, model, and year to accurately identify the vehicle being serviced. Record the Vehicle Identification Number (VIN) and the current mileage to maintain a comprehensive service history. Additionally, include the license plate number for further identification purposes.
6. Oil Change Details
Describe the specifics of the oil change, including the type and quantity of oil used, as well as the unit price and total cost. Repeat this step for the oil filter and any additional services or parts provided during the oil change. This section ensures transparency and clarity regarding the services rendered and their costs.
7. Calculate the Subtotal and Taxes
Tally the costs of all services and parts listed in the oil change details to find the subtotal. This step involves adding up the totals for each item or service provided. Then, calculate and record the applicable taxes based on the subtotal. This amount will vary depending on local tax rates.
8. Total Amount Due
Add the subtotal and the taxes to determine the amount due for the oil change service. This figure represents the complete cost incurred by the customer.
9. Payment Information
Indicate the customer’s payment method, marking the appropriate box for cash, credit card, check, or other, and fill in any relevant details, such as the check or card number. This information is crucial for financial records and tracking purposes.
10. Signature and Date
The customer signs the receipt to acknowledge the services received and the accuracy of the payment information. The date of this acknowledgment is also recorded, providing a complete and finalized record of the transaction.
