For sellers, the sales receipt is more than just a transaction confirmation. It’s an important accounting document that assists with sales tracking, inventory management, and the preparation of accurate financial statements. Sales receipts streamline the reconciliation process and help estimate future sales patterns and financial plans.
On the other hand, the sales receipt becomes a sign of assurance for buyers. It provides peace of mind knowing that their purchase is documented in case they need to return the product, claim a warranty, or confirm the transaction’s legitimacy.
A sales receipt is a document that provides proof of a financial transaction between a seller and a buyer. It is issued by the seller after payment, detailing the goods or services purchased, their prices, the total amount paid, including taxes and any discounts, and the transaction date. This document confirms that the exchange has been completed and the buyer has taken possession of the goods or services.
While a sales receipt might seem straightforward, it is essential to distinguish it from similar documents such as invoices and bills of sale. The main difference between a sales receipt and an invoice is timing and function. The seller issues an invoice before the payment is made, serving as a request for payment from the buyer. A sales receipt is issued after the payment, serving as proof of purchase.
A bill of sale is a document that transfers ownership of an asset from a seller to a buyer. It is commonly used to sell items that require registration or legal documentation, such as vehicles, boats, or large-ticket items. Unlike a sales receipt, which primarily records the financial aspects of a purchase, a bill of sale legally documents the transfer of ownership. It may include additional details like warranties and the condition of the item sold.
Many individuals and businesses can benefit significantly from using our free receipt templates. This essential tool is not limited to large corporations but is equally crucial for small businesses, freelancers, and even individuals engaged in occasional sales. Here’s a closer look at who needs templates for accurate sales receipts:
Using our free receipt template streamlines the transaction process, ensuring all necessary information is captured accurately and consistently. It simplifies record-keeping and enhances customer trust by providing clear and professional documentation of their purchases.
Whether you’re a small business owner, a freelancer juggling various gigs, or an individual selling an item, having access to a customizable sales receipt template can make a substantial difference in managing financial transactions.
Following these steps ensures a comprehensive and clear sale record with all transaction details, protecting both the seller and the buyer.
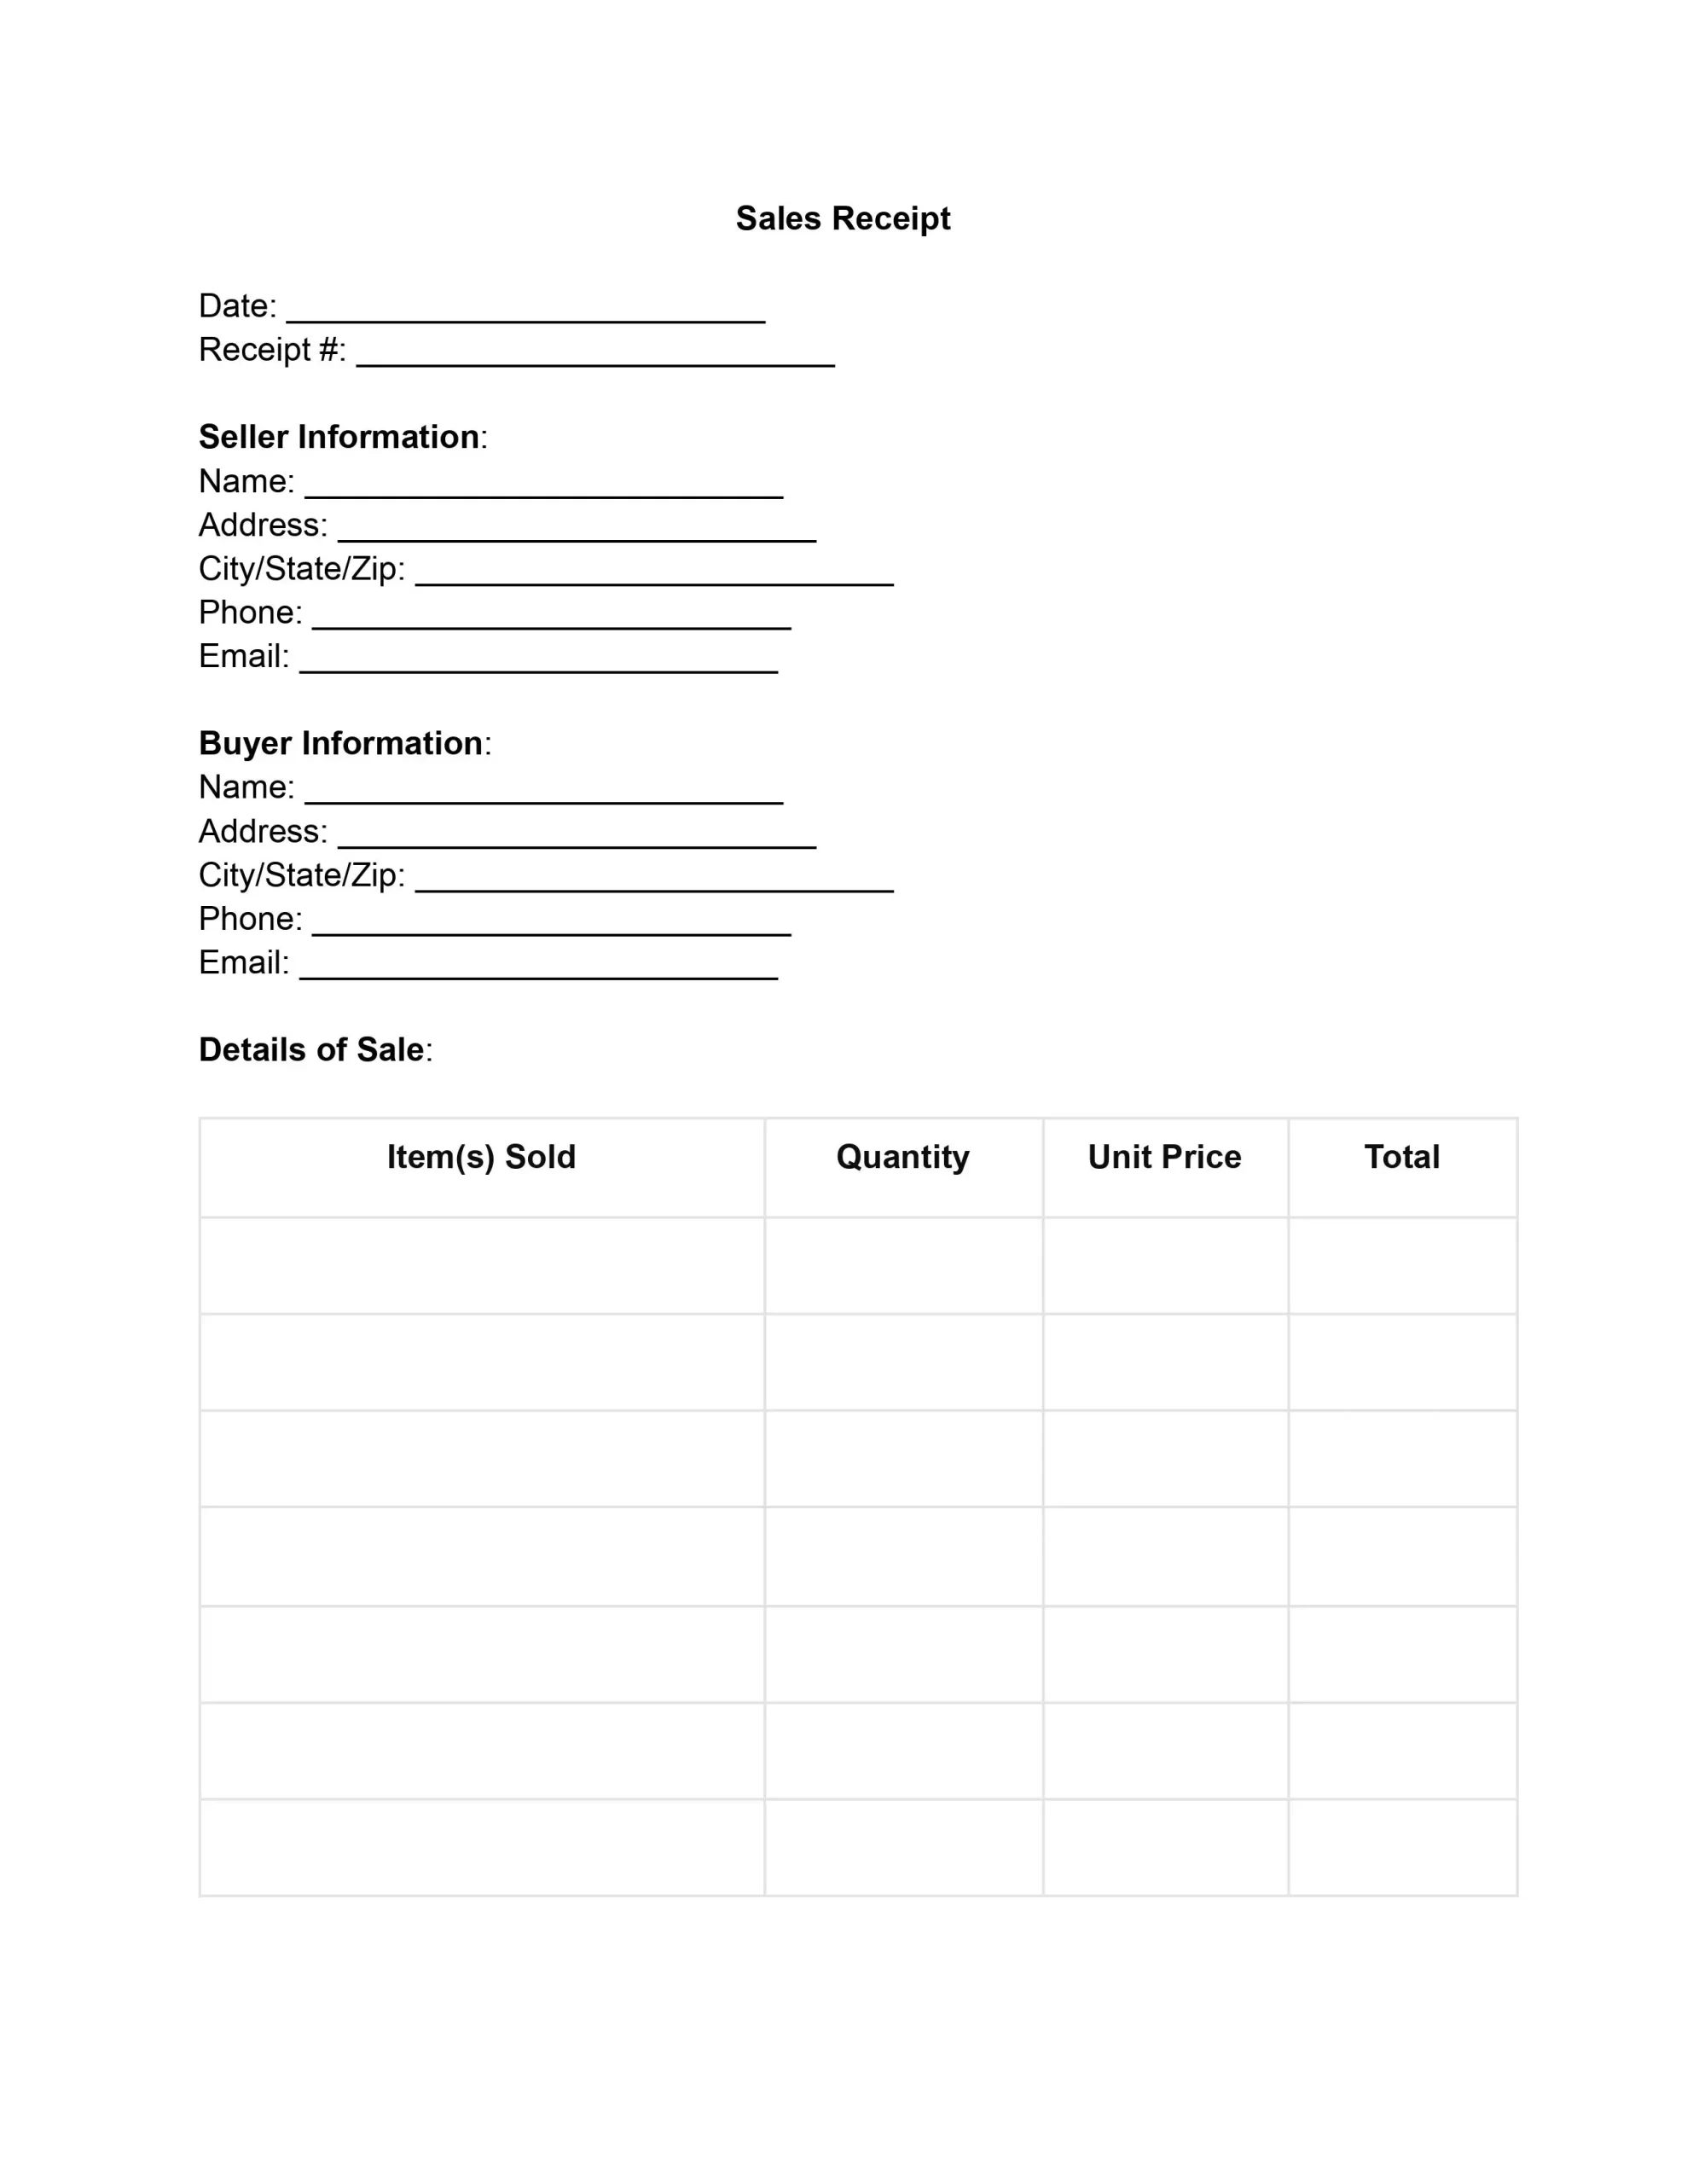
Begin by entering the current date at the top of the receipt to indicate when the sale is taking place. Next, assign a unique receipt number.
Fill in the seller’s details, including name, address (with city, state, and zip code), phone number, and email address. This section ensures the buyer knows who the seller is and how to contact them if needed.
Similar to the seller’s section, provide the complete details of the buyer. Include the buyer’s name, phone number, and email address. This information is crucial for any follow-up communication or official records.
Specify the item name, quantity, and unit price for each item sold, then calculate the total price. Repeat this step for all items involved in the sale. This part of the template helps both parties understand exactly what is being purchased and at what price.
First, add all the totals from the “Details of Sale” section to get the subtotal. Subtract any discounts from the subtotal. Then, add any sales tax and shipping costs, if applicable, to arrive at the final total amount of the sale.
Indicate the payment method (e.g., cash, check, credit card) and provide the check or card number if relevant. This part clarifies how the transaction was completed, providing an additional layer of documentation.
Write any terms and conditions that apply to the sale, such as return policies, warranty information, or other relevant details. This section is crucial for setting the buyer and seller’s expectations and obligations regarding the sale.
Finally, the seller and the buyer should sign and date the receipt. This act confirms that both parties agree to the terms of the sale, the items purchased, and the payment amount, officially concluding the transaction.