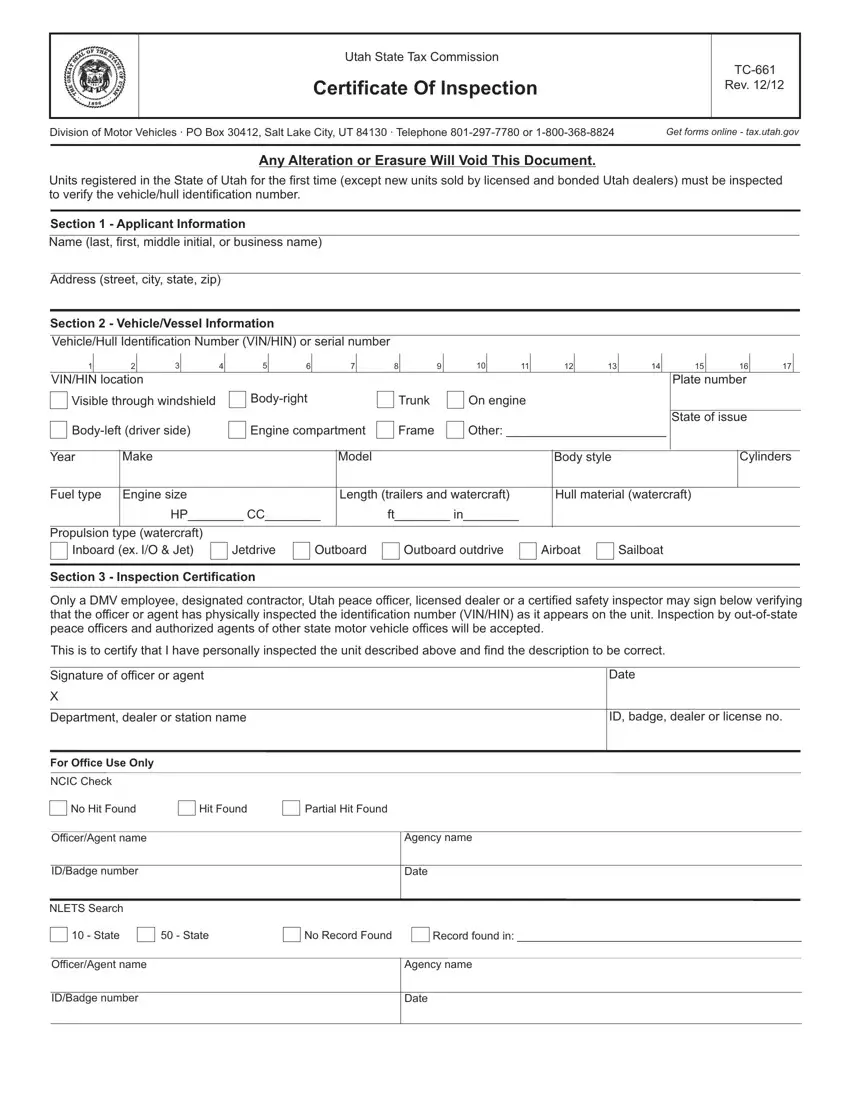
Writing the utah ven verification form file is simple with this PDF editor. Stick to the following actions to get the document ready without delay.
Step 1: The first task is to pick the orange "Get Form Now" button.
Step 2: After you have entered the utah ven verification form editing page you may notice the different functions you may use with regards to your document in the top menu.
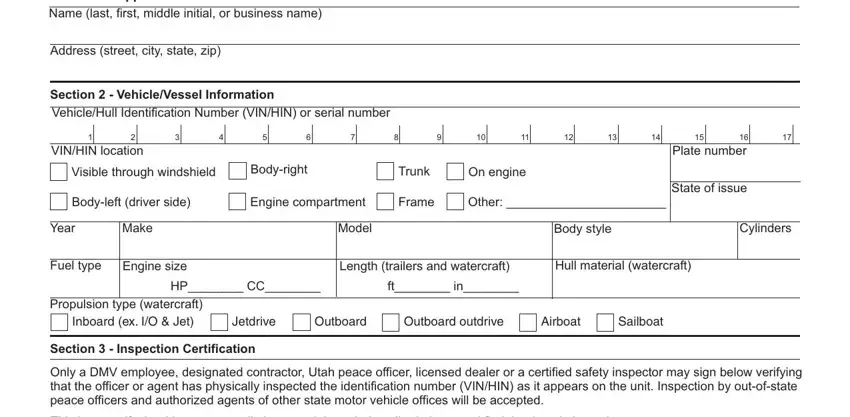
For each segment, fill in the content demanded by the software.

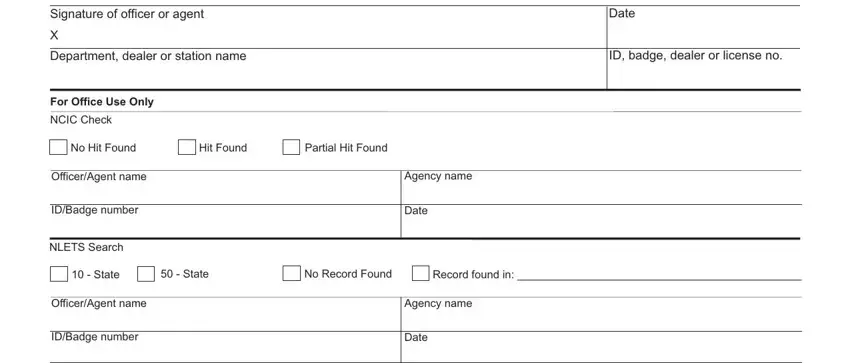
Include the essential data in the Date, ID badge dealer or license no, Signature of officer or agent, Department dealer or station name, For Office Use Only, NCIC Check, No Hit Found, Hit Found, Partial Hit Found, OfficerAgent name, IDBadge number, NLETS Search, Agency name, Date, and State part.

Step 3: Select the "Done" button. Finally, you may transfer the PDF document - save it to your electronic device or deliver it by using email.
Step 4: Make sure to stay clear of possible worries by having minimally 2 duplicates of the file.


