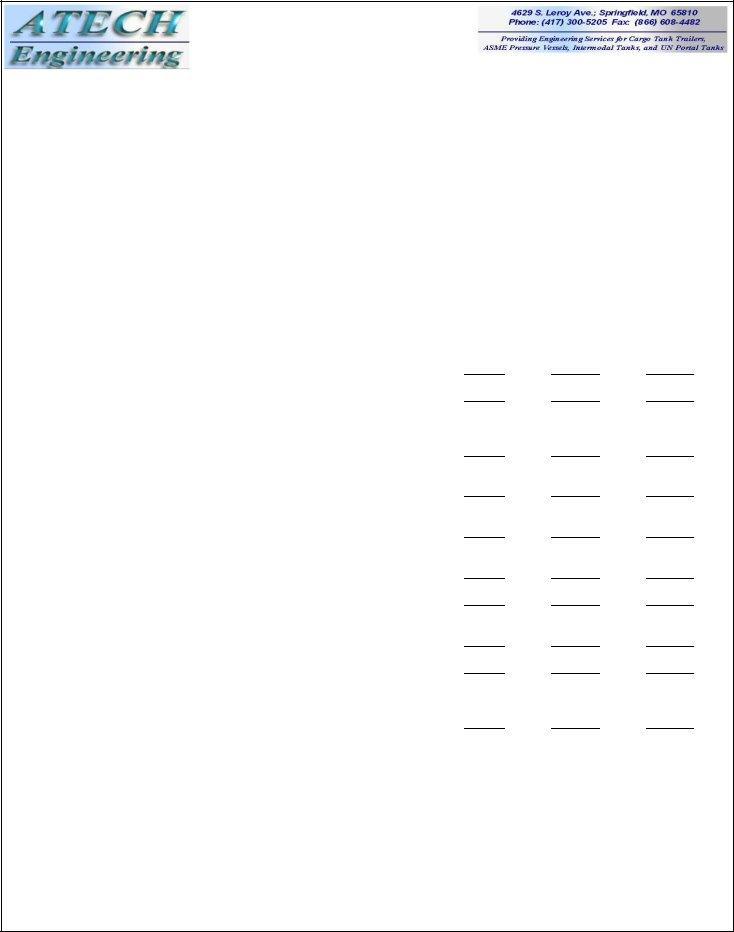
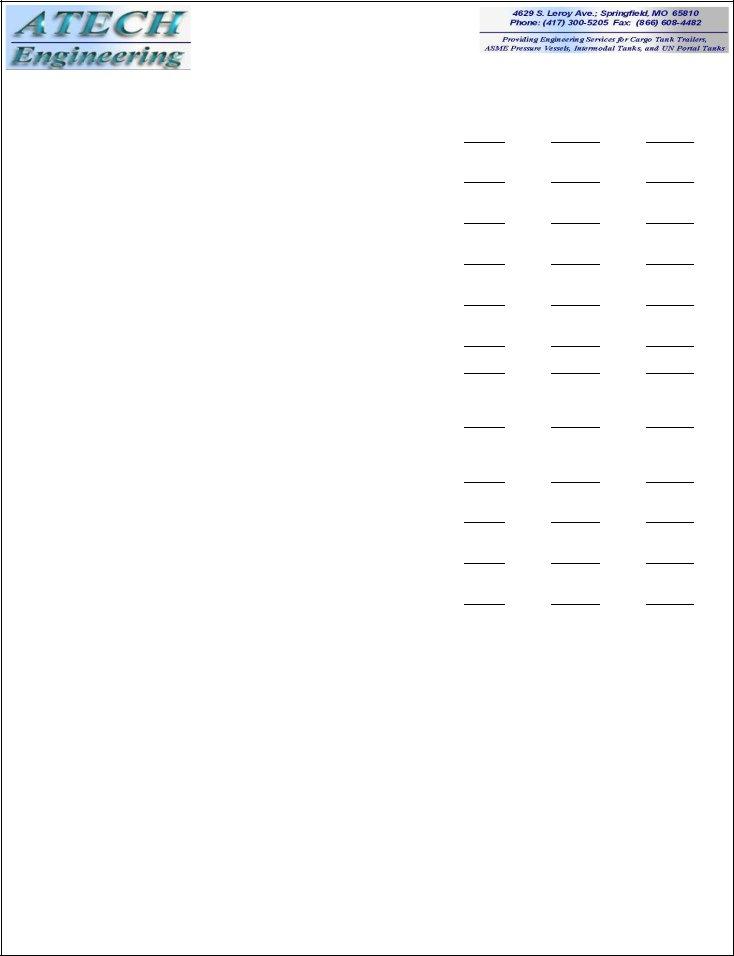
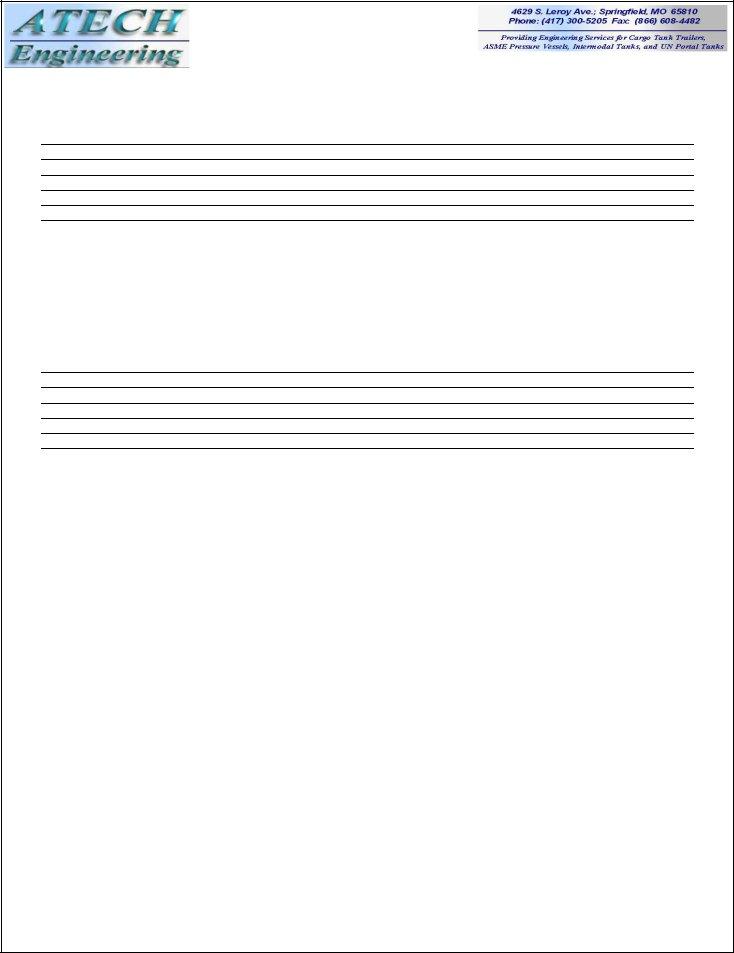
The Visual Inspection form, specifically the MC 306/DOT 406 Checklist/Inspection Report for External Visual Inspection, serves as a comprehensive tool designed to ensure the safety and compliance of cargo tanks used for the transportation of hazardous materials. Spanning three pages, this document outlines a detailed process for inspecting various components of a cargo tank, including but not limited to the material and manufacture details, tank specifications like maximum allowable working pressure (MAWP), test pressures, structural integrity, and the condition of safety and operational features. It mandates checks on items such as the data plate, shell and heads, double head voids, upper coupler assembly, and the functionality of valves and emergency shutoff systems. Each section of the report specifies whether the inspected item complies with regulations, requires repairs, or necessitates further remarks, making it a pivotal document in maintaining the highest standards of safety and regulatory compliance. This form not only highlights mandatory checks marked with an asterisk but also advises on repairs, with sections dedicated to remarks and the outcome of the inspection, including whether the unit is returned to service or removed. Importantly, the certification of the annual External Visual Inspection requires signatures from both the inspection agency or cargo tank facility, and the cargo tank owner, underscoring the shared responsibility in maintaining safety standards.
| Question | Answer |
|---|---|
| Form Name | Visual Inspection Form |
| Form Length | 3 pages |
| Fillable? | No |
| Fillable fields | 0 |
| Avg. time to fill out | 45 sec |
| Other names | mc 306 visual form, mc 306 checklist form, engineering mc 306 inspection form, atech mc306 |

MC 306/DOT 406 CHECKLIST/INSPECTION REPORT FOR
EXTERNAL VISUAL INSPECTION (Page 1 of 3)
CARRIER/OWNER |
|
|
|
|
|
|
|
|
|
|
|
|
|
|
|
|
DATE: |
|
|
|
||
FLEET # |
|
|
|
|
SERIAL/VIN # |
|
|
|
|
|
|
|
|
|
|
C.T. MFG |
|
|
|
|
|
|
DOT SPEC. NO. |
|
|
|
MATL. |
|
|
|
|
|
|
|
|
|
|
|
DATE MFG. |
|
|
|
|
|
|
|
|
|
|
|
|
|
|
|
|
|
|
|
|
|
|
|
|
|
|
|||
MAWP |
|
psi |
TEST PRESSURE: |
|
|
psi |
MINIMUM THICKNESS: |
|
|
|
SHELL |
|
|
|
HEADS |
|||||||
COMPARTMENT SIZES, F to R |
1 |
|
|
2 |
|
|
|
3 |
|
|
4 |
|
|
5 |
|
|
|
|
||||
TOTAL CAPACITY. |
|
|
|
Gallons |
|
DBL. BULKHEADS? |
|
|
|
|
INSULATED? |
|
|
LINED? |
|
|||||||
TYPE SERVICE: |
|
|
CORROSIVE TO SHELL? |
|
|
|
|
|
DEDICATED SERVICE? |
|
|
|
|
|
|
|
|
|||||
PRODUCT(s) |
|
|
|
|
|
|
|
|
|
|
|
|
|
|
|
|
|
|
|
|
|
|
DOT mandatory items indicated with “*” on checklist.
|
|
|
|
Repairs |
|
See |
Item No. |
|
Activity |
Complies |
Needed |
|
Remarks |
1Data plate: Attachment to tank, entries legible, no paint, corrosion
2* |
Shell and heads: Condition of welds, dents, gouges, corrosion or |
|
abrasion, possible need for thickness testing. Obvious structural |
|
defects in shell, frames, outriggers, |
3Double head voids: If present, verify bottom vent open, no accumulated product in void.
4* |
Upper coupler assembly: Condition of plate, corrosion, deformation, |
|
lubrication, bolt tightness, king pin wear or deformation. |
5Landing gear: Corrosion or rust, condition of welds, frame distortion above gear, bolt tightness, support braces secure, gear operation.
6Placard holders: Attachment to tank, condition of clips and hinges.
7* |
Bolted attachments: Under carriage, landing gear structure, cabinets, |
|
ladders, fenders, rear bumper or other important attachments. |
8Hose tubes, troughs, or racks: Condition of tube, end covers and latches,
9* |
Piping, valves and gaskets: Check security of hangers, bolted connections |
|
and gaskets, operation of valves, adapters and caps. Assure brake interlock |
|
bars are securely mounted and function as designed. |
10* |
Internal, self, closing, stop valve operations: System must have three means |
|
of closure, normal, remote (or emergency trip) and fusible. Verify proper |
|
function of valve and trip. Check cable or air operating system: Cable, |
|
adjustment, condition and lubrication of cables and tubing system and presence |
|
of fusible devices, often located in E.V. operator. Air system, check function |
|
and leak integrity of air operating system including remote trip, presence of |
|
fusible device, function of any associated brake interlock. |

MC 306/DOT 406 CHECKLIST/INSPECTION REPORT FOR
EXTERNAL VISUAL INSPECTION (Page 2 of 3)
|
|
|
|
Repairs |
|
See |
Item No. |
|
Activity |
Complies |
Needed |
|
Remarks |
11Overfill sensors: Leak and moisture integrity, installation tightness, condition of electrical connections.
12Ladders, vertical rails straight and structurally sound. Rungs, clear of obstructions and secure to verticals. Mounting to tank structure sound.
13Walkways: level, well mounted and walking surface clean and slip resistant. note particularly condition of paint on
14Vapor Recovery System: Condition of flexible components, integrity of connections, condition of vapor return line, adapter and dust cap.
15Static Grounding Connections: Present and tight, including condition and connection of internal grounding cables.
16Gauging Devices: Security of marker, rod, braces and supports.
17* |
Manhole Assemblies, Evidence of leakage, impact damage to cover or |
|
fill covers, condition of collar and fill cover gaskets and sealing surfaces, |
|
clamping ring and other attaching hardware. |
18* |
Pressure Relief Devices: Verify presence and condition of normal and |
|
emergency vent for each compartment, verify correct amount |
|
of vent capacity for size of vessel. |
19Caution and Safety Labels: Check condition and presence of all labels, replace as necessary.
20Supply “Emergency Shutoff” decal near internal valve remote closure device per Paragraph 172.328 (d) after October 3, 2004.
21* |
Tank Markings: Date (month & year) and service symbol (V) if |
|
cargo tank is qualified to return to service. |
22Rear bumper: check for damage and appearance to meet Specifications.
Note: |
If, in the unusual event, the cargo tank being inspected, is fabricated with a steel shell and steel external rings, |
|
thickness test the rings as instructed on following page. |

MC 306/DOT 406 CHECKLIST/INSPECTION REPORT FOR
EXTERNAL VISUAL INSPECTION (Page 3 of 3)
REMARKS (use additional sheets if necessary)
Ring thickness test, when required: Measure ring thickness in four symmetrical positions around the circumference.
If any reading varies from the average, by more then 10%, thickness test shell internally, in area, covered by the ring.
Meets minimum thickness? |
|
Does not comply? |
|
[Refer To |
Defects found and corrected:
Disposition of unit: |
Return to Service |
|
Removed From Service |
|
|
|
Inspector or CT Facility: |
|
|
Cargo Tank Owner or Representative: |
|||
Name: |
|
|
|
Name: |
|
|
Address: |
|
|
|
Address: |
|
|
|
|
|
|
|
|
|
Signed: |
|
|
|
Signed: |
|
|
Date: |
|
|
|
Date: |
|
|
DOT CT # |
|
|
|
DOT CT # |
|
|
IMPORTANT: Certification of the annual External Visual Inspection must be signed by both the Inspection Agency/CT.
Facility, and the cargo tank owner, and must be retained in the owner’s cargo tank file throughout his ownership and one year thereafter.