The Hawaii general financial power of attorney is a formal document that permits an individual (referred to as the “principal”) to assign another individual (known as the “agent”) the power to manage a variety of tasks on their behalf. These tasks range from overseeing financial and business dealings to purchasing or selling real estate, administering bank accounts, and managing tax-related matters.
The general power of attorney is typically non-durable, meaning it will automatically terminate if the principal becomes incapacitated or mentally incompetent. This distinguishes it from a durable form, which remains in effect even if the principal loses the capacity to make decisions. If you need to prepare specific Hawaii power of attorney forms, see our dedicated page for that state.
Build Your Document
Answer a few simple questions to make your document in minutes
Save and Print
Save progress and finish on any device, download and print anytime
Sign and Use
Your valid, lawyer-approved document is ready
The legal framework governing general powers of attorney in Hawaii is outlined in the Hawaii Revised Statutes, specifically Sections 551E-1 to 551E-63. These laws ensure that a designated agent can act on behalf of the principal, wielding the authority granted through a signed agreement to manage various financial and personal affairs. Key requirements include:
Under Section 551E-6, a power of attorney in Hawaii ends with the principal’s death, incapacity, revocation, completion, or changes in the agent’s status. These provisions help the principal manage their affairs by ensuring the agent acts within a legal framework that protects everyone’s interests.
| Document Name | Hawaii General Power of Attorney Form |
| Other Name | Hawaii Financial Power of Attorney |
| Relevant Laws | Hawaii Revised Statutes, Sections 551E-1 to 551E-63 |
| Avg. Time to Fill Out | 10 minutes |
| # of Fillable Fields | 41 |
| Available Formats | Adobe PDF |
This guide provides step-by-step instructions for completing the Hawaii general power of attorney form. The process requires careful attention to detail to ensure the document is legally binding.
1. Principal’s Information
Begin by entering the principal’s full name and current residential address in the designated spaces. This identifies the person who is granting the power of attorney.
2. Agent’s Information
Next, fill in the agent’s full name and residential address. The agent is the individual who will be granted the authority to act on behalf of the principal.
3. Granting Powers
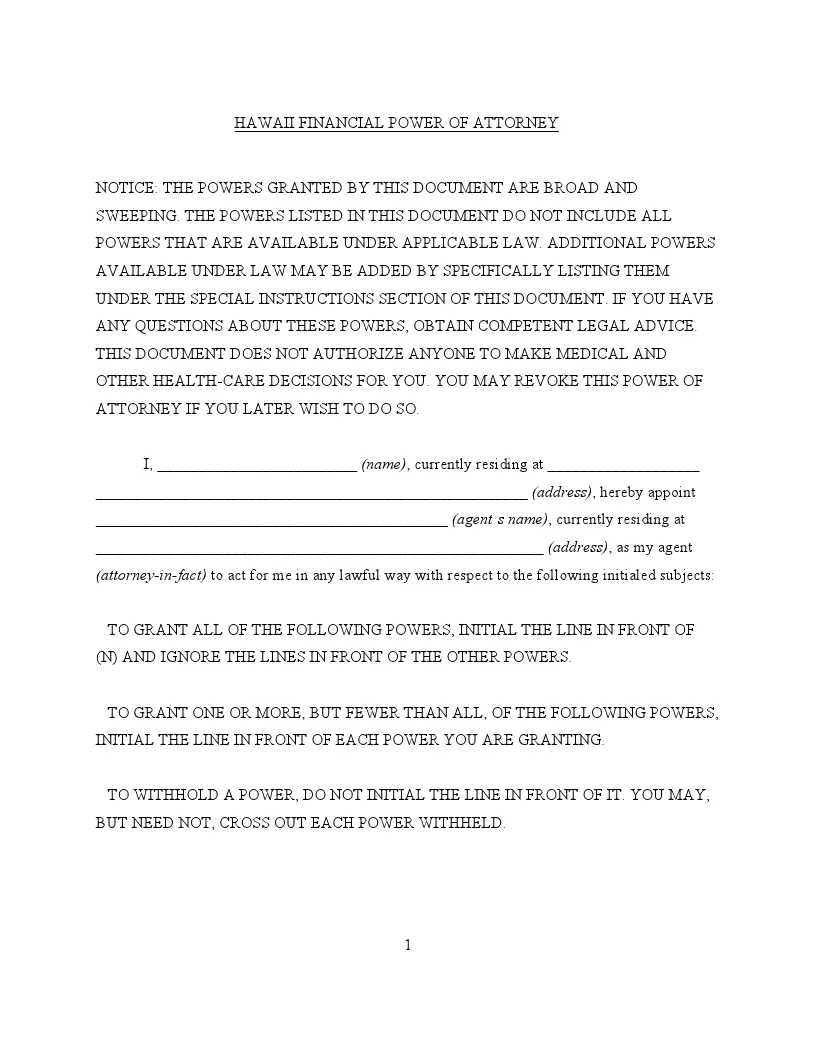
The form provides various powers that the principal can grant to the agent. If the principal wishes to grant all the listed powers, they should initial the line next to the statement “All of the Powers Listed Above.” If the principal only wants to grant specific powers, they must individually initial each corresponding line for the desired powers. Powers include real property transactions, banking, insurance, and more.
4. Special Instructions
In the section for special instructions, the principal can specify additional powers or limitations. For instance, the principal may include powers related to medical reimbursements or access to digital assets. These instructions further customize the agent’s authority.
5. Effective Date
Decide when the power of attorney will become effective. The principal can choose for it to be effective immediately upon signing or on a specified future date. You can do this by initialing the appropriate line and, if applicable, entering the date.
6. Termination Date
Specify when the power of attorney will terminate. Options include termination upon written revocation by the principal, on a specified date, or upon the principal’s incapacitation. Initial the relevant line and provide any necessary dates.
7. Multiple Agents
If more than one agent is designated, outline how they should act. Agents can be authorized to act independently or require a majority decision. This should be clearly stated to avoid confusion.
8. Successor Agent
A successor agent should be named if the primary agent cannot serve. Provide the full name and address of this alternate agent. This aspect ensures continuity in the management of the principal’s affairs.
9. Signatures
The principal must sign and date the document in the presence of a notary public. This part formalizes the general power of attorney and verifies the principal’s identity and intent. The notary will also sign and seal the document.
10. Acknowledgment
The notary will complete the acknowledgment section, verifying the principal’s identity and confirming the execution of the document.