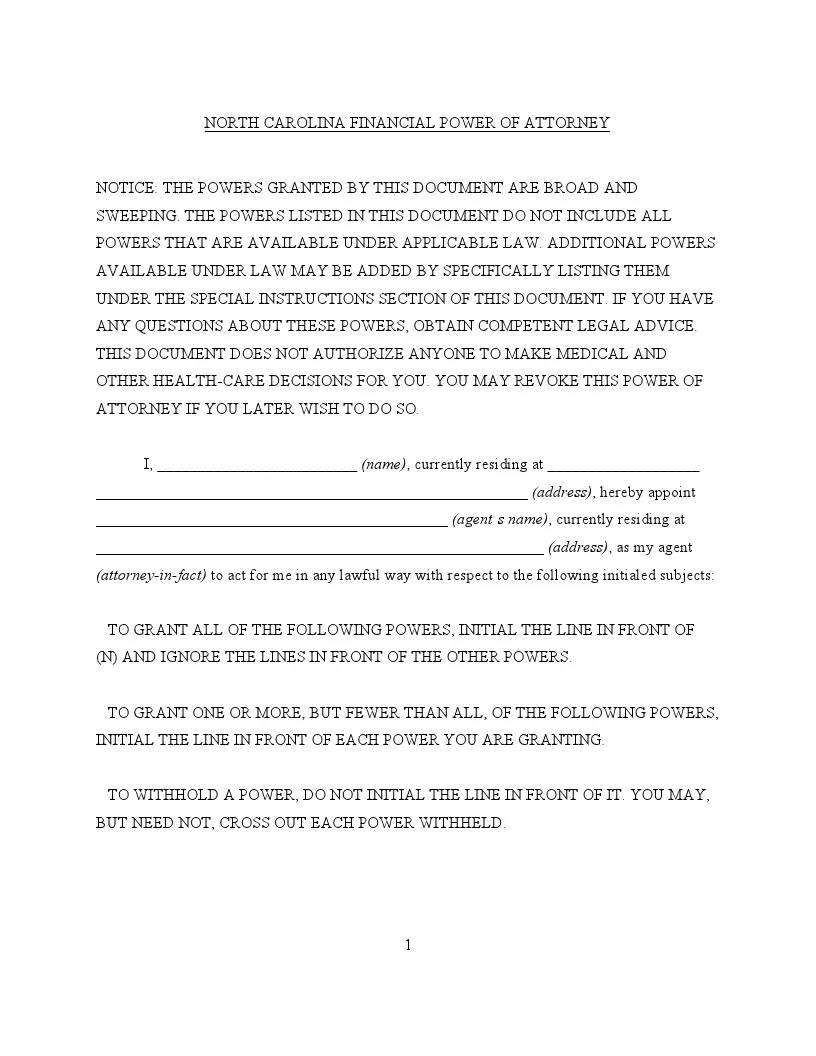
The North Carolina general financial power of attorney is a legal document that enables an individual (known as the principal) to grant another person (referred to as the agent) the authority to manage a broad spectrum of legal and financial responsibilities. This authority covers numerous activities, including overseeing finances, making investment choices, and conducting business dealings. This document gives the agent extensive powers to act on the principal’s behalf.
In North Carolina, a principal must sign the general power of attorney form, which is usually required to be notarized for legal validity. This document endows the agent with considerable powers, which continue unless the principal revokes it or becomes incapacitated or deceased. However, if the form is specified as durable, a power of attorney will still hold even if the principal loses capacity. This ensures the agent can continue to act in the principal’s stead under those circumstances. Check out all North Carolina POA forms to get this document.
Build Your Document
Answer a few simple questions to make your document in minutes
Save and Print
Save progress and finish on any device, download and print anytime
Sign and Use
Your valid, lawyer-approved document is ready
The North Carolina General Statutes, Sections 32C-1-101 to 32C-4-403, outline general power of attorney regulations:
The North Carolina Law allows for a power of attorney to be activated by a future event or contingency, with specified individuals authorized to declare such conditions met. This structure ensures that the principal can tailor the document to specific needs.
| Document Name | North Carolina General Power of Attorney Form |
| Other Name | North Carolina Financial Power of Attorney |
| Relevant Laws | North Carolina General Statutes, Chapter 32C |
| Avg. Time to Fill Out | 10 minutes |
| # of Fillable Fields | 41 |
| Available Formats | Adobe PDF |
Following these steps ensures that your North Carolina general power of attorney form is filled out correctly and is ready for use according to your needs.
1. Fill in the Principal Information
Begin by providing your complete name and current residential address, as indicated at the top of the form. This information officially identifies you as the principal, the individual granting authority to another party to manage specified aspects of your personal and financial affairs.
2. Appoint your Agent
Enter the full name and residential address of the person you appoint as your agent, also known as the attorney-in-fact. This individual will receive the authority to act on your behalf in the capacities outlined in the document based on the powers you assign.
3. Assign Powers
Indicate the specific powers you wish to delegate to your agent by initialing next to each relevant item on the list. The powers range from handling real property transactions to managing financial institution dealings. If you intend to grant your agent all the powers available, you only need to initial where it states, “All of the Powers Listed Above,” simplifying the process.
4. Include Special Instructions
Use the “Special Instructions” section to specify any additional powers, limitations, or conditions not explicitly listed on the form but are crucial for managing your affairs. These instructions will guide your agent’s actions beyond the standard provisions.
5. Set the Effective Date
Specify when a power of attorney will take effect. You can choose for it to be effective immediately upon signing or delay its activation until a specified future date or the occurrence of a designated event, providing flexibility in how the powers are implemented.
6. Determine the Termination Date
Decide on the circumstances under which a power of attorney will cease to be effective. You can end it on a specific date, upon your revocation of the document, or upon your incapacitation as defined within the document. This step ensures that the power of attorney aligns with your long-term intentions.
7. Sign and Date the Form
After ensuring all parts of the form reflect your wishes accurately, sign and date it in the designated area at the end of the document. This act legally binds the document, provided all entries are completed as required.
8. Notarization
The notary completes this process by filling out the acknowledgment section, which certifies the document’s validity.
