Oregon Limited Power of Attorney Form
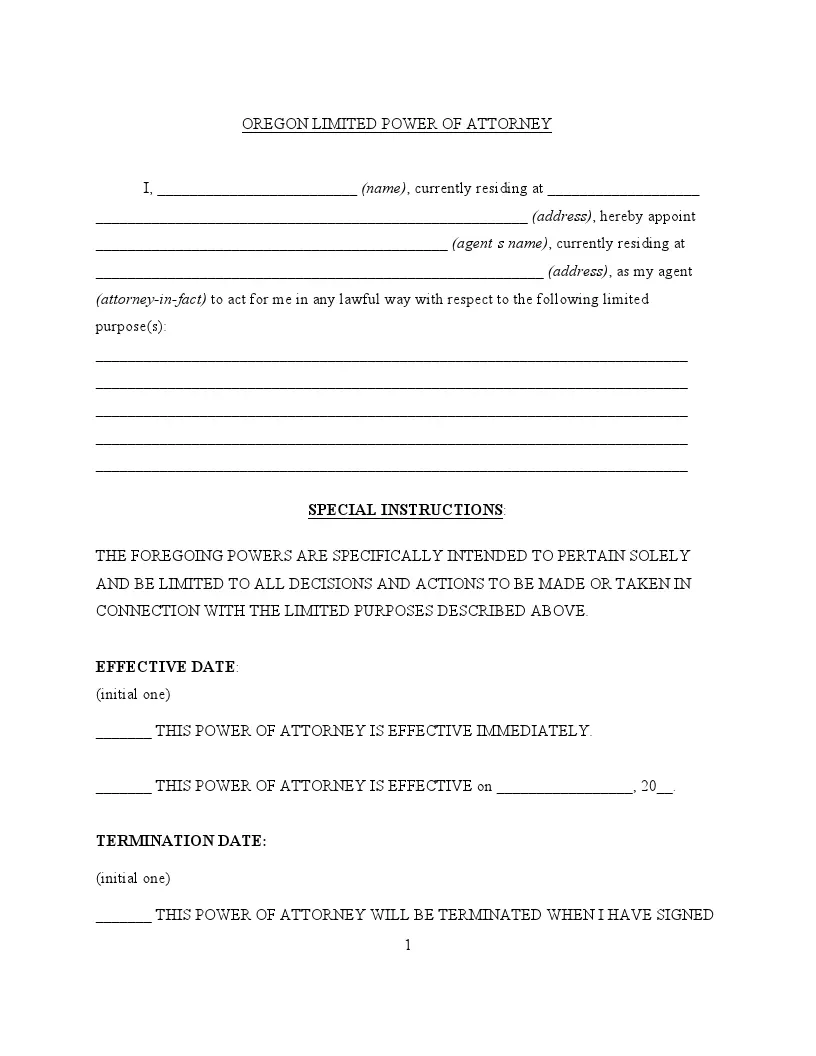
The Oregon limited power of attorney grants someone, referred to as the agent or attorney-in-fact, the authority to act on behalf of another person, known as the principal, in specific matters for a defined period. This form is tailored to particular tasks or events, distinguishing it from a general power of attorney covering a broader range of actions.
For example, a limited power of attorney could authorize the agent to handle real estate transactions, financial dealings, or personal business matters while the principal is unavailable due to travel or illness. It is also commonly used to allow the agent to handle particular transactions, such as selling a car or managing certain assets.
You can get all Oregon power of attorney forms online to appoint someone to manage your financial or health-related decisions.

Build Your Document
Answer a few simple questions to make your document in minutes
Save and Print
Save progress and finish on any device, download and print anytime
Sign and Use
Your valid, lawyer-approved document is ready
The laws governing the execution of a limited power of attorney are outlined under Title 13, Chapter 127 of the Oregon Revised Statutes. Although there is no designated section for signing protocols, it is recommended that the document be notarized to ensure the validity of each signature. The considerations for a valid limited power of attorney in Oregon include:
- The individual granting the power must sign the document.
- The appointed agent should also sign, acknowledging their acceptance of the responsibilities.
- Both signatures should ideally be notarized for the document’s legal standing.
Following these practices will help solidify the legal authority of the power of attorney, ensuring that it will be enforceable in the event of a dispute.
Oregon Limited Power of Attorney Form Details
| Document Name | Oregon Limited Power of Attorney Form |
| Other Name | Oregon Special Power of Attorney |
| Relevant Laws | Oregon Revised Statutes, Title 13, Chapter 127 |
| Avg. Time to Fill Out | 8 minutes |
| # of Fillable Fields | 32 |
| Available Formats | Adobe PDF |
Filling Out Oregon Limited POA
Below is a step-by-step guide to help you accurately fill out the Oregon limited power of attorney.
1. Enter the Principal’s Full Name
Please start by entering your full name (as the principal) in the space provided at the beginning of the document. This will identify you as the individual granting the power.
2. Specify the Attorney-in-Fact
Provide the complete name and address of the individual you are designating as your agent for legal matters. This person will have the authority to act on your behalf according to the limits set in the document.
3. Define the Powers Granted
List the specific powers you are granting to your attorney-in-fact. These can include decisions related to property, financial transactions, or other specified actions. Ensure that each power is clearly described to avoid any ambiguity.
4. Set the Duration
Indicate when the power of attorney will take effect and if it has an expiration date. Some powers of attorney are effective immediately upon signing, while others may be set to commence on a future date.
5. Acknowledgment by Attorney-in-Fact
Have the attorney-in-fact agree to the appointment and the terms outlined by signing the document. It confirms their willingness to act and perform in your best interests.
6. Sign and Date the Form
You (the principal) must sign and date the form. This official act confirms your intention to grant the specified powers to the designated attorney-in-fact.
7. Notarization
The document should be signed in the presence of a notary public. The notary will verify your identity and sign the document, adding a seal that certifies the form’s validity under state law.
Once the form is fully executed, distribute copies to relevant parties, such as financial institutions, healthcare providers, or any other entities that may require it. Keep the original document in a safe but accessible place.
