Car detailing involves thoroughly cleaning and reconditioning a vehicle inside and out to restore it to like-new condition. Unlike a standard car wash, which generally covers exterior cleaning, detailing involves a more profound, more meticulous process.
A car detailing receipt is a document provided by a car detailing service to a customer upon completion of work. It serves as proof of payment and outlines the services performed on the customer’s vehicle. This guide will help you understand and implement a practical and professional car detailing receipt template.
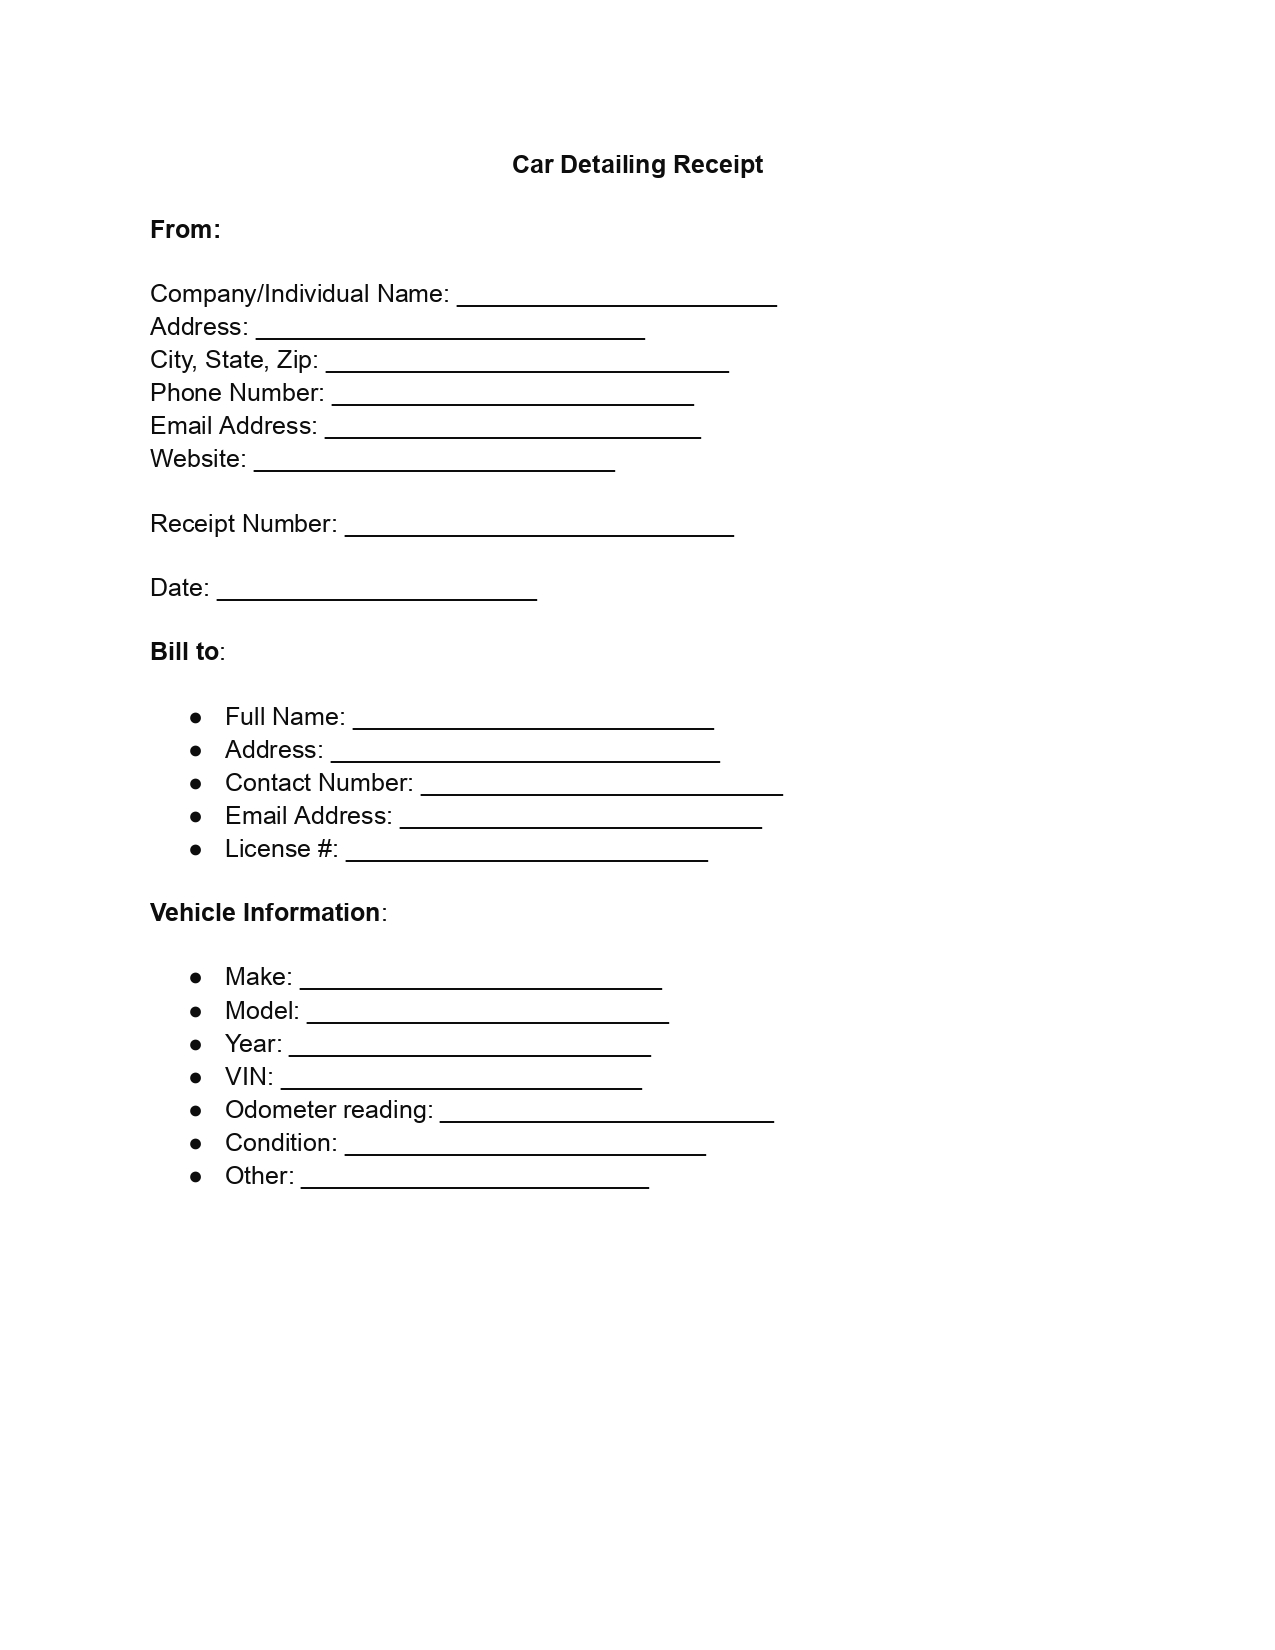
A car detailing receipt should include several key components to ensure it provides a comprehensive and clear summary of the services rendered. Here are the essential elements that should be featured on a car detailing receipt:
These components ensure that the receipt serves as a detailed record of the transaction and the services provided, offering protection and clarity for the service provider and the customer.
A well-designed car detailing receipt serves as a transaction record and a tool for customer satisfaction and business analysis. Using a structured template, auto detailing businesses can ensure consistency, professionalism, and transparency in every transaction. Before completing the receipt, ensure you have all the necessary information about the services, products used, and customer details. Here is a step-by-step guide to filling out our template:
Include your logo and business name at the top of the receipt for brand recognition. Assign a unique receipt number for easy tracking and reference.
Add your business address, phone number, and email so customers can quickly contact you for future services or inquiries.
Write the customer’s full name and contact details to personalize the receipt and maintain contact for future marketing. Include details such as the vehicle’s make, model, year, and color. This is important for identifying the service specifics and any special considerations for the detailing.
List each detailing service (e.g., waxing, polishing, etc.). Be as specific as possible to avoid ambiguity. Clearly state the cost associated with each service provided. List any products sold during the detailing separately (e.g., air fresheners, specialized cleaning agents). Detail the quantity sold and the price per unit.
Add all the subtotals from services and products to get a grand subtotal. Apply any relevant taxes based on your local tax regulations. If discounts are given, subtract them from the subtotal before applying taxes. Add up the costs of services and products and record the total amount due.
Indicate whether the payment is made via cash, credit card, debit card, or other methods. For non-cash payments, include details like the last four digits of the card, the check number, or the transaction ID.
Outline any policies related to the services provided. Briefly outline any warranty information or policies regarding the services rendered, such as satisfaction guarantees or specific conditions on refunds or cancellations.
The receipt should be signed by the person who authorized or confirmed the transaction, usually a manager or the business owner. It should also include the receipt’s date, confirming the day the transaction was completed. It’s recommended that the customer be provided with a copy of the completed receipt for their records.