

Important Note: This form is used to figure out whether a test is positive or negative, but its main purpose is for medical and administrative use only - not as proof of pregnancy on its own.
Step 1: Fill in Your Details
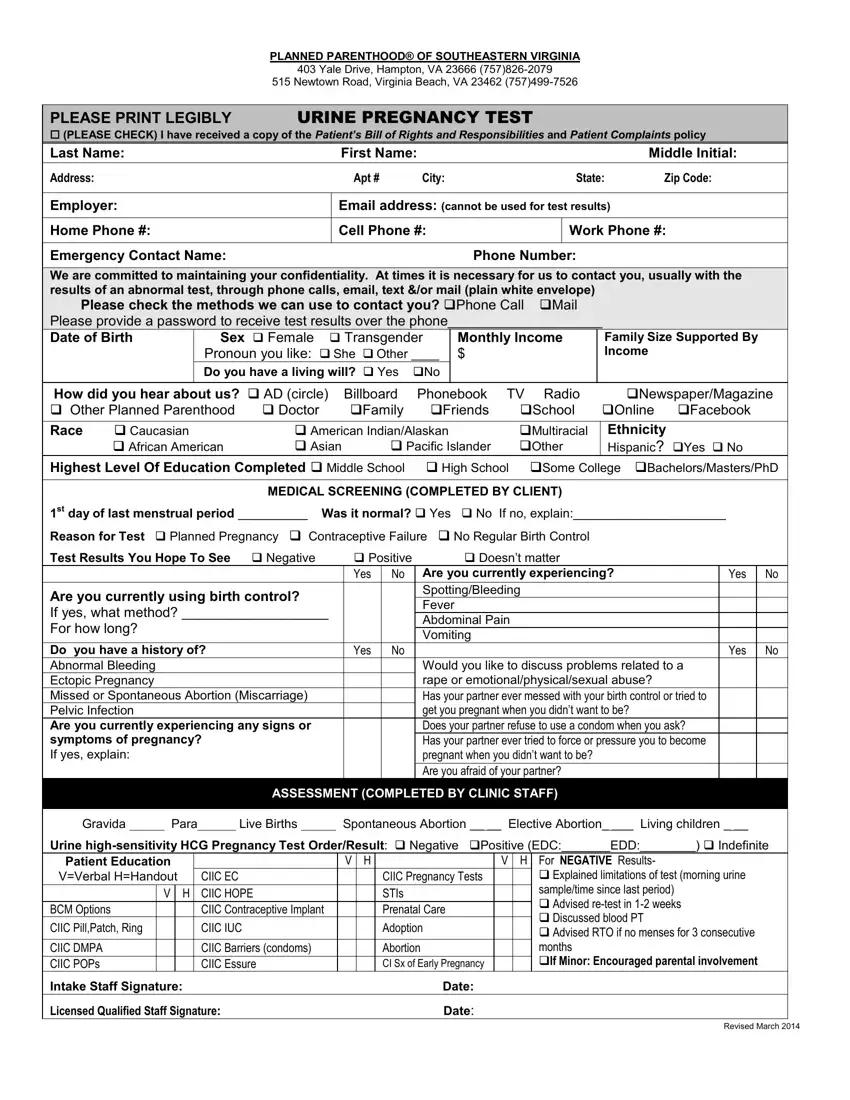
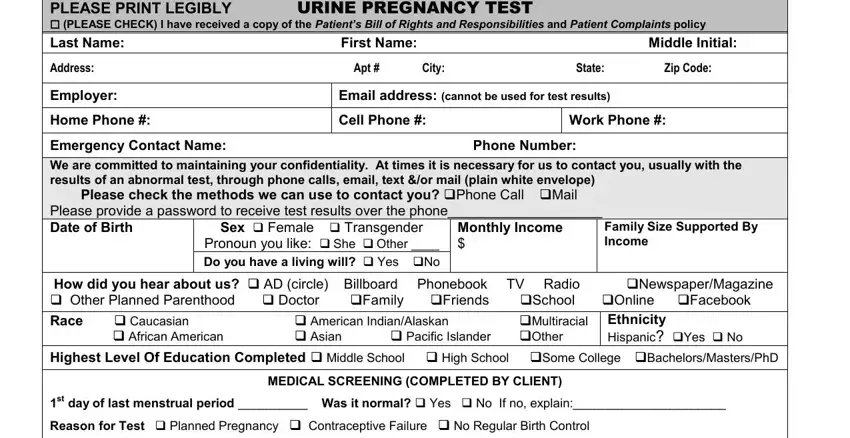
First things first, fill in the patient's name and personal info. This is the basic stuff - name, address, date of birth, and phone numbers. You can also let us know what kind of contact you'd prefer. With these details, we can tie the test result to your record and get everything ready to go if needed later.
Accurate info here is super important because if you are pregnant, it'll come in handy when we need to sort out maternity leave or paperwork for government programs.
Step 2: Do the Medical Screening
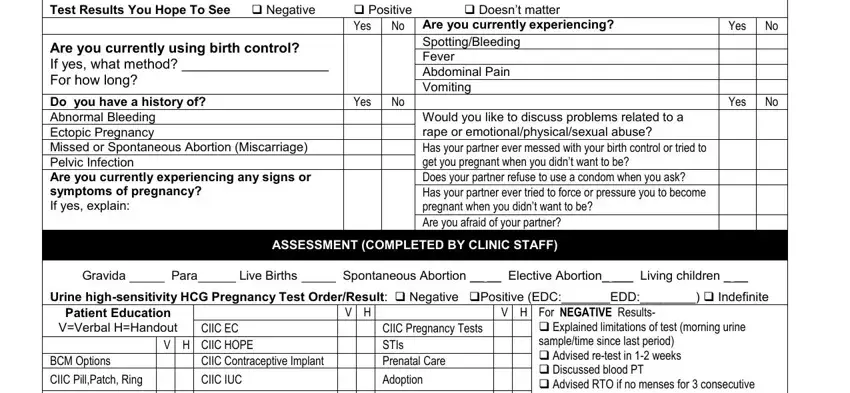
Next up, fill out the medical screening section. This is where you tell us about your last period, birth control use, pregnancy symptoms, and why you're taking the test in the first place. Check the relevant boxes and fill in the short answers where needed. This section also asks what you think the result will be.

The form will ask for:
• Your identity and contact details,
• Some demographic info,
• Your medical and reproductive history.
All this helps a doctor take a closer look at your pregnancy information and decide whether we need to run some extra tests, like blood tests.
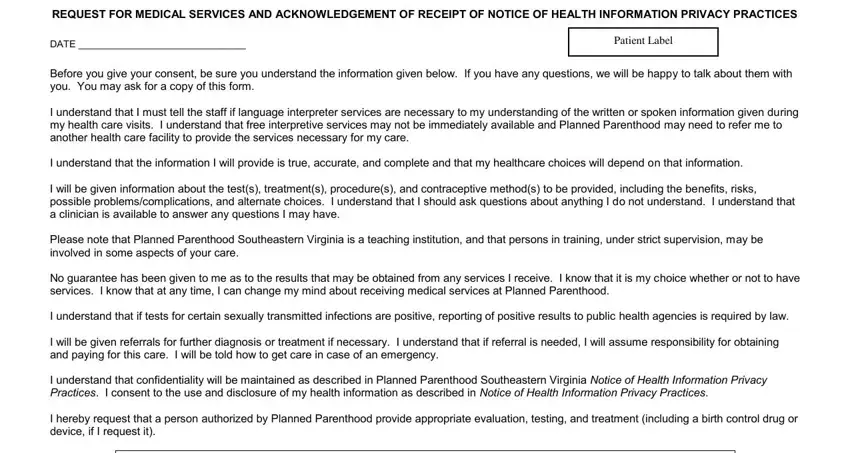
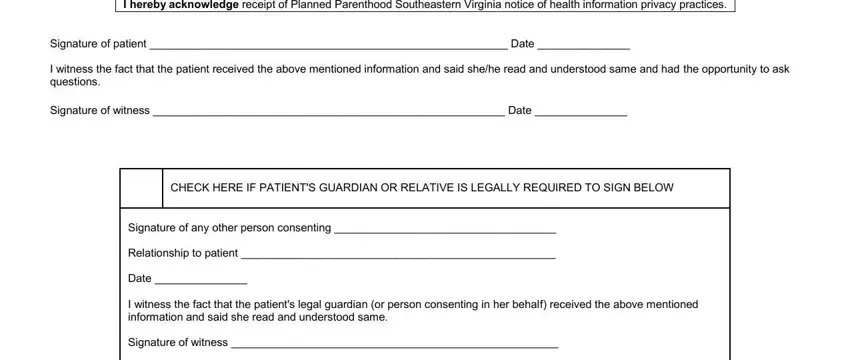
Step 3: Review and Sign the Consent Sections
Take a look at the consent and privacy bits, give them a read, and sign and date the form to show that you're on board with the testing and what we'll be doing with your info.
Step 4: The Clinic Staff Do The Rest
After that, it's the clinic staff's turn to fill in the final section. They'll record the urine hCG test result, note any guidance they gave you, and sign it off.
Once that's all done, the form is a record of your visit. If the result is positive, we can use it to sort out a doctor's note or official pregnancy letter for you.
