
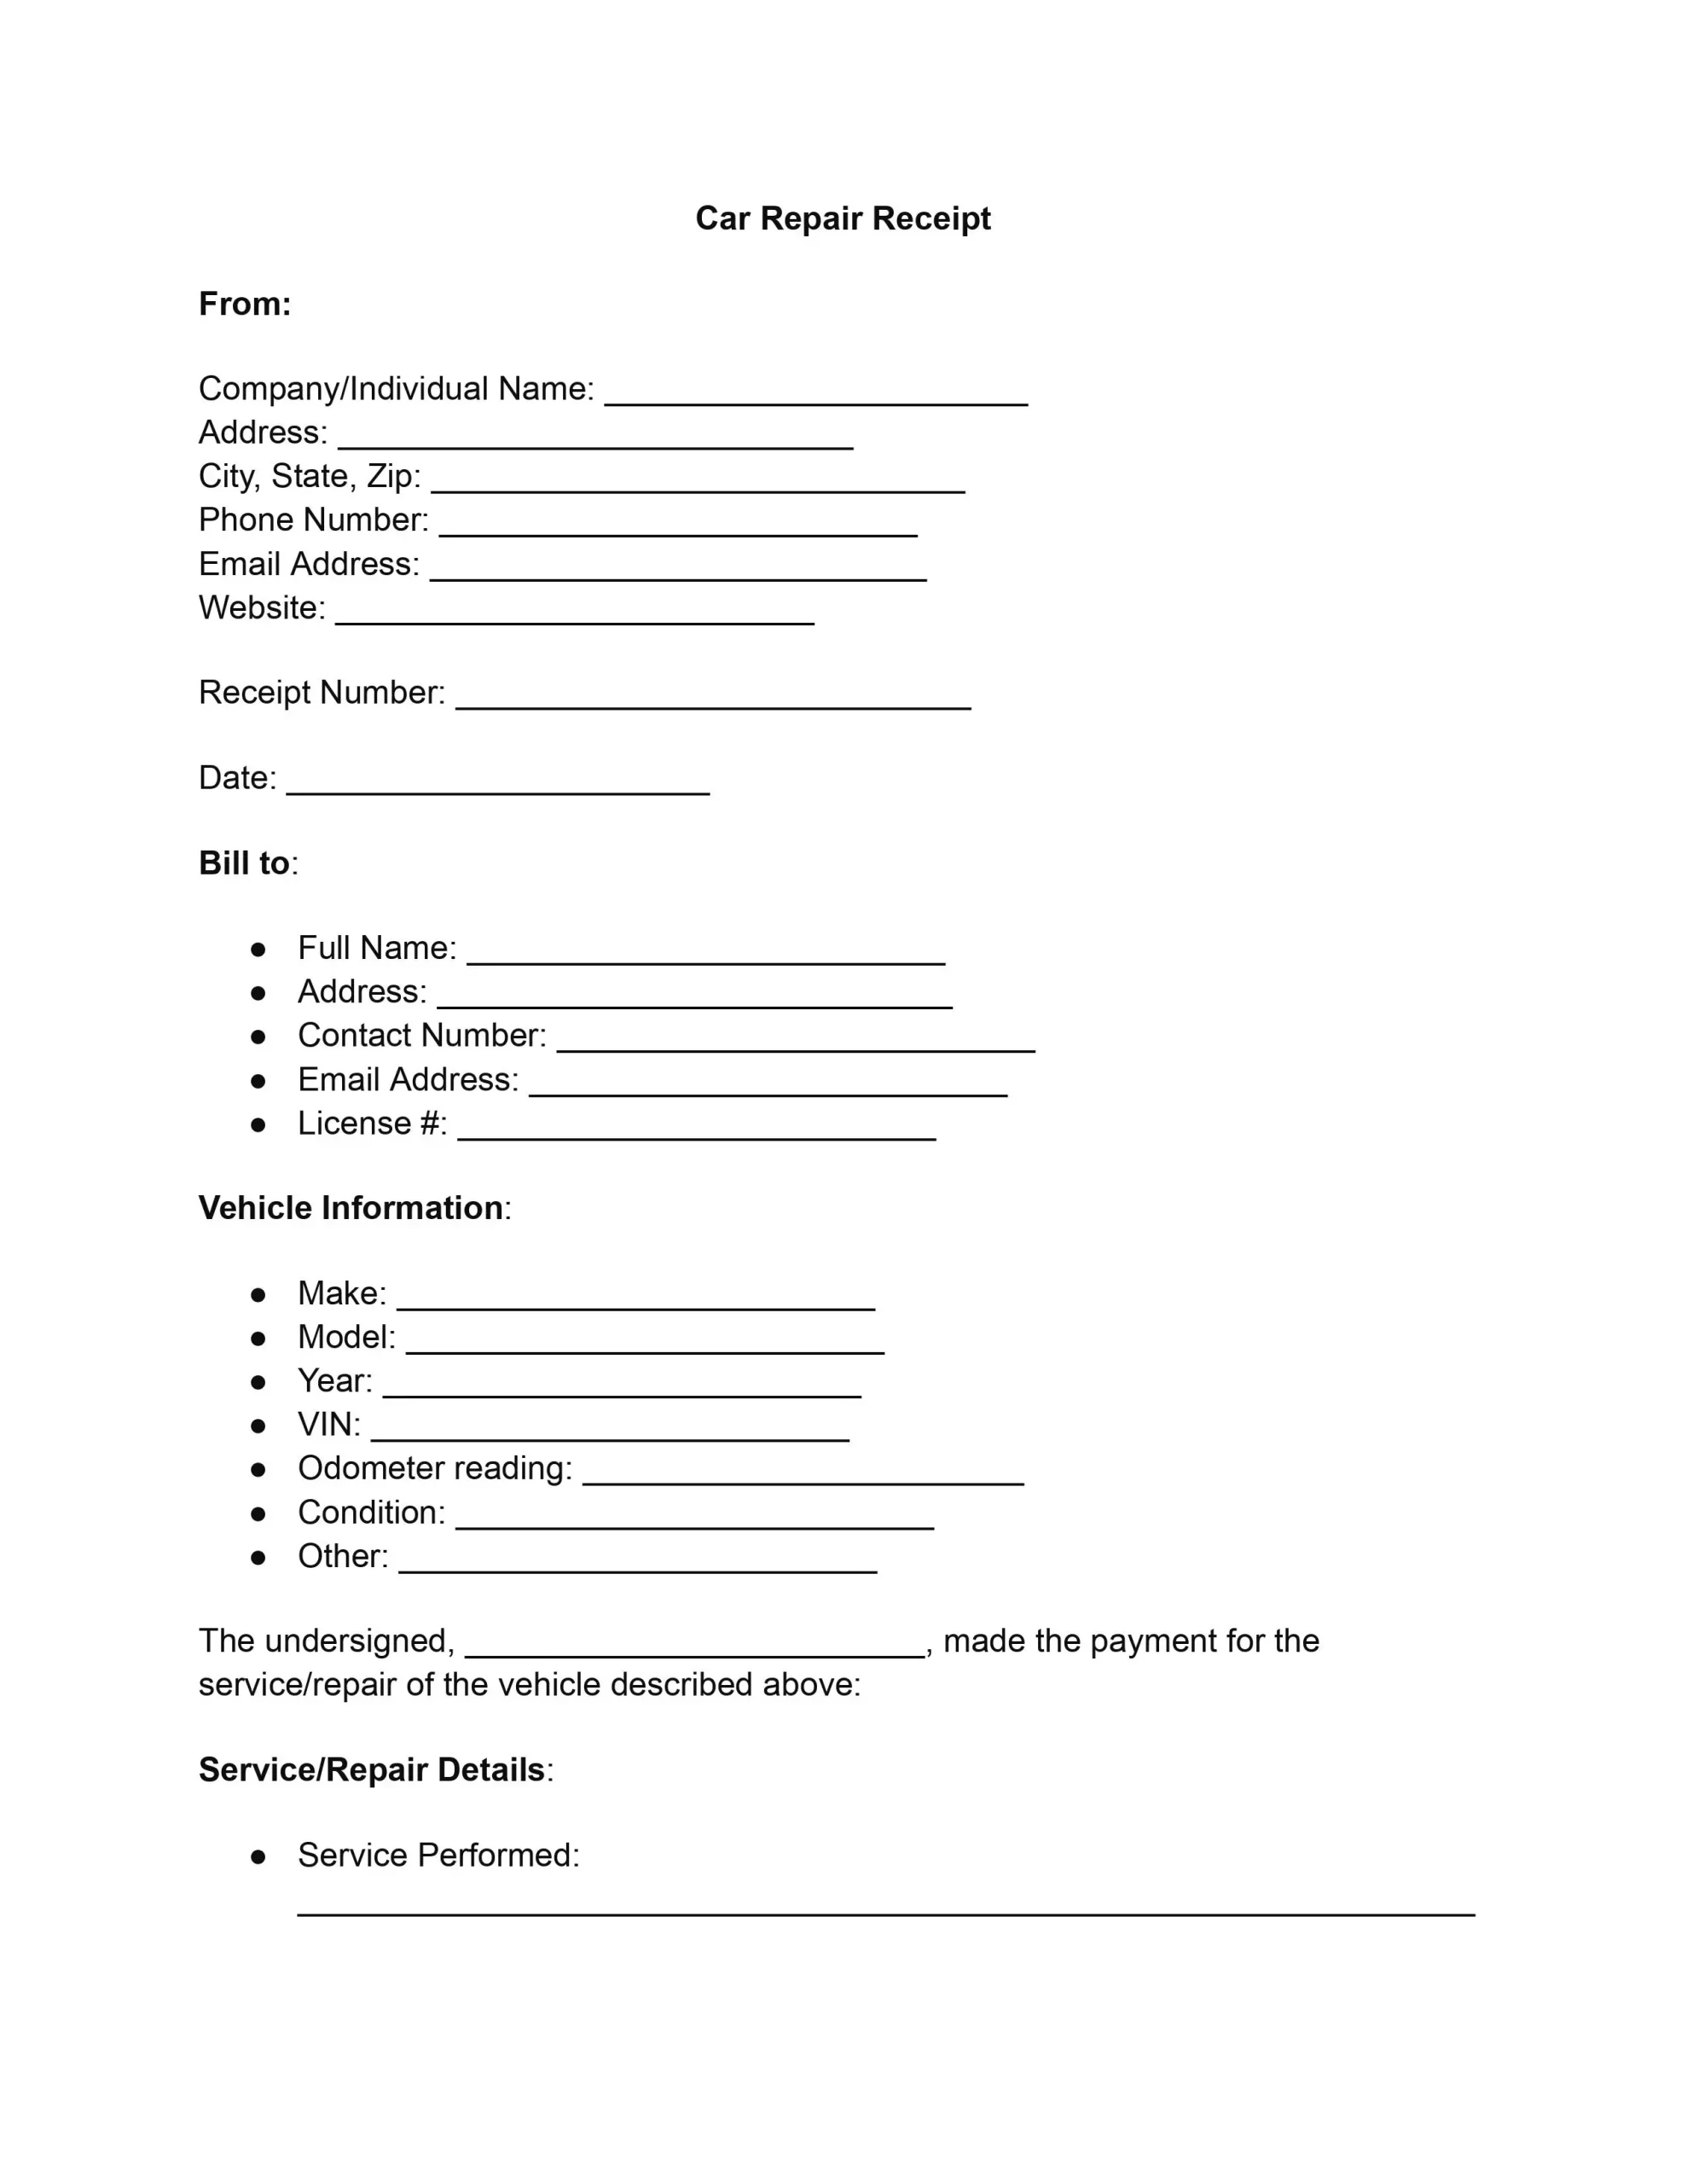
An auto repair receipt is a document a repair shop gives a driver after a repair or maintenance visit. It lists the work done, the parts used, the labor charges, and the amount paid. An auto repair receipt template puts those fields in a clear order, so you only fill in the blanks and keep a copy for your business records.
Last Updated: October 2026. This guide is reviewed and updated regularly to reflect current law. If you notice an error or outdated information, please contact us.
An auto repair receipt is a detailed document issued by service providers to vehicle owners after repair or maintenance work is completed. It typically lists the shop, the owner of the car, the work done, the parts replaced, the costs, the payment terms, and any warranty information. A receipt has three main purposes:
Keep the receipt after the work is done. If a question comes up later, it shows what was agreed and what was delivered, which helps both sides settle it quickly. For parts and services covered by a warranty, the mechanic invoice is often required to process any claims, making it an essential document for both parties.
In essence, auto repair receipts are vital tools that ensure transparency, support financial and legal compliance, and build lasting customer relationships.
Including an auto repair invoice template in your business operations provides several benefits, including the requirements for invoicing and record-keeping. Receipt templates keep every receipt consistent, quick to produce, and professional. Here are the main advantages of using templates in your business:
Additionally, these templates are invaluable for maintaining accurate financial records, tracking business performance, and ensuring compliance with tax obligations.
A shop that issues receipts from one template also trains new staff faster, because every employee sees the same fields in the same order. Over time, the stack of completed receipts becomes a searchable history of each car the shop has serviced, which helps when a driver returns with a related question about an earlier repair.
Work through the template from top to bottom. The eight steps below follow the order of the fields, from the shop’s name to the signature at the bottom. Fill in each part before you move on, and the finished receipt will give both sides a clear record of the repair.
Start at the top of the receipt with the shop’s information. This tells the driver who did the repair work. Add your shop’s logo here if you have one. Then fill in:
Next, fill in the receipt number and the date of service. A unique number on the auto repair invoice makes the receipt easy to find days or months later, whether you are tracking a repair or a client calls with a question.
Start with the driver:
Then describe the car:
These entries tie the receipt to one driver and one car.
Say what type of service was done, such as repair, maintenance, or inspection. Then describe the work in plain words and give an itemized list of the parts used, one per line. For example, write “Front brake pad replacement” or “Oil and filter change” rather than “general work.” A reader should be able to tell exactly what was done.
Work out the costs in this order:
Add the parts costs to the labor costs to get the subtotal. Then add the tax to reach the final amount for the work.
Record how the client paid, such as cash, credit card, or check. Add the transaction ID or check number if there is one. This gives both sides a record of the payment and the method used.
This section is where the customer confirms the work was received and accepts the shop’s terms and conditions. Add a short note about any warranty the shop offers, so the reader can see what it covers.
Finally, ask the customer to sign and date the receipt. Hand over a copy and keep a signed copy for your files.
This sample shows how a finished receipt can look. The names, numbers, and prices are made up. Most receipt templates look alike, so use this sample as a guide for the level of detail to add under each heading.
Baker’s Auto Repair, 123 Main Street, Springfield. Receipt No. 1001, dated October 10. Client: Anna Baker, 456 Oak Street. Car: 2018 Honda Civic, odometer 62,400 miles.
| Item | Type | Qty | Rate | Amount |
|---|---|---|---|---|
| Oil change labor | Labor | 0.5 hr | $90.00 | $45.00 |
| Synthetic oil and filter | Parts | 1 | $32.00 | $32.00 |
| Front brake pad replacement | Labor | 1.5 hr | $90.00 | $135.00 |
| Front brake pads | Parts | 1 set | $68.00 | $68.00 |
| Tire rotation | Labor | 0.5 hr | $90.00 | $45.00 |
| Subtotal | $325.00 | |||
| Sales tax (6%, sample rate) | $19.50 | |||
| Amount due | $344.50 | |||
Payment method: credit card, transaction ID 000123. Customer signature: Anna Baker, signed and dated.
Things to copy from this sample:
A clear description lets anyone reading the receipt see what was done. Vague notes cause questions later, while specific notes answer them in advance. These examples show how to turn a short note into a useful line on your receipt.
| Vague note | Clearer line |
|---|---|
| Fixed brakes | Replaced front brake pads and checked the rotors |
| Engine service | Changed engine oil and oil filter with synthetic oil |
| Tires done | Rotated all four tires and checked tire pressure |
| AC work | Recharged the AC system and replaced the cabin air filter |
Copy the same pattern into the description area of your own receipts. Name the part, say what you did to it, and add the brand or part number when you have it.
Most receipt problems come from small slips, not big errors. A missing odometer reading or a vague repair note can lead to questions weeks later. Watch for these common mistakes when you fill in a receipt:
A quick read-through with the checklist below catches most of these before the receipt is handed over.
Take a minute to review the receipt before the driver leaves. A quick check catches typing mistakes and missing details that are harder to fix later. Go through this list for each job:
Shop owners and mechanics often ask these questions when they start using an auto repair receipt template. Each answer is short, so you can check a detail and get back to work.
A complete receipt covers these parts:
Not quite. An invoice is a bill that asks the client to pay, while a receipt shows that payment was made. Many shops use one document for both, which is why this template works as a receipt or an invoice.
Yes. Separate lines show the driver the pricing for all items. Show the hours and the hourly rate for labor, and the price of each part.
Yes. A mobile mechanic can fill in the same fields and add the work location next to the client’s address.
Add it in the terms and conditions section, in a sentence or two. Say what the warranty covers so the driver can see it on the receipt.
Enter the payment method, such as cash, credit card, or check. Add the transaction ID or check number if there is one.
Yes. A receipt generator or shop software can produce the same fields, and a generator is quick when you issue many receipts. Templates are handy when you want a simple layout that you can fill in on screen or on paper.
General information, not legal or tax advice.
