
We used the most efficient computer programmers to set-up our PDF editor. Our software will help you create the gic receipt sample document effortlessly and won't consume a lot of your energy. This straightforward guide will enable you to get started.
Step 1: Click the "Get Form Now" button to get started on.
Step 2: It's now possible to alter the gic receipt sample. This multifunctional toolbar enables you to insert, remove, transform, and highlight content or perhaps perform other sorts of commands.
Provide the data demanded by the program to create the form.
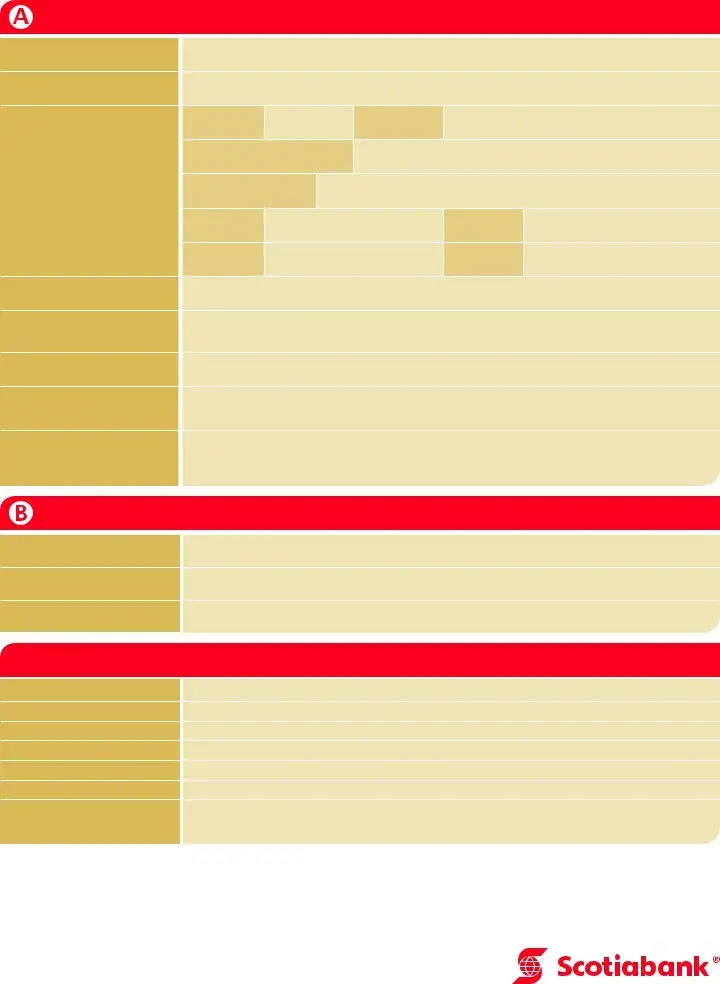
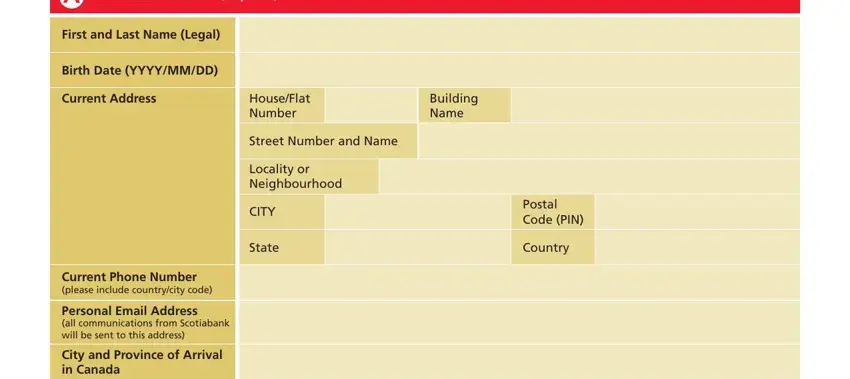
Remember to fill out the Personal Information required, First and Last Name Legal, Birth Date YYYYMMDD, Current Address, HouseFlat Number, Building Name, Street Number and Name, Locality or Neighbourhood, CITY, State, Postal Code PIN, Country, Current Phone Number please, Personal Email Address all, and City and Province of Arrival in box with the demanded information.
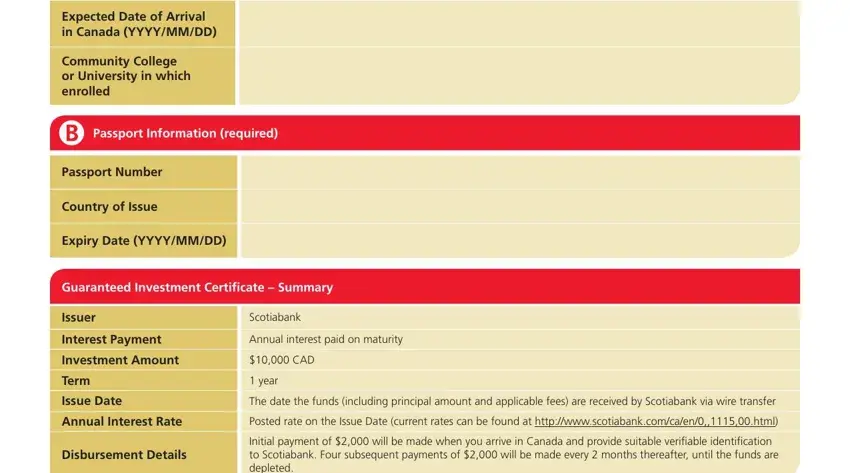
You will be demanded specific vital data so that you can submit the Expected Date of Arrival in Canada, Community College or University in, Passport Information required, Passport Number, Country of Issue, Expiry Date YYYYMMDD, Guaranteed Investment Certificate, Issuer, Scotiabank, Interest Payment, Annual interest paid on maturity, Investment Amount, CAD, Term, and Issue Date box.
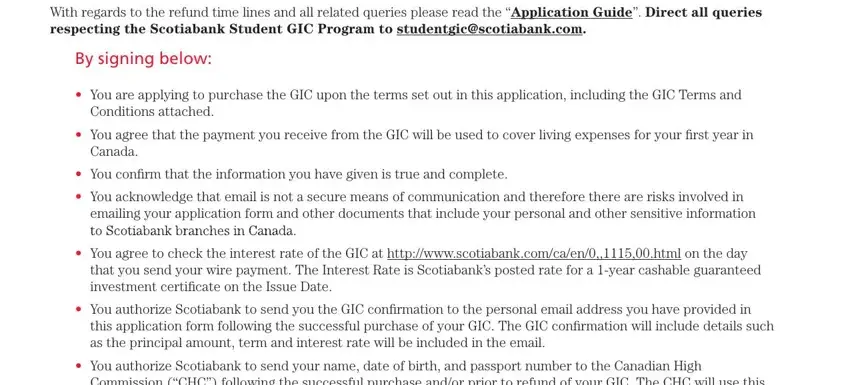
In box With regards to the refund time, By signing below, You are applying to purchase the, Conditions attached, You agree that the payment you, Canada, You confirm that the information, You acknowledge that email is not, emailing your application form and, You agree to check the interest, that you send your wire payment, You authorize Scotiabank to send, this application form following, You authorize Scotiabank to send, and Commission CHC following the, identify the rights and obligations.
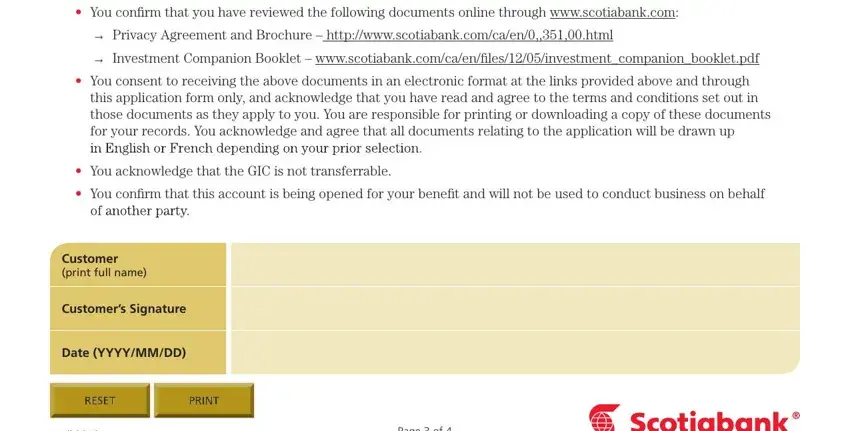
Finish by looking at the following sections and filling them in as required: You confirm that you have reviewed, Privacy Agreement and Brochure, this application form only and, You acknowledge that the GIC is, You confirm that this account is, Customer print full name, Customers Signature, Date YYYYMMDD, and Page of.
Step 3: When you pick the Done button, your finalized document is easily transferable to any kind of of your gadgets. Or, you may deliver it through email.
Step 4: Be certain to keep away from possible future problems by creating around a pair of duplicates of your form.
