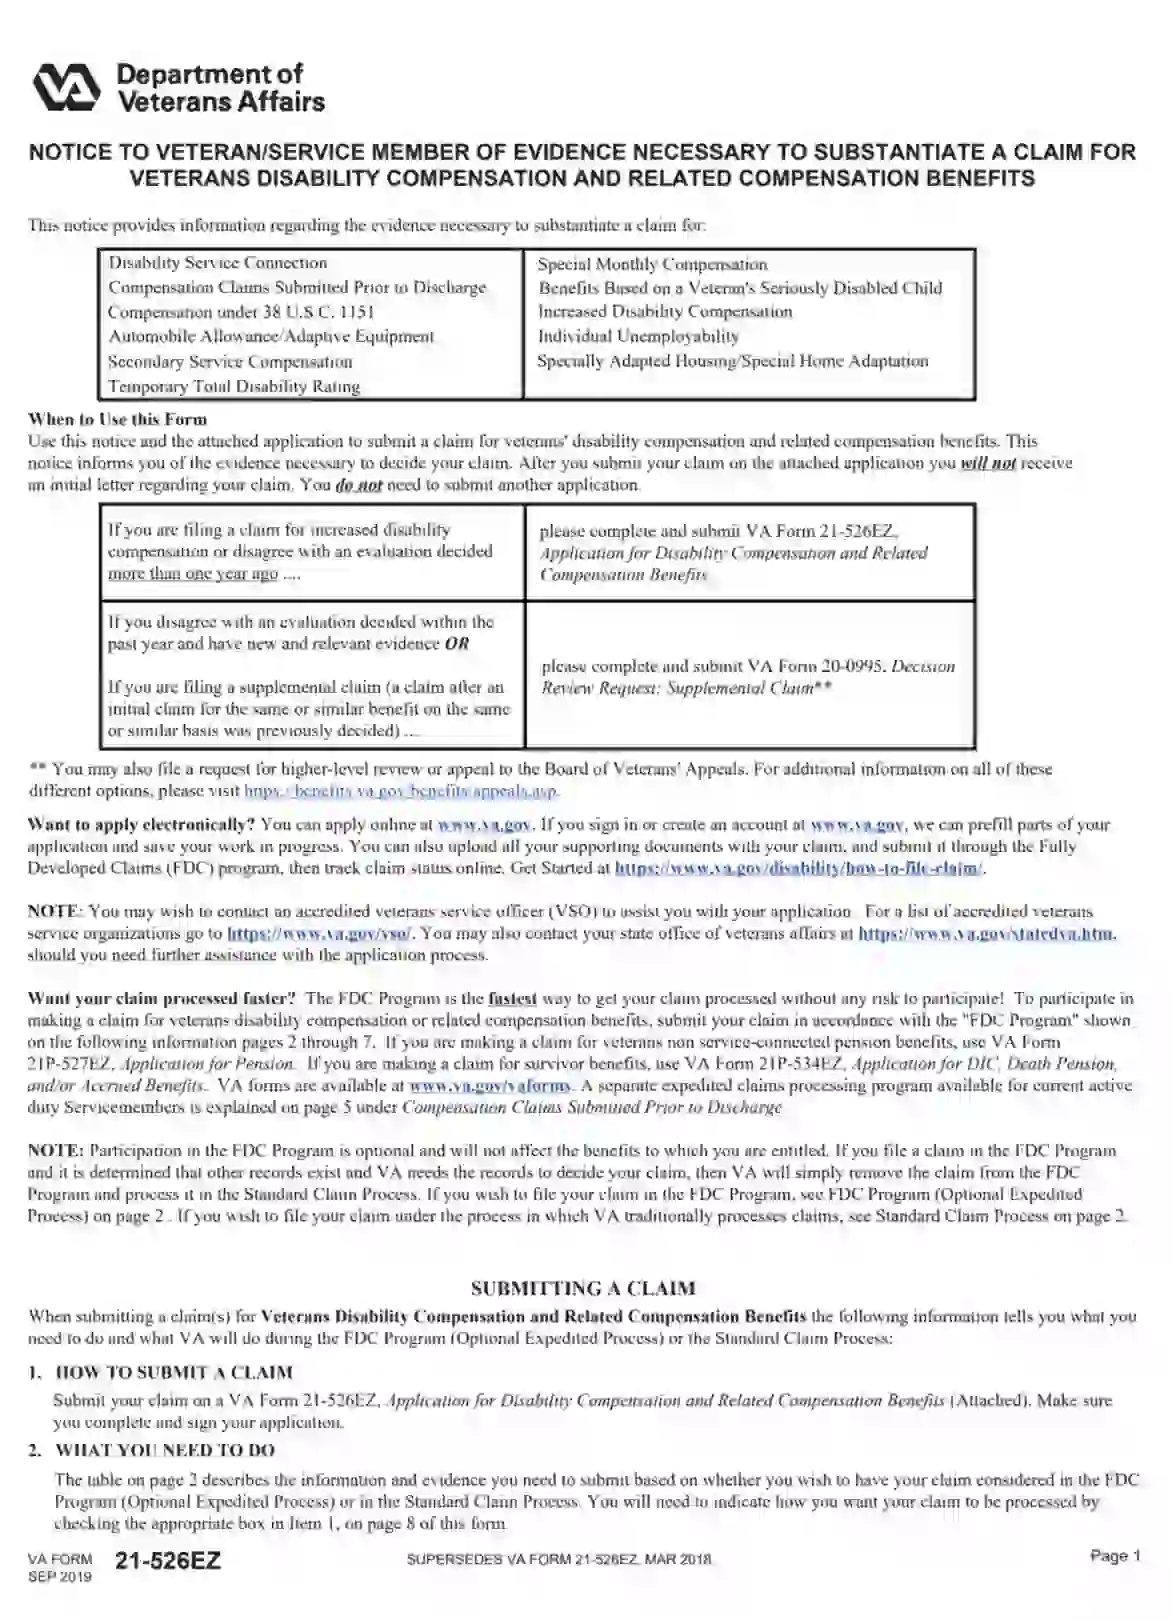
VBA VA Form 21-526EZ, titled “Application for Disability Compensation and Related Compensation Benefits,” is designed for veterans who are applying for disability compensation for conditions that they believe are related to their military service. Disability compensation is a tax-free benefit offered to veterans who sustained injuries or contracted illnesses under conditions connected to their service.
The 21-526EZ form allows veterans to initiate the claim process or adjust an existing claim regarding their service-connected disabilities. It requests detailed information about the veteran’s service, including any service-related injuries or health issues, along with personal and medical information. By submitting this form, veterans can provide the VA with all the necessary documentation and evidence required to evaluate their claim, such as medical records, service treatment records, and supporting statements. This form is pivotal in helping veterans access the benefits they need to manage health issues arising from their service.
Other VBA VA Forms
If you want to check more VBA VA documents you can edit and fill out online, here are examples of the more popular forms among our users. Also, keep in mind that you are able to upload, fill out, and edit any PDF document at FormsPal.
Except for the form itself, there are seven pages with information about the differences between available programs and a table with the evidence you can use to prove your claim. Before filling out the form, make sure you have read paragraphs about the FDC and Standard Claim Process and decided whether you want to use one of them. Also, get acquainted with all the required documents you need to attach to your claim. Check out the section “Special Circumstances” and convenience that you need or do not need to use other forms. There is a piece of really practical information at the beginning of the form — take your time to look through it.
If you fill it out by hand, do it in clear and precise handwriting.
1. Choose the Program You are Applying For
There are four program options in Box 1. The most popular ones are the FDC and Standard Claim Process, but you can also choose the IDES and BDD if you meet the criteria written in brackets. Put the check mark in the box you need.

2. Introduce Yourself
In lines 2-8, you should enter the basic information about yourself. Fill in your full name in line 2, date of birth in line 6, and check your sex in line 8. As regards the rest of the lines, here, you need to enter the data from other documents. Write your SSN in line 3 and the veteran’s service number (if you have it) in line 7.
If you have already claimed with VA, choose “Yes” in Box 4 and write your VA file number in line 5.
If you are claiming for the BDD program, enter the date of realizing from duty in line 9.

3. Provide Contact Info
You need to share your telephone number in line 10 and your current address in line 11. Make sure this address is available for you now because the service will send the answer to it.
Enter your email address in line 12 and choose whether you want to receive newsletters from VA.
If you are a current worker of a VA, put the checkmark in Box 13.

4. Changes of Address
Fill this section if you have changed your address temporarily or permanently.
Choose the type of address you are changing in Box 14A. Provide a new address in line 14B and mark the dates of living in this place in line 14C. If you changed your address permanently, enter only the date of beginning in Box 14C.

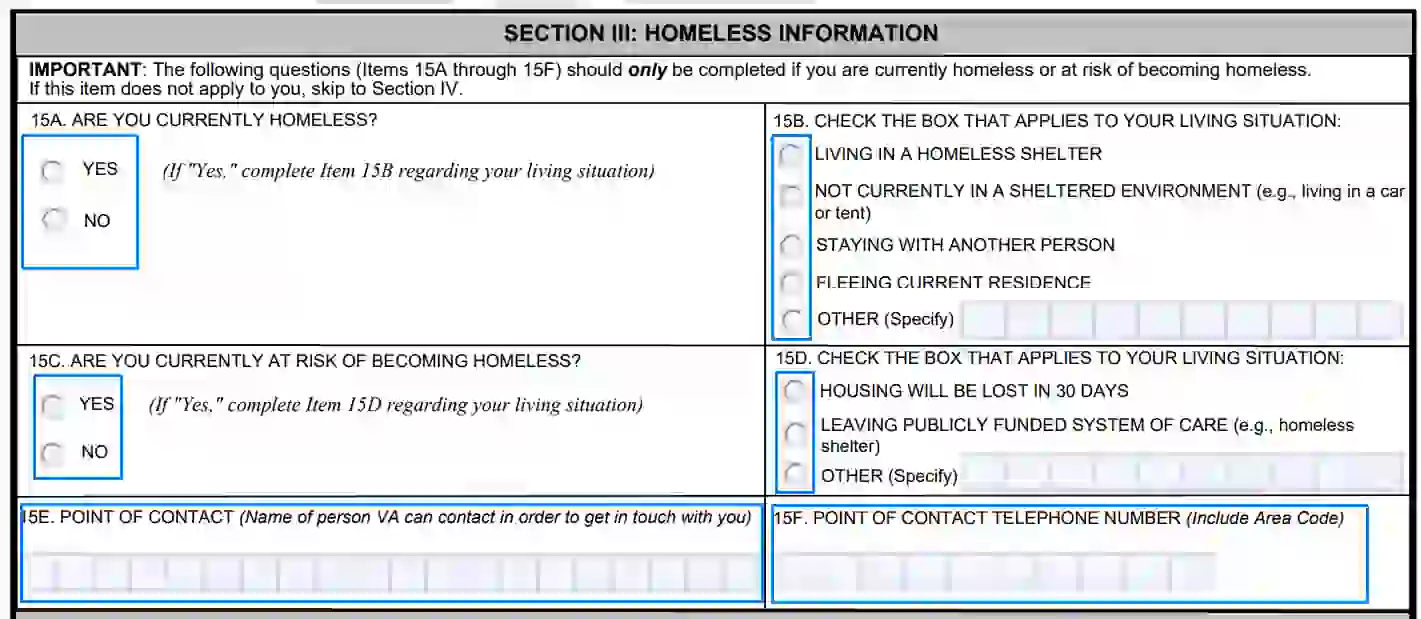
5. Section for Homeless People
You should fill out this section if you are a homeless person or you are in conditions to become homeless.
Put the checkmark in Box 15A, choosing the appropriate option for you. Describe your living place, selecting one of the variants in Box 15B.
Do the same with lines 15C and 15D if you are at risk of becoming homeless.
Enter the name and the telephone number of the person who you always keep in touch with in lines 15E and 15F, respectively.
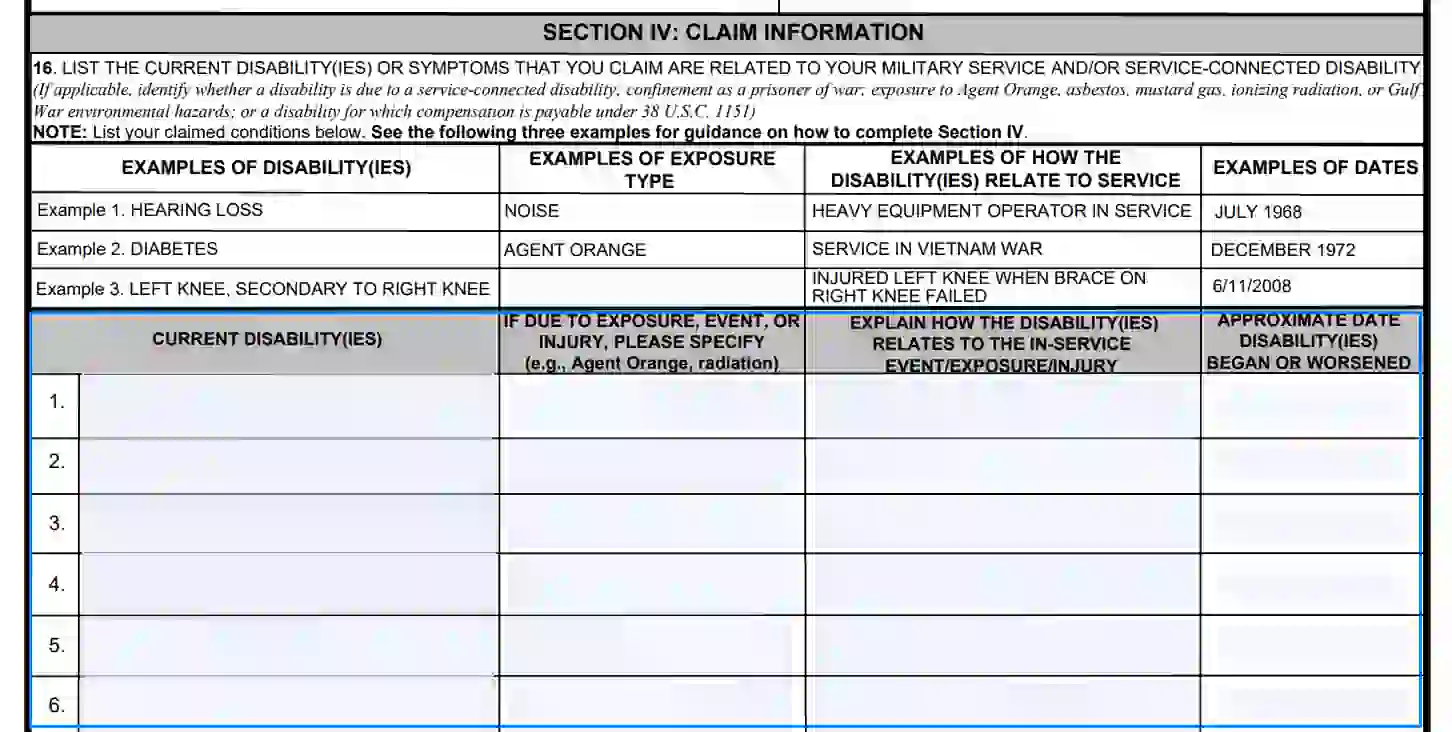
6. Provide Disability Characteristics
In the fourth section, you need to enter disabilities you have (the first column), the event that caused the disability (the second column), the way the disability is connected to the workplace (the third column), and approximately dates the disability began to develop or deteriorate (the fourth column).
Use the example represented in the form to complete it correctly.
7. Medical Centers
Enter the names of medical centers that provided you a therapy after you have got a disability in line 17. Fill in the date of the therapy in the second column or select the option “No Date” if you do not know it. It is permitted to enter only a year of your treatment if you do not have a month.
Remember that you need to attach additional forms described under the 17 Box if you have some disabilities from this list.

8. Specify Data about the Service
The fifth section is devoted to the features of the service you had. You need to enter this data into lines 18-23. Let’s deal with them step-by-step.
Lines 18A and 18B should be filled if you have changed your name after the service. Put the checkmark in Box 18A and enter the name you had during your service period.
Choose appropriate options in Boxes 19A and 19B according to the type of service you had.
Enter the dates of service and its location into lines 20A and 20B.
Select whether you served after 9-11-2001 or not in Box 20C. Put the date of additional service in line 20D.
Continue filling in lines 21-23 based on your experience of service.

9. Data on Service Pay
You need to give the information about the military payments you have.
Select the option in line 24A and complete line 24B if you have chosen “Yes” in the 24A Box.
Choose the type of service you get payments for and enter the amount you earn from it in lines 24C and 24D. Check the appropriate Box in line 25 according to your current, retired status.

10. Decide on VA Compensation
Read the information carefully in Box 26 and check the 26th option if you do not want to get compensation from VA.
Notice that the amount you receive as military retired pay will be reduced because of the VA compensation. The sum of the reduction will be equal to VA compensation. However, it may be more profitable to receive VA compensation as you will not need to pay taxes for it.
If you receive VA compensation now and check the 26th Box, payments will stop.

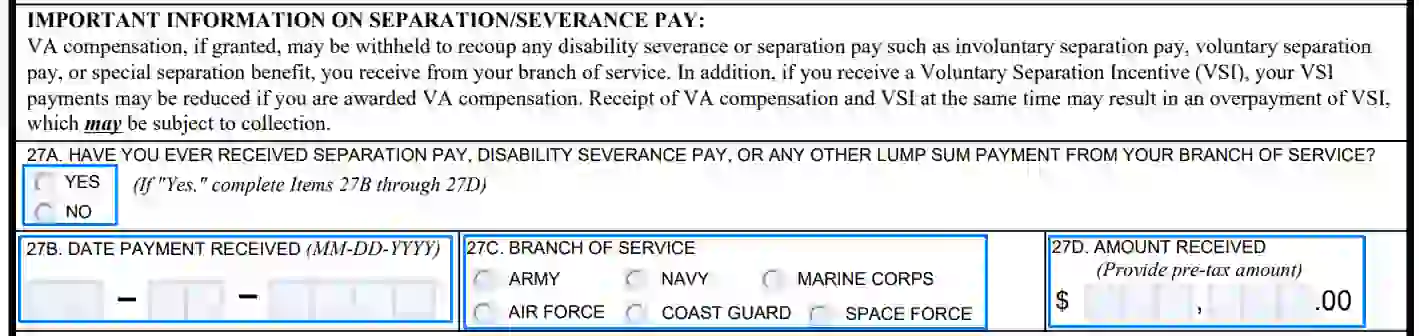
11. Information about Separation Pay
There is important information about the decrease in VA compensation because of the separation payments. Get acquainted with it not to be confused about the amount of compensation.
Fill the field 27A-27D according to your experience of receiving separation or any other one-time payments from the service.
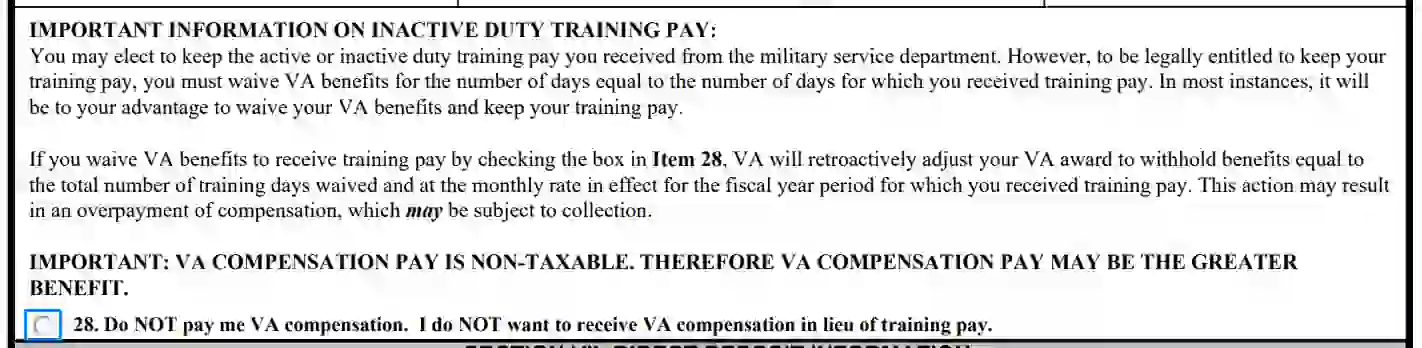
12. Training Payments
If you get training payments or you received them, you can reject VA compensation for the days of training. If you decided to receive VA compensation, it would be recalculated according to the amount you got for training days.
Read the notification and check Box 28 if you decided to refuse VA compensation.
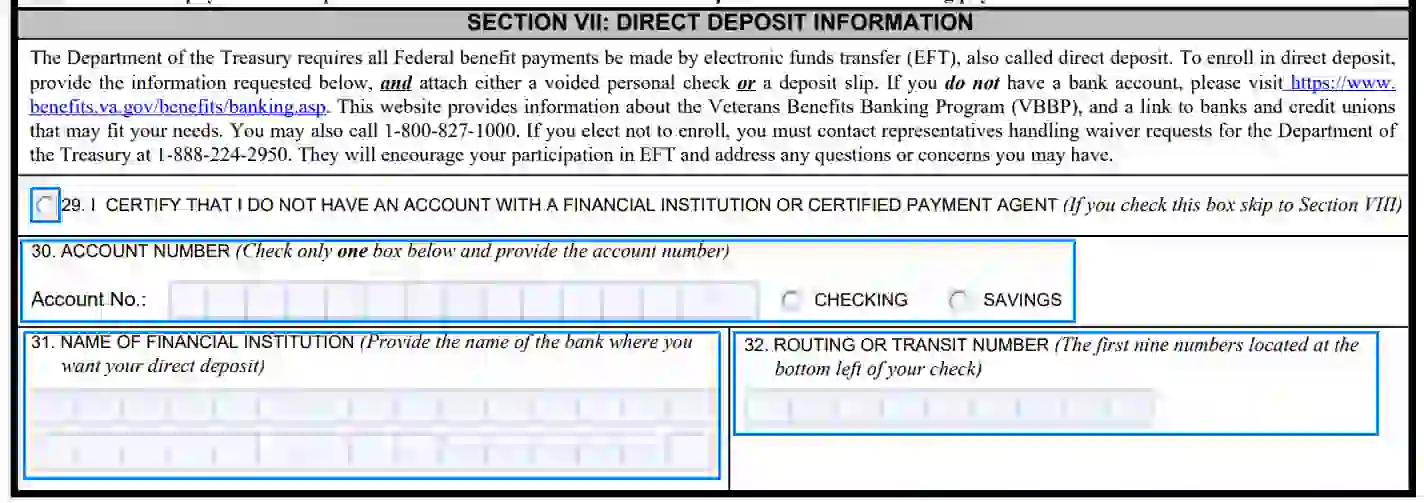
13. Provide Information on Direct Deposit
You need to have a bank account to receive government payments. Enter the data about your account in the seventh section or learn how to enroll in electronic funds transfer (EFT) if you do not have a bank account. All necessary information for this you can get from the website indicated in the form, or you can call the Department of the Treasury.
Check Box 29 or fill the number of your account, name of the bank, and transit number into the fields 30-32.
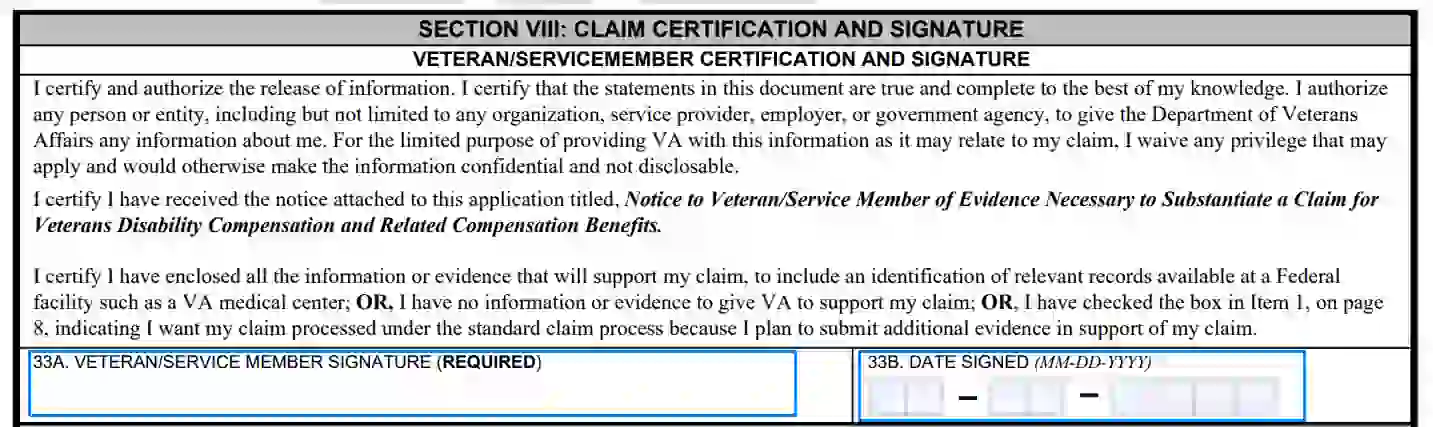
14. Check the Certification and Sign the VA Form 21-526EZ
The final page of the form requires your signature. Before you will sign this form, make sure you have read all the information and certification presented in it. If you do not match the certification in this box, go further and sign the form in another field.
Put your signature in line 33A and add the current date in Box 33B.
15. Signature of Witness
The witness needs to sign the form when the form is completed online, and the veteran put “X” in the signature field. The veteran can enter a wet signature, and there will be no necessity to use the signature of a witness.
The witnesses need to fill in their signatures and enter the printed name and address in lines 34-35.
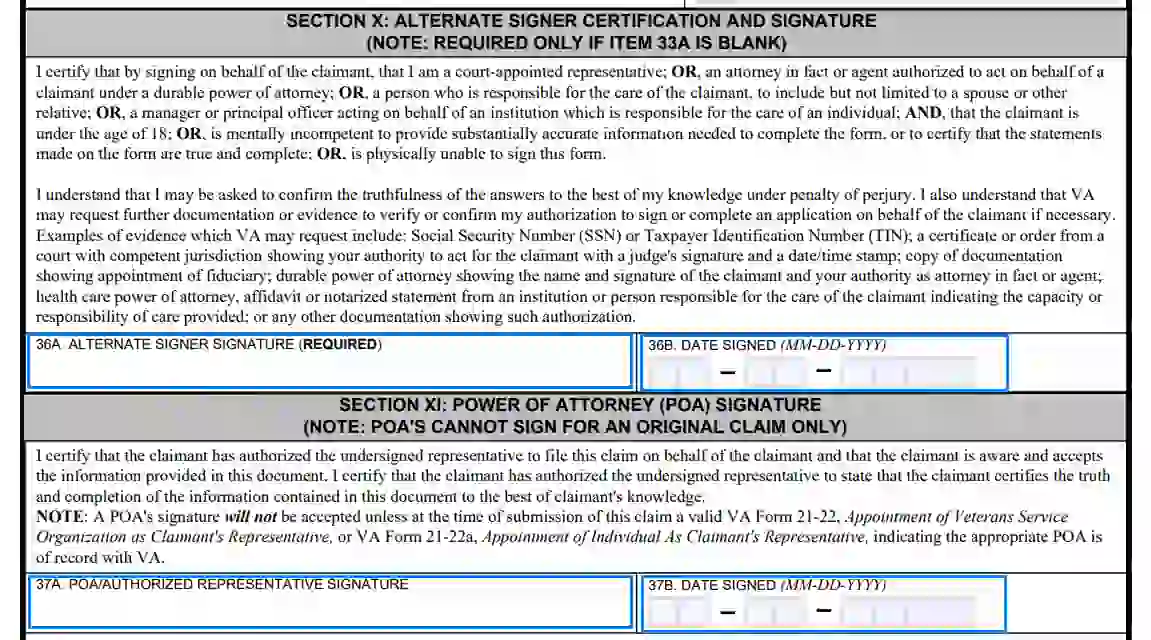
16. Alternative Certification and Signature of Trustee
If you do not match the criteria described in Section 8, you need to sign the document in line 36A. Read the requirements carefully before the signing. Put the date of signing in Box 36B.
If you are an authorized person, you need to fill in your signature and the date of signing in lines 37A and 37B.