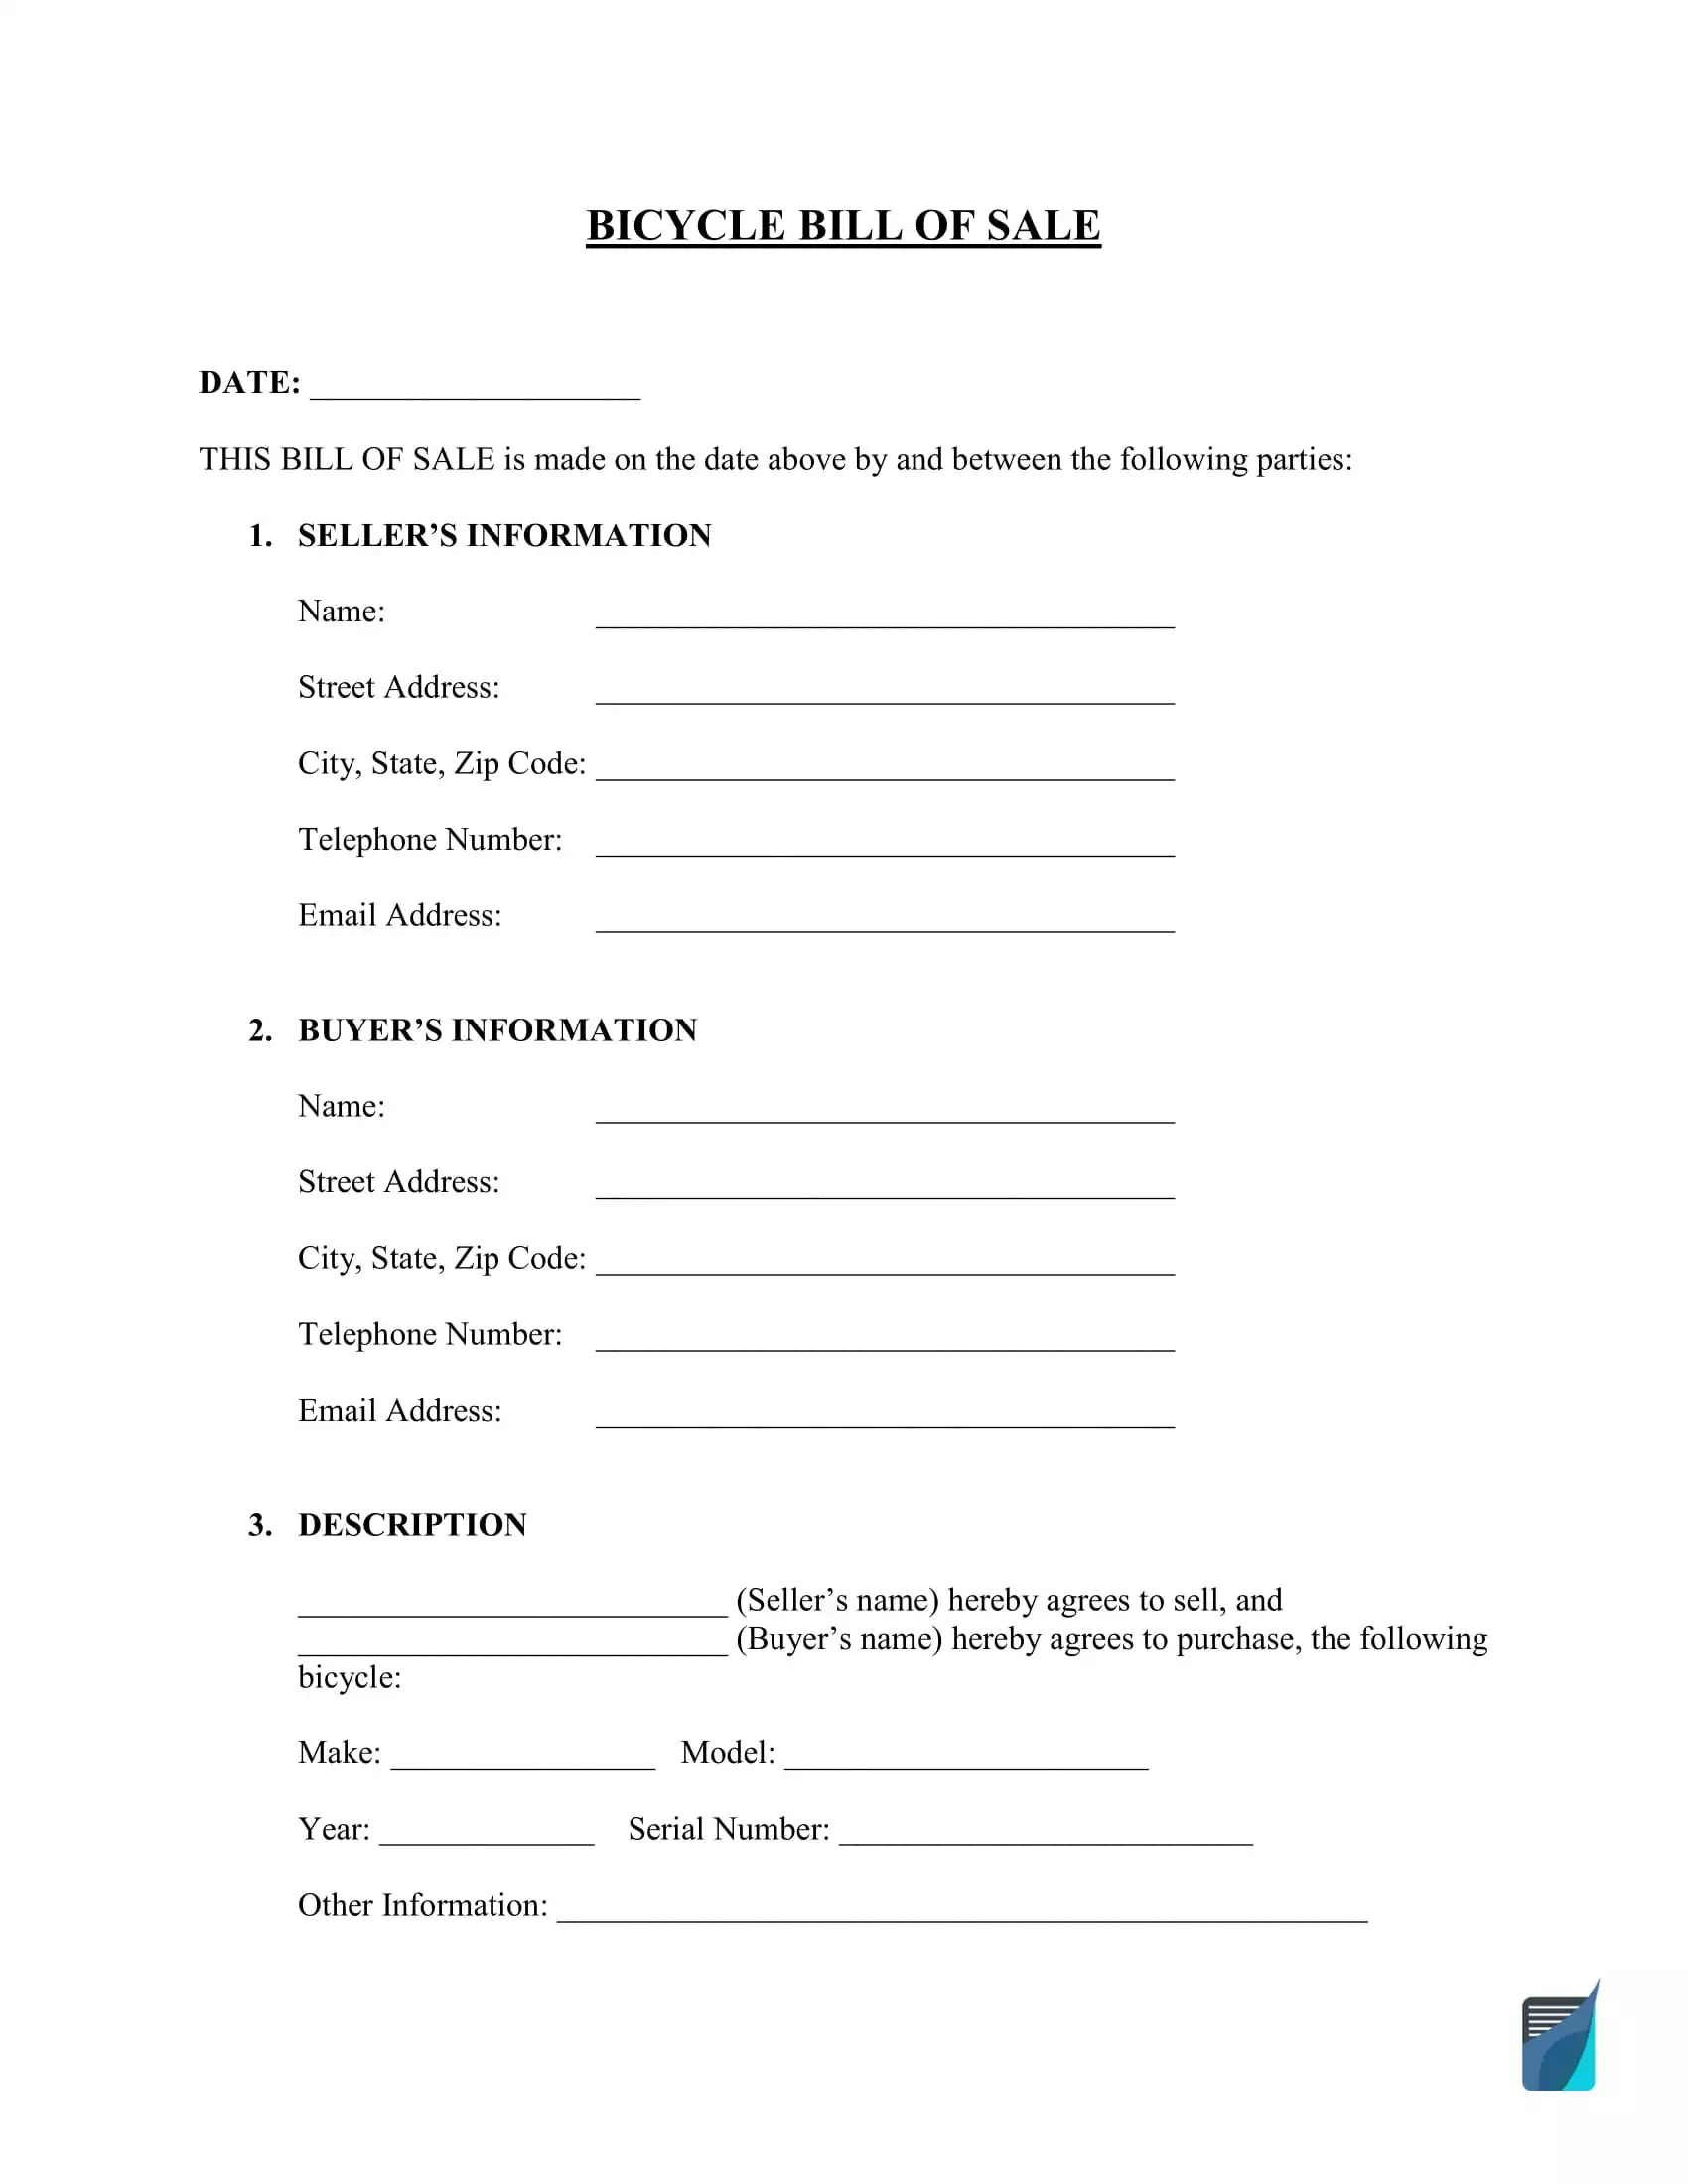
Bicycle Bill of Sale Form
A bicycle bill of sale form is a vital document that acts as a receipt showing the purchase contract between the buyer and seller in detail. When you want to sell your bicycle, ensure that you incorporate a bill of sale form before finalizing the transaction. A bicycle bill of sale form is an essential document that shows the business deal between the buyer and seller. It is a legal document that binds both parties through signatures and acknowledgment of liability as per the purchase agreement.
The bill of sale form provides details about the bicycle, the purchase price, names of the seller, buyer, and witnesses, and other relevant information.
Why Do I Need a Bicycle Bill of Sale?
Although you may sell your bicycle without a bill of sale form, it is more secure to use one due to many reasons. Apart from the record-keeping, it shows the real owner of the bicycle. It can be used to prove the bicycle is yours in case it is stolen. A properly completed and signed bicycle bill of sale offers transparency and accountability for both the seller and the buyer.
This form offers convenience in carrying out a quick “as-is” (no warranties) bike sale without complications.
Form Details
| Document Name | Bicycle Bill of Sale Form |
| Other Name | Bike Bill of Sale |
| Avg. Time to Fill Out | 10 minutes |
| # of Fillable Fields | 56 |
| Available Formats | Adobe PDF; Microsoft Word |
Short Video Guide
Can I Create a Bicycle Bill of Sale Online?
If you want to make this document yourself, you can do a bit of research and write one based on the samples of these bill of sale forms. But if you don’t want to waste time, you can download a free template here or use our step-by-step builder for a personalized experience.
Select a suitable format that works well for you, whether you want a Microsoft Word document or a PDF.
How Do I Sell My Bicycle?
If you are looking to sell your bicycle and want to learn more about using a bike bill of sale form, follow the guide below.
1. Describe the Bicycle
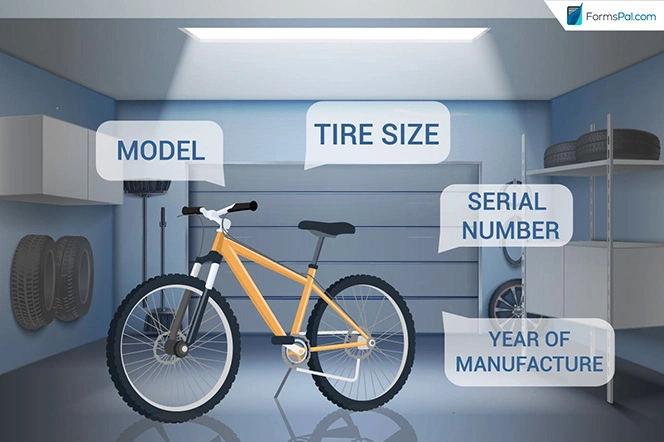
The first step is to describe your bicycle in detail. The make, model, color, year of manufacture, tire size, serial number, and other specifics make up the basic set of features that you should indicate in the document. Ensure the bike is in good state with no faulty parts. Buyers are more likely to buy a bicycle that does not require any repairs after the sale. Clean it up and start marketing it.
2. Set the price
Before you start advertising the sale, ensure that you set a reasonable selling price. Do not overstate the cost because you might chase away potential buyers. Do extensive research and set an adequate price that will favor both parties.
Step 3. Put Your Bicycle Up for Sale
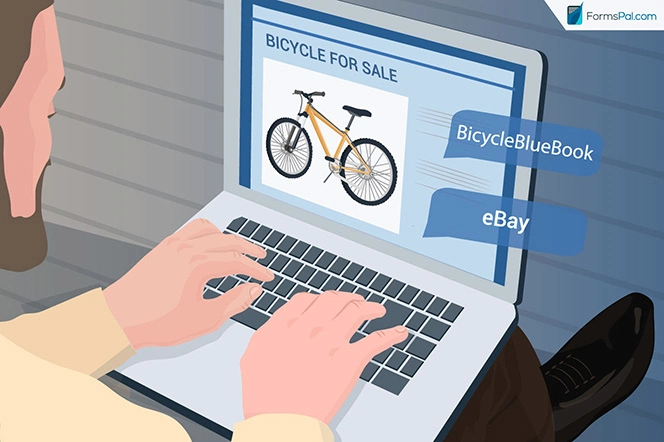
There are websites that can assist you to evaluate and sell your bicycle. Sites such as BikeExchange and BicycleBlueBook can assist you in evaluating the bike and making a quick sale.
When you are approached by a serious buyer, set up a meeting to discuss the sale’s details, including the inspection date.
Step 4. Finalize the Bicycle Bill of Sale
Once you agree with the buyer on the final price, fill out the bicycle bill of sale template. It is simple and will take just a few minutes. Here are the details that can typically be found in such a document:
- The date of the deal
- The particulars of both parties (buyer and seller) – Names and physical addresses
- Bicycle information: make, model, serial number, year of manufacture, etc.
- Cost of the bicycle
- Buyer’s signature and date
- Seller’s signature and date
- Date and signature of the witnesses
- Public notary acknowledgment (optional)
After finalizing the deal, both parties receive copies (each signed by hand) of the bill of sale form upon the completion of payment as per the agreement by the buyer.
How to Fill Out the Form
Below, you will take a look at the directions written by drawing upon the bicycle bill of sale template developed by our experts.
Step 1: Specify the document’s creation date.

Step 2: Enter the particulars of all parties (seller and buyer):
- Full name
- Address: Street, City of residence, State, Area code
- Contact information: Phone number, Email address

Step 3: Fill out the information regarding the bicycle that you are trying to sell:
- Manufacturer
- Bicycle model
- Year of manufacture
- Serial number
- Other information pertinent to the bicycle

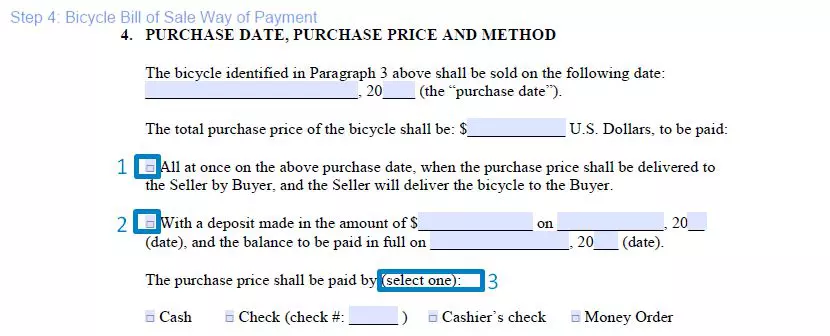
Step 4: At this point, you need to establish the way in which you’ll receive money for the bike.
Enter the purchase date and write the full price that has to be paid for the bicycle. Next, pick one sale method:
- One-time payment. Absolutely nothing complicated here: the individual pays the entire cost in one payment and gets the bicycle delivered to them within the agreed timeframe.
- In installments. Specify the first deposit sum as well as the date when it needs to be paid, including the date by which the total sum has to be handed to the bicycle owner.
Your next step is selecting the kind of payment:
- Cash
- Check
- Cashier’s check
- Money order
The last thing to do in this particular part of the bill of sale is to select whether or not all applicable taxes are included in the purchase price.
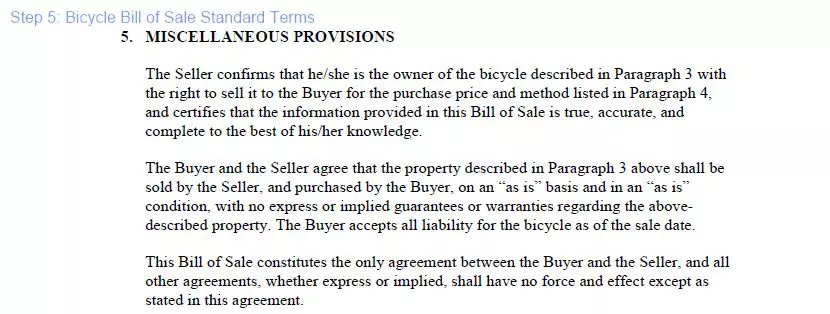
Step 5: Go through standard terms and ensure all parties are aware of them.
This part generally contains the “as-is” passage that indicates the bicycle is sold without any warranties.
Step 6: Now, the bill of sale has to be signed.
The buyer is usually not requested to sign the form. But, it’s advised to get the bicycle bill of sale signed by each party. To play it safe, the parties can choose a person who will attest the transaction and sign the bill of sale as well.

Step 7: Have a notary public attest the form
Notarization is generally not needed, but it is a solid option to create another layer of legal safety to your deal.
The original copy should be given to the buyer. There are two approaches here: you need to either prepare and sign a pair of identical documents or get a copy for the seller to keep.


