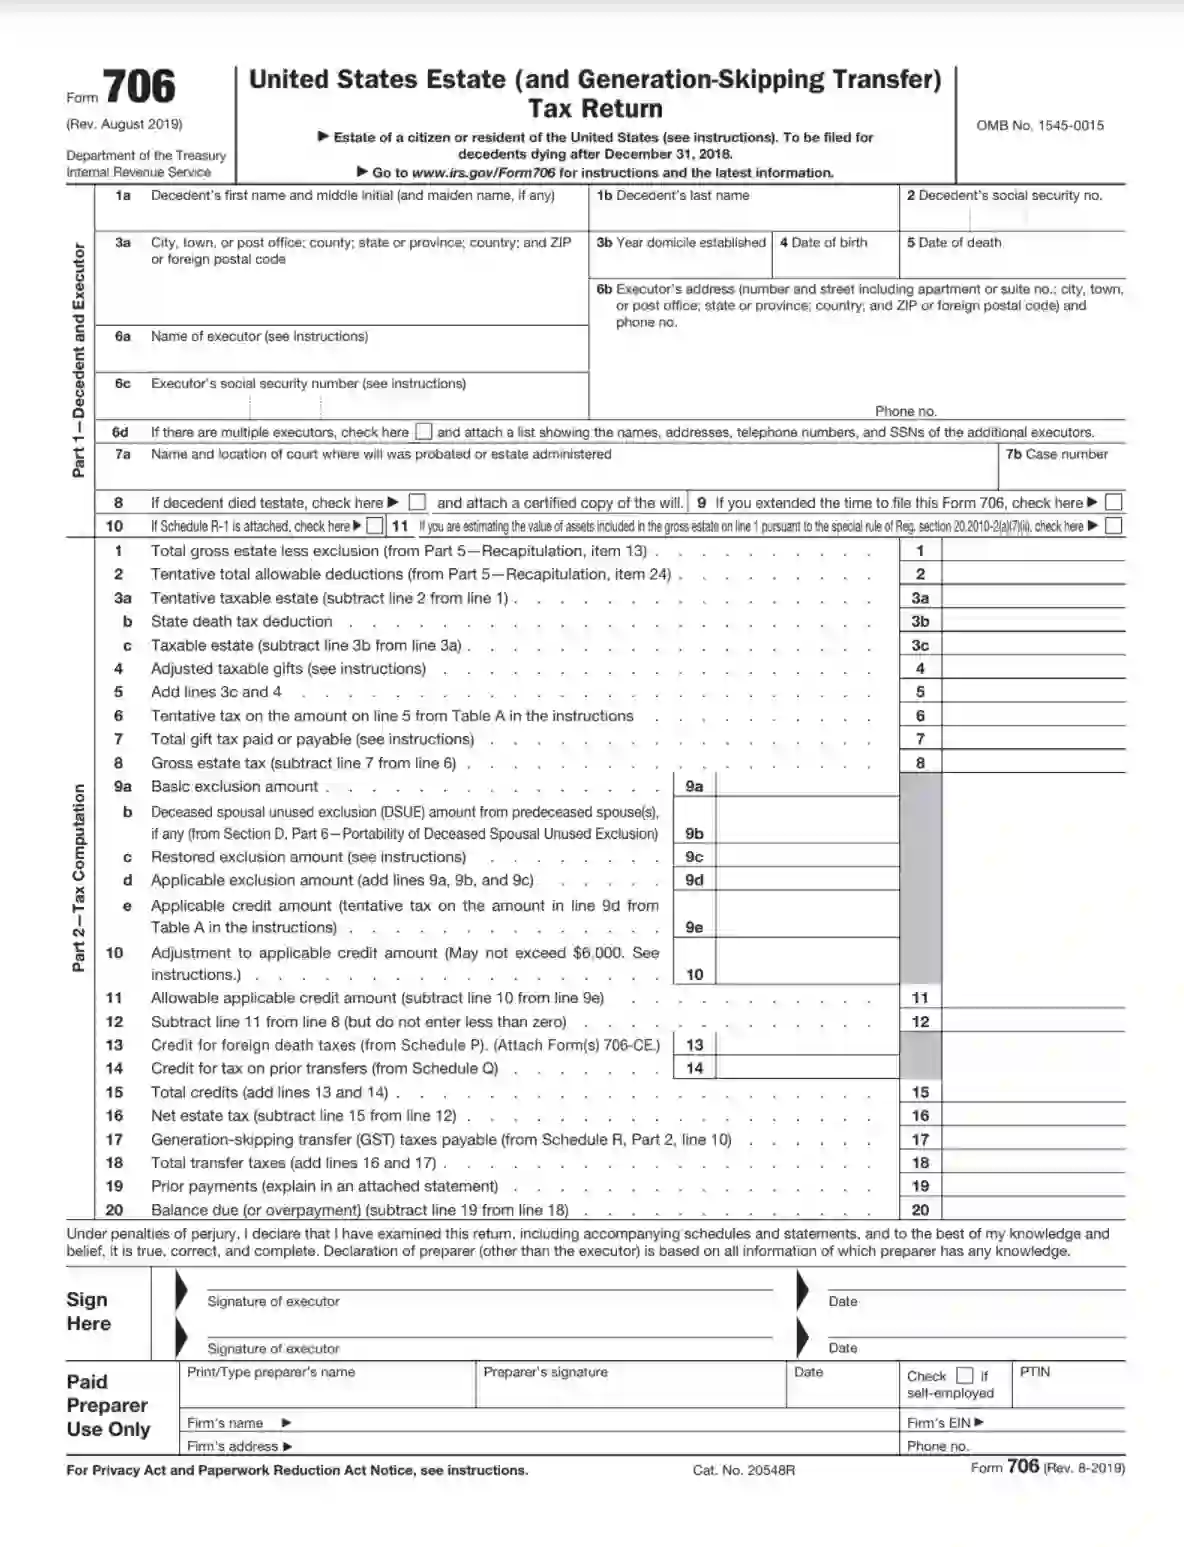
IRS Form 706 is a tax form used to report estate and generation-skipping transfer taxes at the federal level. It must be filed by the executor of an estate if the gross estate exceeds the exemption threshold established for the year in which the death occurred. The form calculates the total value of the estate, including property, certain types of trusts, and the decedent’s share of jointly owned assets. It is also used to determine the amount of any credits and deductions, such as state death taxes and funeral expenses, which may be applicable.
Form 706 ensures the proper and fair taxation of an estate’s transfer to its beneficiaries and reports any generation-skipping transfers. This form plays a crucial role in settling a decedent’s estate and aids in the legal transfer of assets. Filing this form is also necessary for the executor to determine the estate’s tax liability and to facilitate the legal distribution of the estate’s assets. Timely and accurate filing helps avoid penalties and interest for late filing or underpayment of taxes due.
The template must be filled out by an executor; the Service defines this person as someone who will represent the decedent in matters related to the properties transferring. This person can be designated by the deceased before their passing or chosen by their spouse or close relatives. If there is no such person, any heir who actually will own the properties can try creating the document.
However, the template is complex and consists of 30 pages, and we recommend seeking a professional who will help you out. Some details you should include in the form are beyond ordinary people’s comprehension, and only tax specialists can deal with them. Moreover, probably, you as an heir may feel devastated about your close person’s death, so it is sensible to ask someone for help with needed papers.
Still, if you decide to create the document on your own, we have prepared brief and general guidelines that may assist. Besides our guide, you will surely need the Service’s thorough instructions on the form where you will find peculiarities about some data you will need to insert in the template.
Find the Template
For starters, you must find the template’s current and correct version. Of course, you can use the Service’s official website for that. But we have designed a smart form-building software that will provide you with any legal template you seek. Try it to obtain the proper IRS Form 706 version.
Introduce the Deceased and the Executor
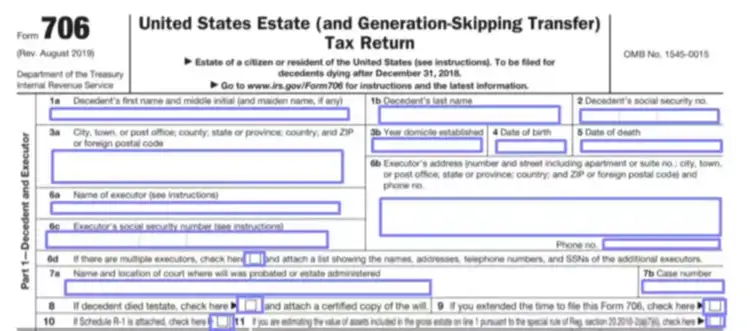
In the first block, the person who will file the form must introduce themselves and the dead person. Step by step, enter the departed person’s name (only first and middle name, including maiden, if they had any), surname, social security number (or SSN), address (with a postal code), and a year when their domicile was established. Then, write the birth date and death date.
After the deceased was described, introduce the executor (or yourself): insert your name, address, phone number, and SSN. Sometimes there are several executors; if this is the case, mark the relevant box, create a list with all participants’ names, phone numbers, addresses, and SSNs, and add it to the form.
Indicate the court where the deceased’s will was considered by writing the court’s name and address. Add the case number, too. If there were the decedent’s instructions regarding their estate after death, add the will’s copy to this form when you file it and cross the relevant box. Also, there will be boxes to cross if you plan to add the Schedule R-1 and if you use special regulations to estimate the estate’s value.
As you already know, you also may have asked to postpone your form submission. If that is your case, cross the box with the relevant question.
Proceed to the Tax Computation
You will compute the tax in the second part. Some of the lines here will be filled out using the IRS instructions; others will be completed in the following parts of the form and then copied to this section. Insert the info you already know and proceed to the next part. Remember to get back to the computation when you obtain all required numbers.

Sign the Form
You, as an executor, should sign the form twice to make it valid and put the current date. Hired and prepaid tax professionals use the block below. Besides signatures, they also write their names, firms’ names, addresses, phone numbers, and EINs (employer identification numbers). If self-employed, they check the certain box and write their PTINs (preparer tax identification numbers).
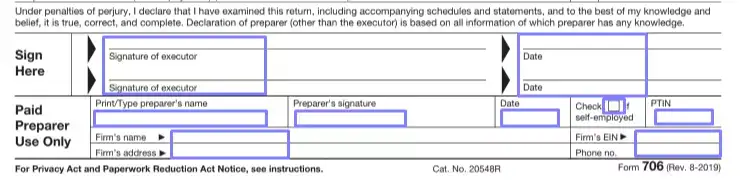
By signing the form, signatories verify that all data is correct. If they have lied in their tax documents, most likely, they will be prosecuted by law.
Keep Completing the Form
Below the signature, you will see the second page. On the above, write the deceased’s name and SSN. Since now, you will have to insert this data on each page (on the above as well).
Then, answer a set of “yes or no” questions regarding the dead person’s properties. If any question is not clear, check the Service’s instructions or consult a tax specialist.

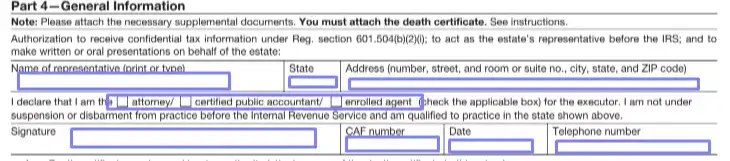
If you want to appoint an estate representative who will get the confidential info about the taxes, ask them to complete the “authorization” part.
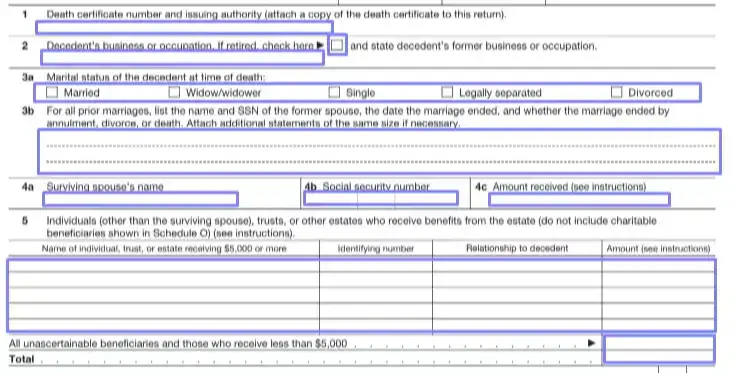
Then, include general information about the dead person: the death certificate number, occupation (or past occupation if they were retired when died), marital status, previous spouses’ names, their SSNs, and various details about past matrimonies. Insert the existing spouse’s name, SSN, and the received sum in US dollars.
Describe beneficiaries of the deceased’s properties as required in the template. Indicate each beneficiary’s name, received sum, ID, and relationship to the dead person.
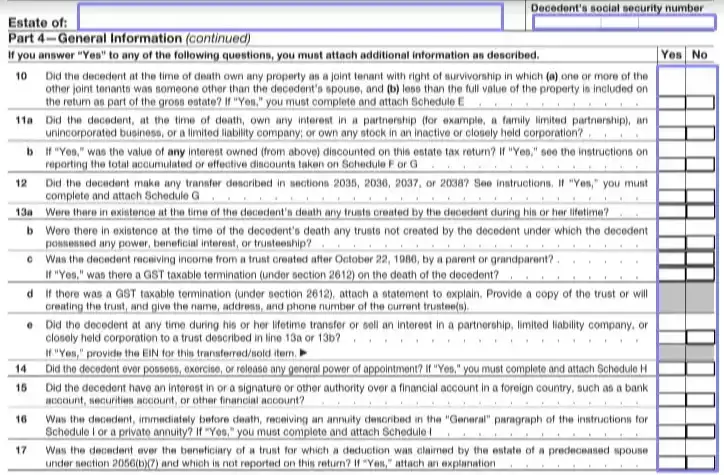
Below, you will see another set of “yes or no” questions. Answer them and use Service’s instructions for help. If at least one question has a positive answer, you will need to provide additional info.

Besides, you will need to attach the death certificate copy to the form.
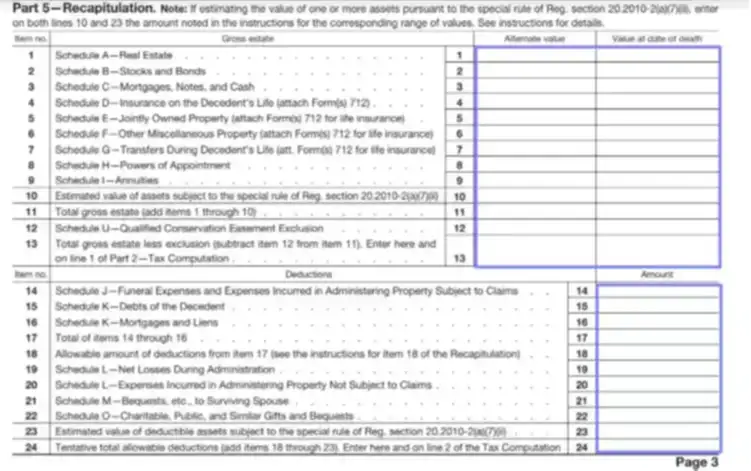
Recapitulate the Deceased’s Properties
By the following parts and the form’s schedules, you will be able to conduct the recapitulation of the deceased’s estate. Move to the schedules and fill them out; then, get back to the form’s Part 5 and insert the results.
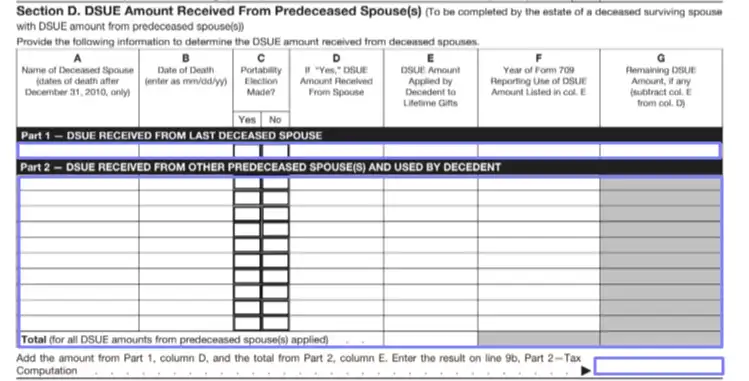
In Part 6, you will need to answer some questions about the Deceased Spousal Unused Exclusion (or DSUE) Portability. Insert the sums where needed and fill out the chart where you should add the details about all ex-spouses of the dead person.

Describe the Properties
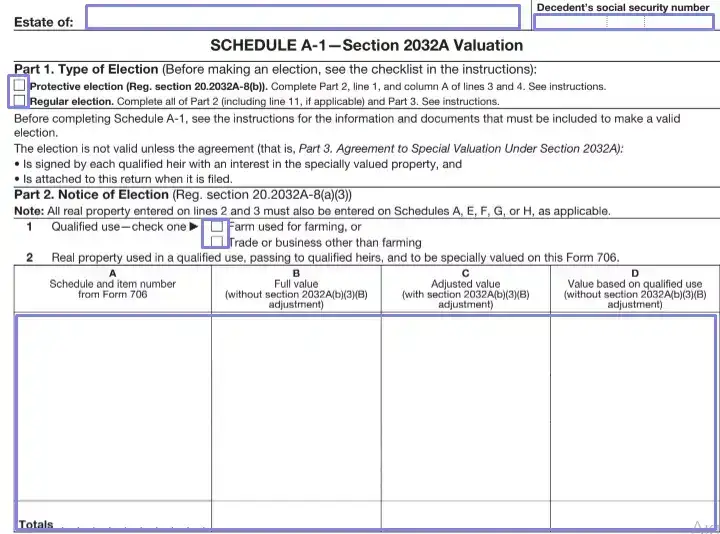
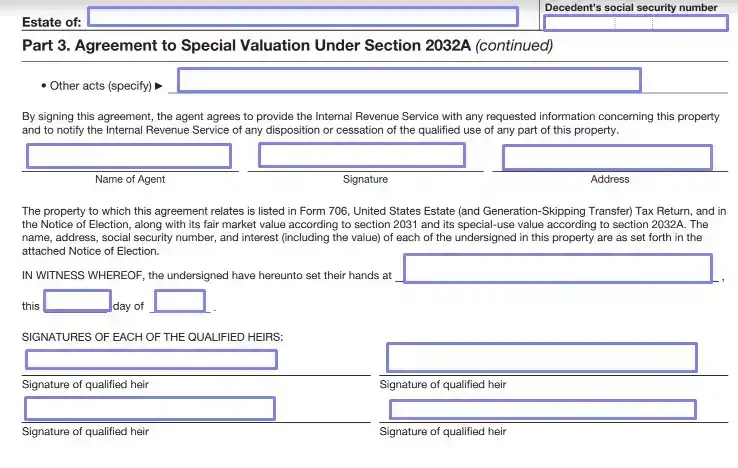
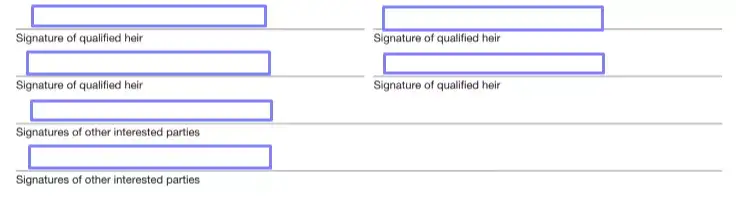
Now, we are moving to the form’s schedules designed so the executor can describe the deceased’s properties in detail. In the first schedule (A), you will talk about real estate and add its value. If you go for property valuation as written in section 2032 of the US Code, also complete Schedule A-1 that tells more about the real property: this schedule requires all heirs’ signatures.


The following schedule (B) is for stocks and bonds. If the deceased owned any, please describe them in the chart, adding the value of each unit. You have to insert either the CUSIP number that identifies all the stocks in the US or the EIN for each item you include.

Schedule C tells about mortgages, cash, and notes. If applicable, add the numbers and details here.


The following schedule, D, is for the life insurance of the dead person. All policies that belonged to the deceased should be listed here. Additional forms must be prepared as well. You can check the Service’s instructions to find out what you need to fill out.

Some of the following schedules should be completed along with A-1 if you choose the specific property valuation mentioned above. Check the instructions written under each schedule’s heading.
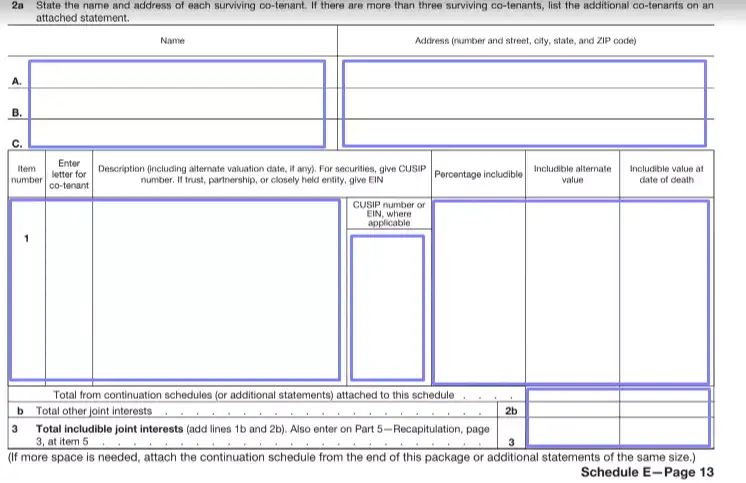
The next schedule, E, is for the property that the deceased owned together with someone. Again, accompany each item here with a CUSIP or EIN. Co-tenants and their interests must be listed in this schedule as well: add their names, addresses, and interests as the template requires.

Schedule F is added to the template specifically for the cases when the deceased owned any other type of property that is irrelevant for other schedules. Here, you will answer questions about artworks that the deceased possibly owned, awards and prizes, and their safe deposit box (if there were any). If you answered “yes” on any of those questions, you would need to describe the properties in the chart under the questions.


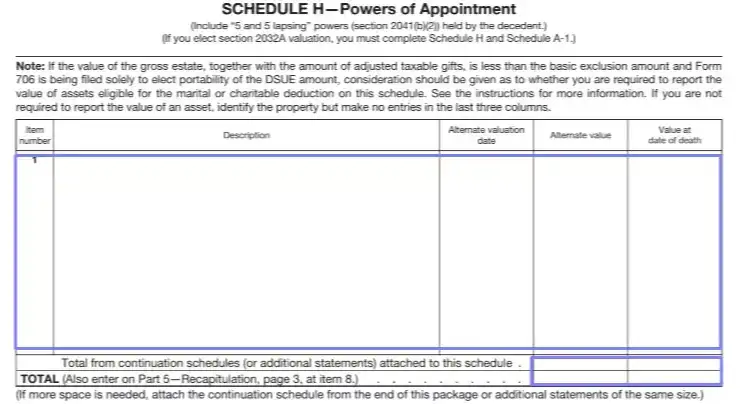
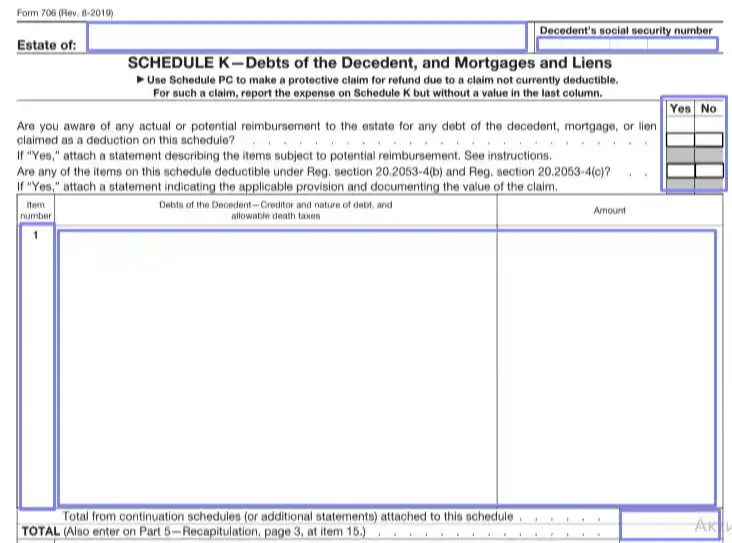
In Schedule G, you describe various transfers that occurred during the dead person’s life: such transfers are mentioned in sections 2035–2038 of the US Code. In H and I, you add powers of appointment and annuities, respectively. You can describe the funeral costs and expenses tied to the subject properties managing in the following schedule, J. All deceased’s debts are added to Schedule K.


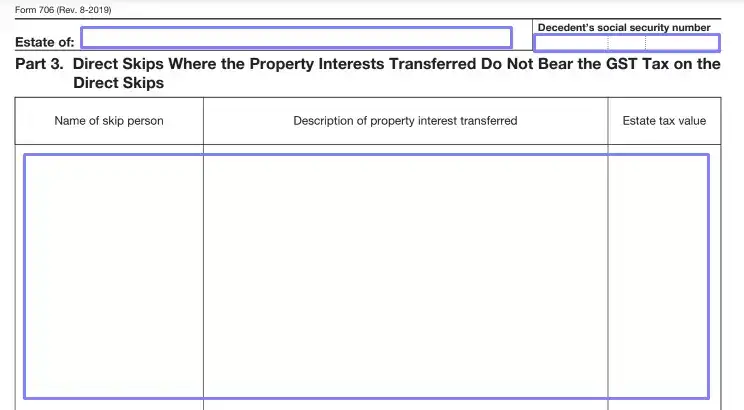
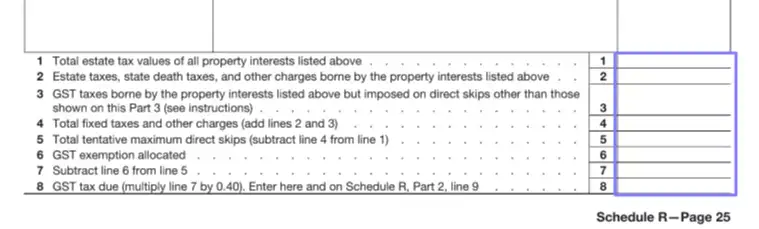
You can then include net loss during property administration in Schedule L, while Schedule M serves to describe bequests to the spouse left alive. Gifts and bequests for charity should be included in Schedule O. Foreign death taxes should be listed in Schedule P, credit for tax on prior transfers goes to Schedule Q. Schedule R is for GST tax (or generation-skipping transfer tax). Finally, in Schedule U, you will compute other tax exclusions.


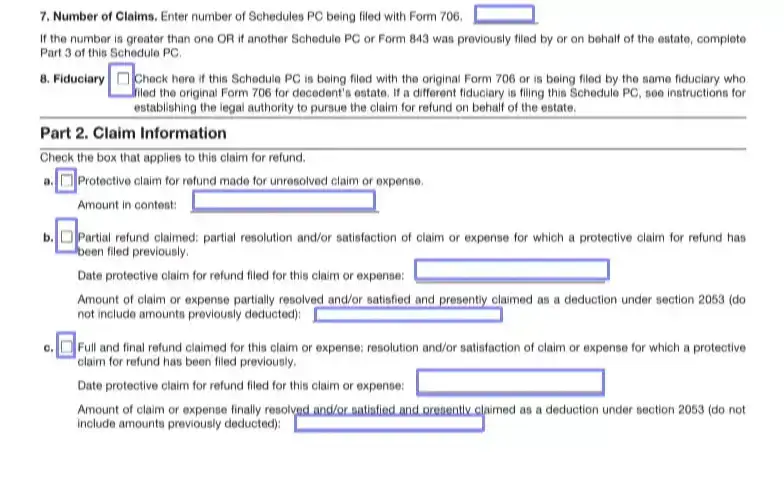
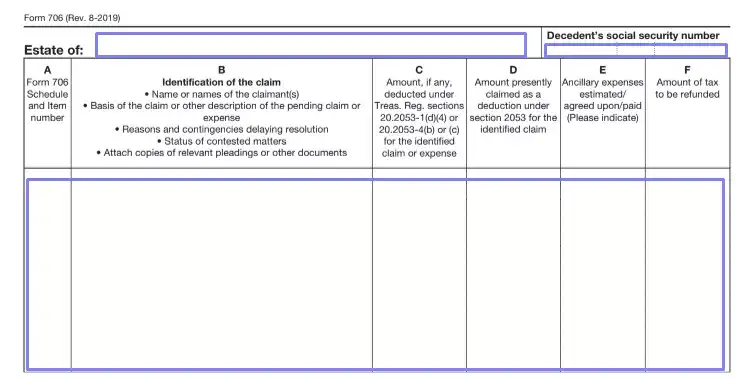
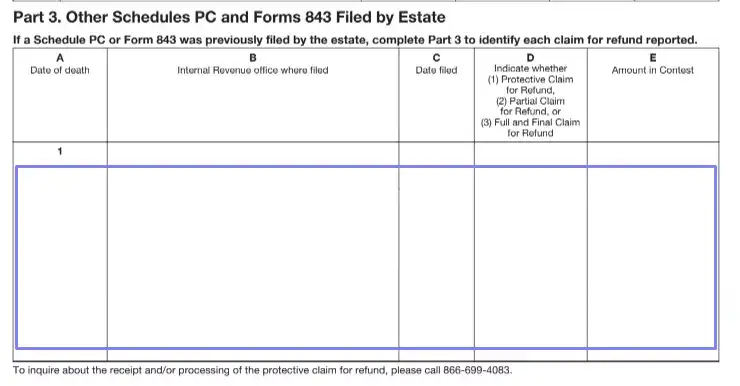
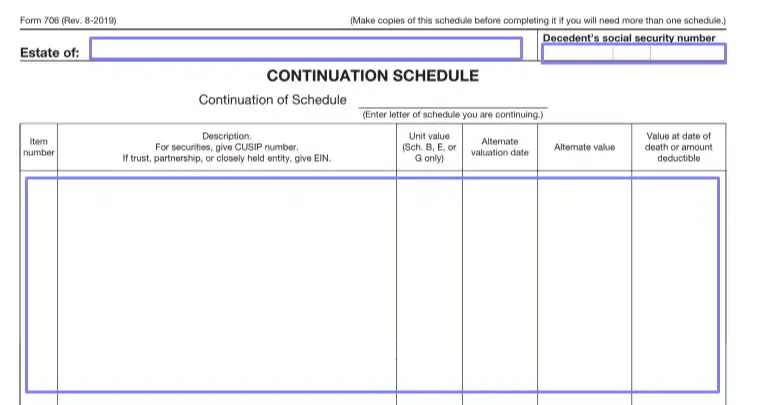
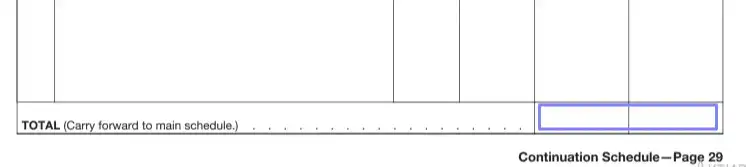
After these numerous schedules, you will see a schedule PC required for all decedents who passed away after the year 2011. Complete it, if applicable. The last page of the form is needed if you lack lines in some schedules: you can add information there, indicating the schedule you are continuing to fill out.