
PDF Tools
Extract pages
The Extract Pages tool lets you select specific pages from a document and save them as a new PDF. You can extract pages into one document or create separate PDFs, then download the results or save them to My documents.
Supported formats include PDF, DOC, XLS, PPT, PNG, and JPG. The output format is PDF.
How to extract pages from documents?
To extract pages from your file, follow these steps:
- Choose the documents you want to extract pages from using one of the following methods:
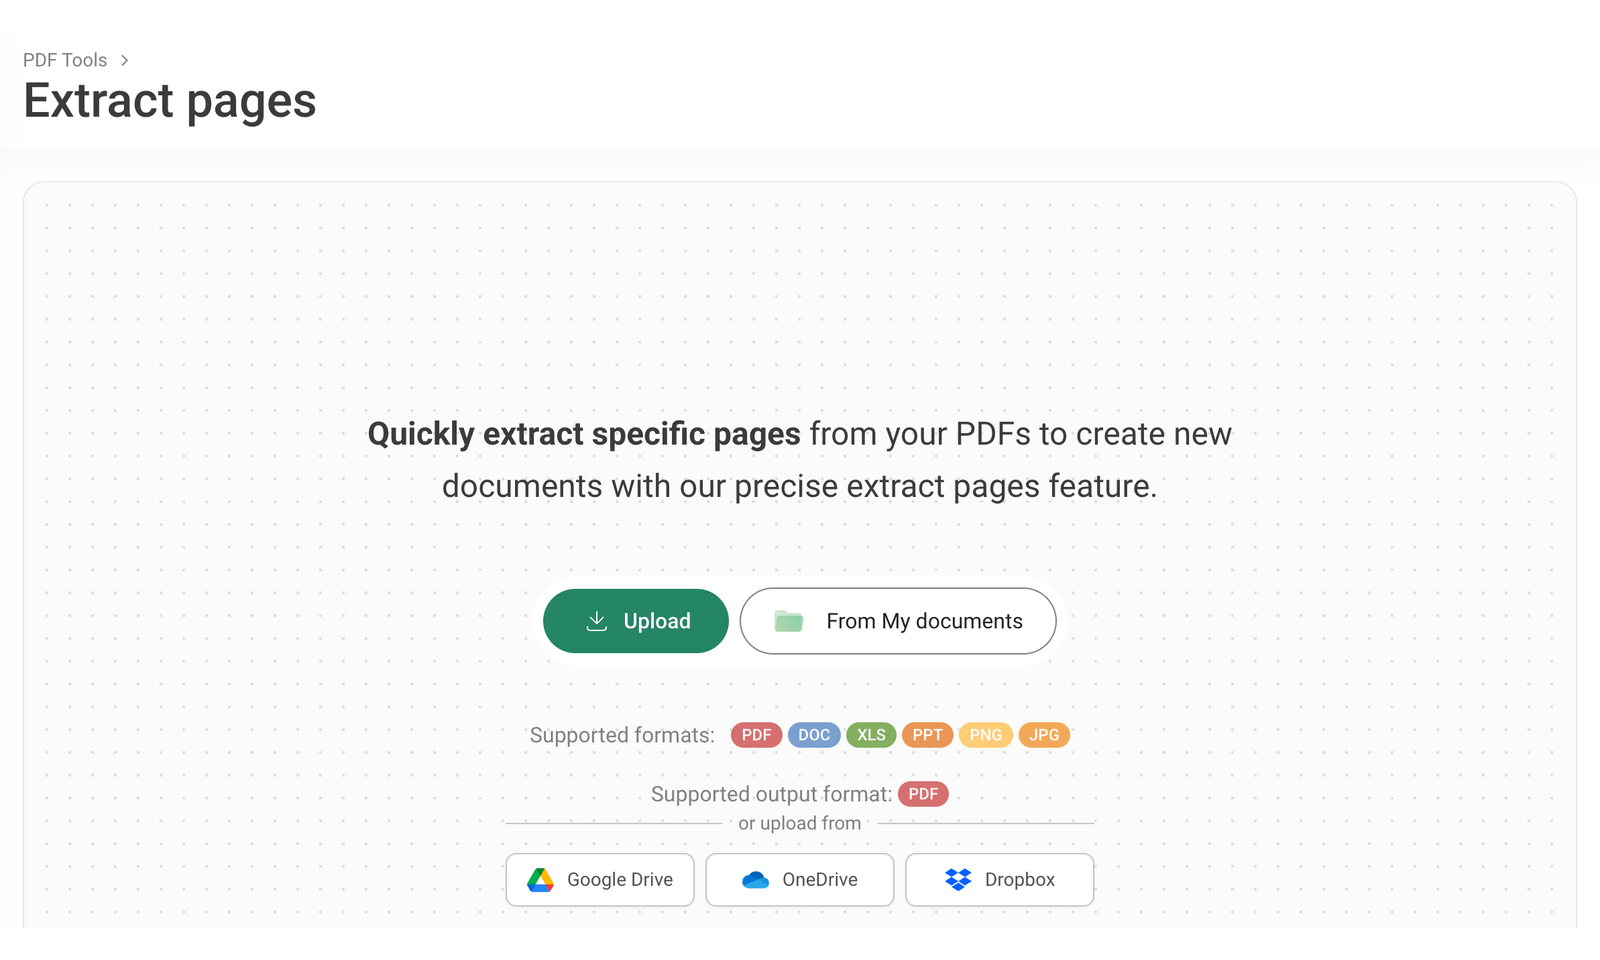
- Click Upload to upload files or drag and drop them from your device.
- Click From My documents and select documents in the pop-up window.
- Import files from Google Drive, OneDrive, or Dropbox.
Files you upload must be up to 50 MB in PDF, DOC, XLS, PPT, PNG, or JPG formats. You can upload a maximum of 25 files at once.
- After selecting your files, a preview of each document will appear. To select the pages you want to extract:
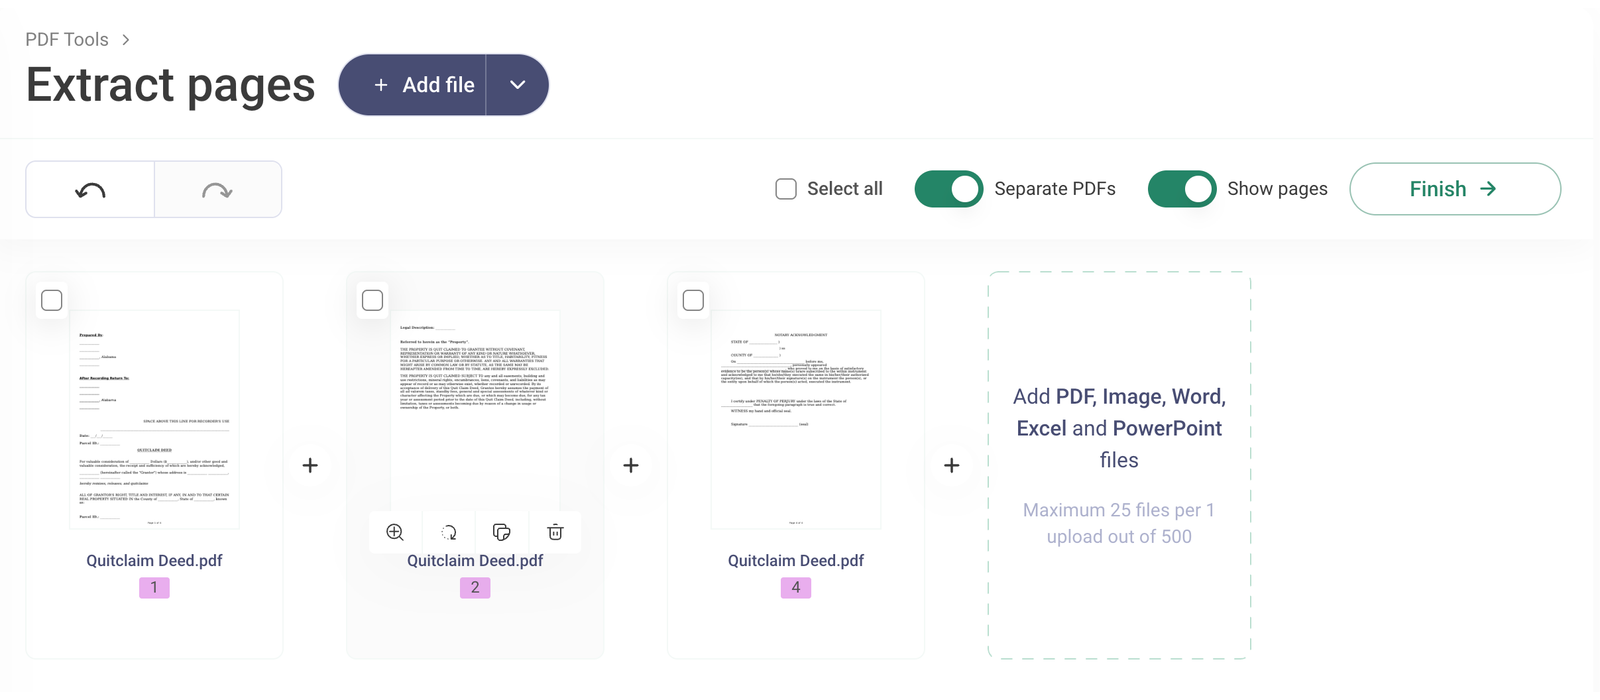
- Use the Show pages toggle to display all pages within each document.
- Select the pages you want to extract using the checkboxes on their thumbnails.
- Click Select all if you want to select every page.
You can also make additional changes before extracting:
- Click the plus (+) button between pages or documents to add another file.
- Hover over a page or document to display a toolbar with options to zoom, rotate, copy, or delete it.
- Select a page or document and drag it to rearrange its position.
- Once you've selected and arranged your pages, choose how you want to extract them:
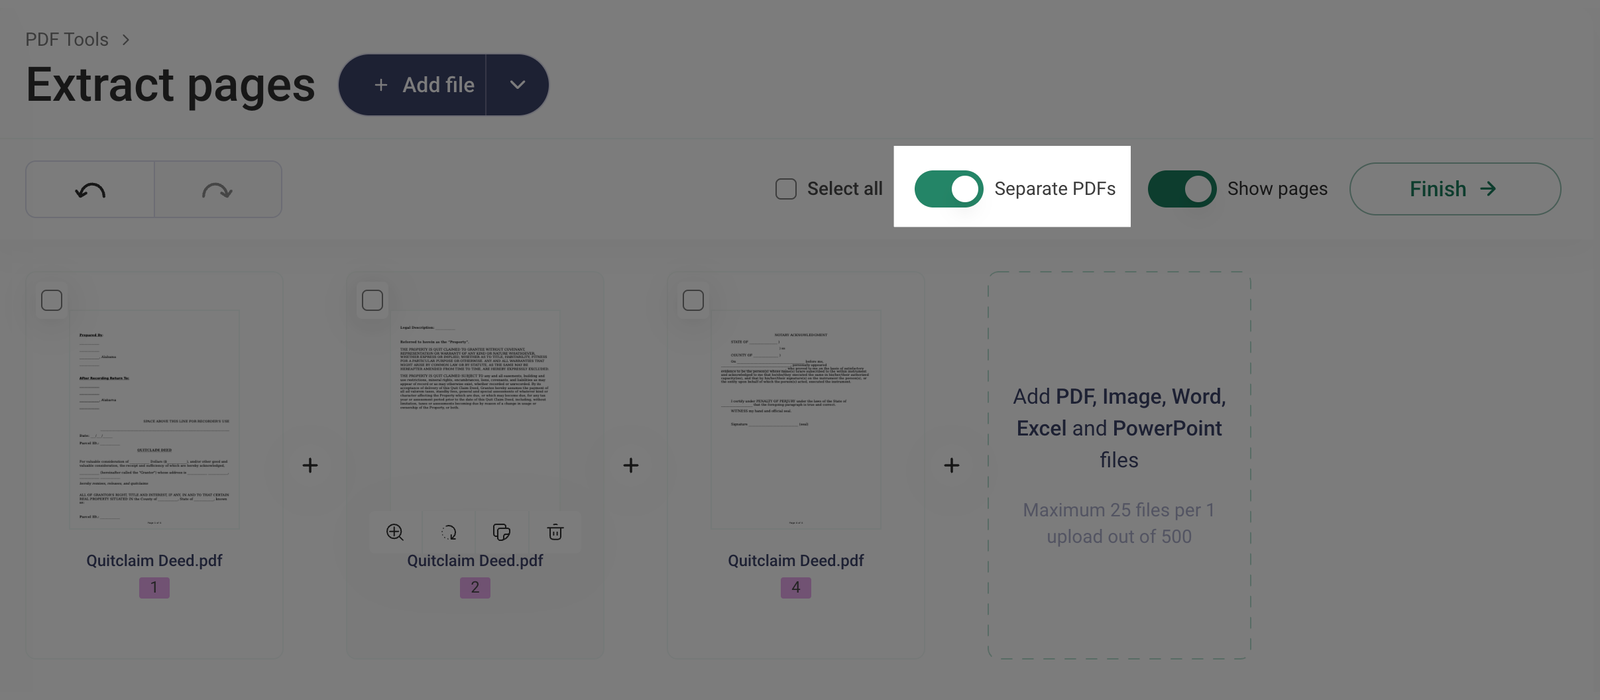
Use the Separate PDFs toggle to choose how the extracted pages are saved. Turn it on to save each selected page as a separate PDF file, or turn it off to combine all selected pages into one PDF.
- On the Done page, review the extracted files and choose where to save them:
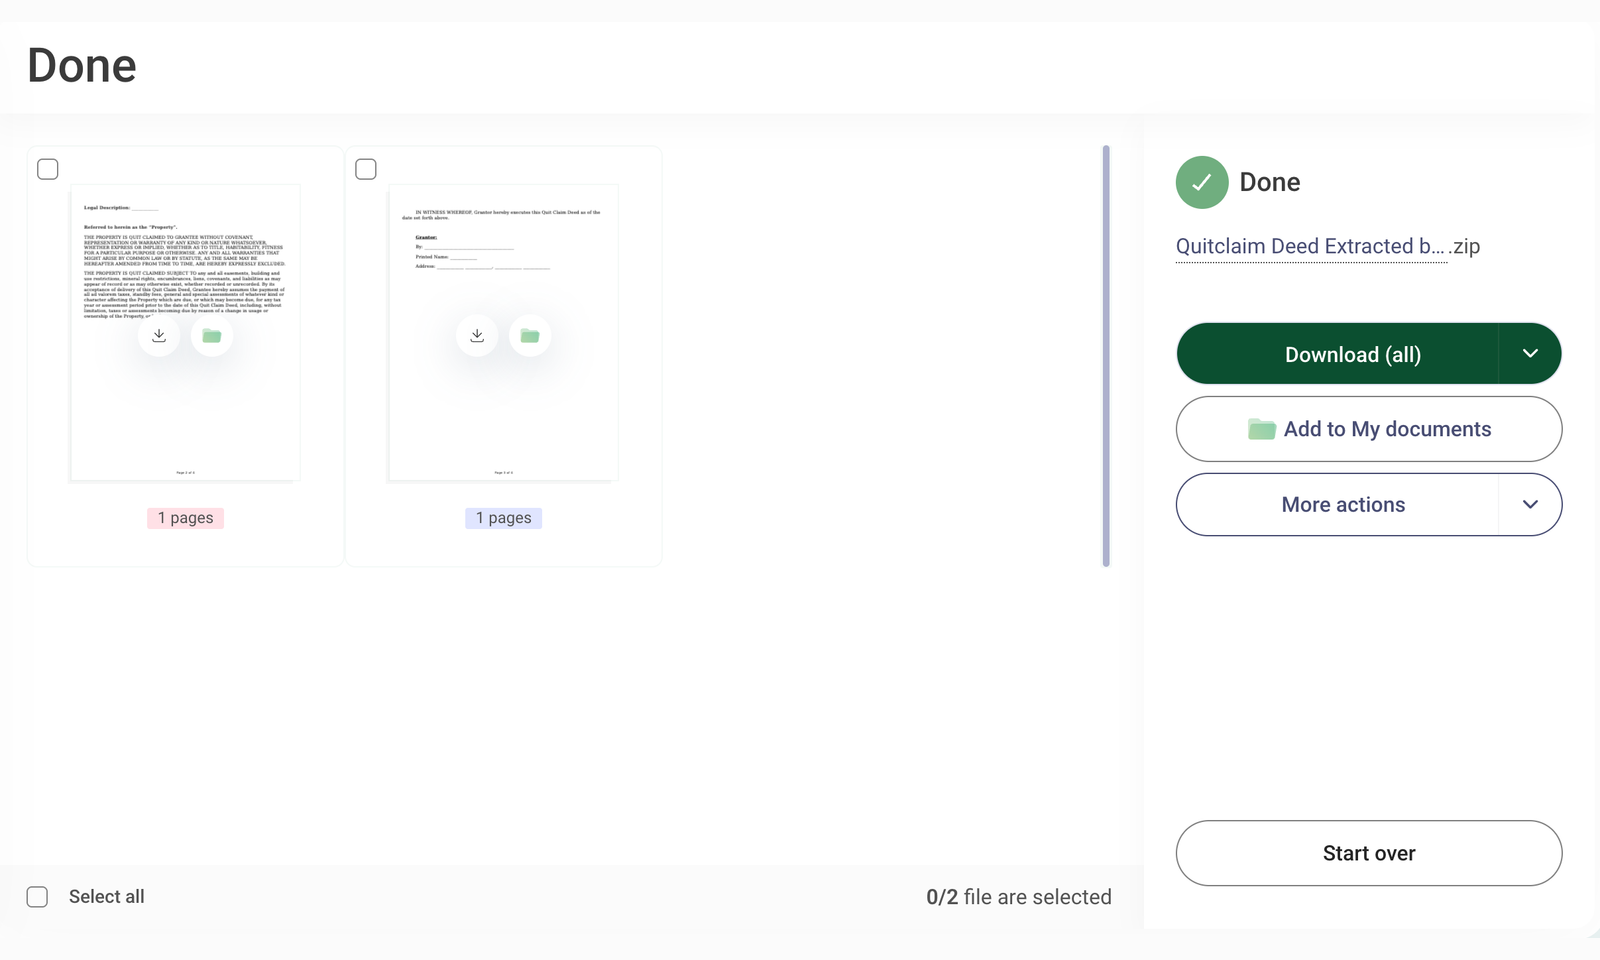
- Click Download to save the file to your device.
- Click the arrow next to Download to see options for saving your file directly to Google Drive, OneDrive, or Dropbox.
- Click Add to My documents to save the extracted files to your FormsPal dashboard.
- You can also save each file separately by clicking the download icon on its preview.
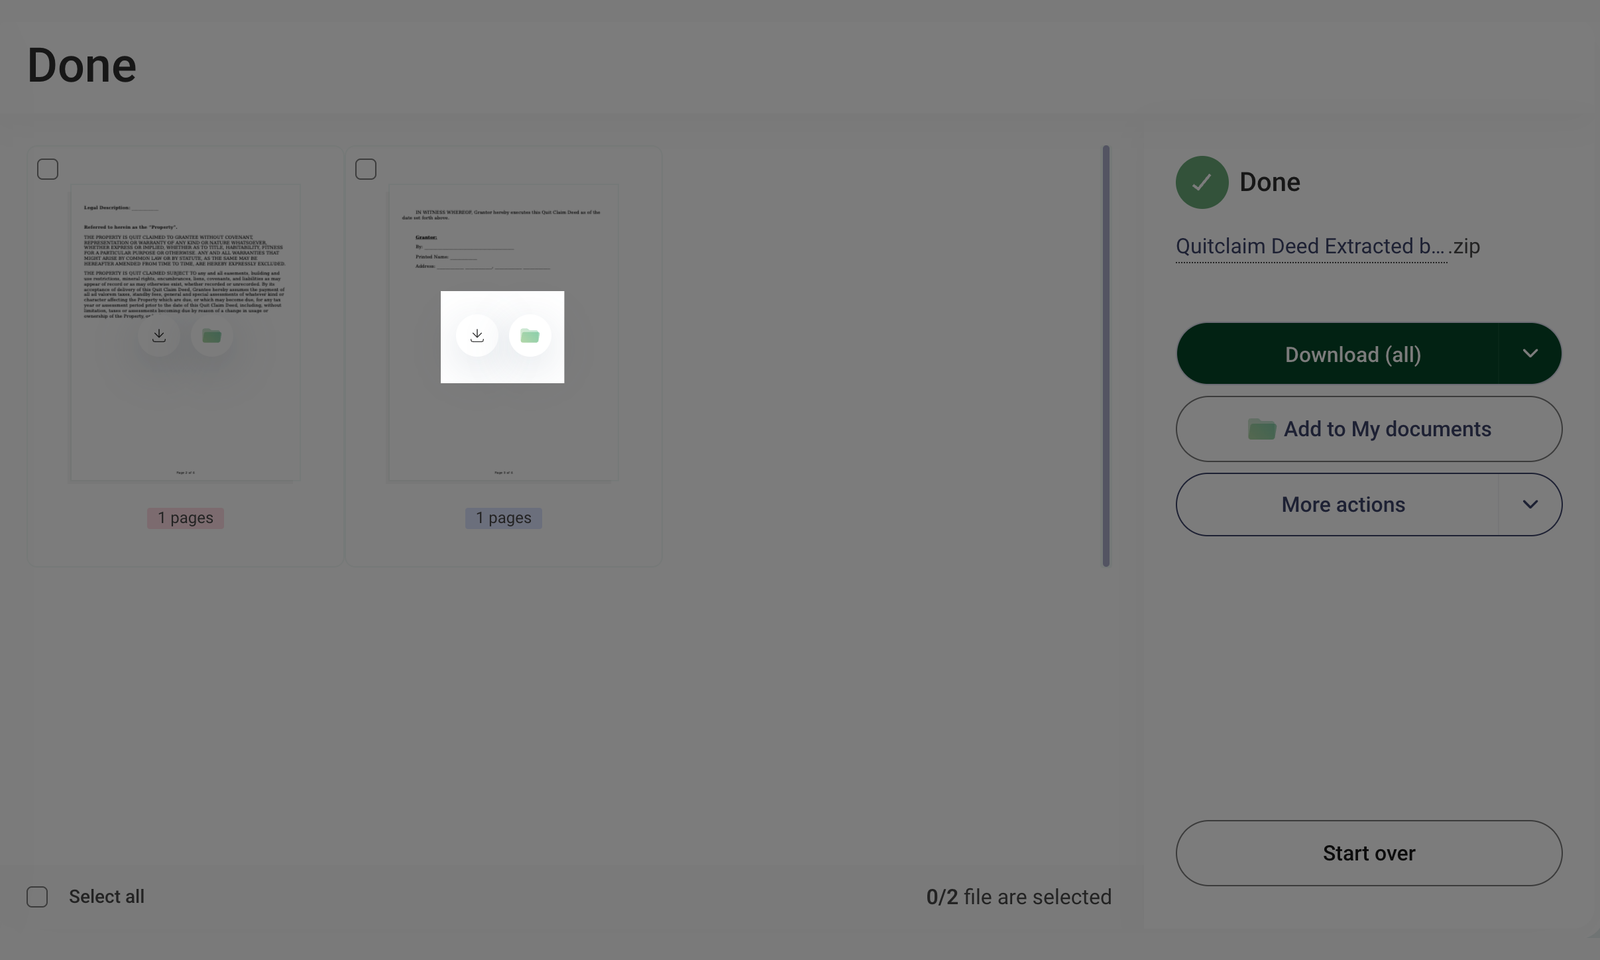
If you've extracted multiple documents, you can download them separately or together as a ZIP archive.
- If you're not satisfied with the result, click Start over to reset the process and upload your files again.
Other features in the extract pages tool
Hover over a document/page thumbnail to display a toolbar with the following options:
 |
Zoom | Click the magnifying glass icon to view the page in detail without leaving the editor. |
 |
Rotate | Click the rotate icon to turn the page 90 degrees clockwise, allowing for better alignment or viewing. |
 |
Copy | Click the copy icon to duplicate the document/page, creating an identical copy in the same position. |
 |
Delete | Click the trash bin icon to remove the document/page from the editor. |
Use the left and right arrows at the top to undo or redo any of your actions:
 |
Undo | Click the left arrow to reverse your last action. |
 |
Redo | Click the right arrow to restore an action you just undid. |
Click the + Add file button to upload additional files for extracting pages:

 |
From device | Select files directly from your computer or mobile device. |
 |
My documents | Choose files that are already saved in your account's document library. |
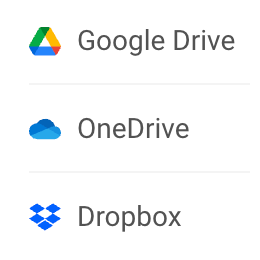 |
Cloud storages | Import files from Google Drive, OneDrive, or Dropbox. |
Click on the file name on the Done page. The text field will become editable, allowing you to type the new name for your file:
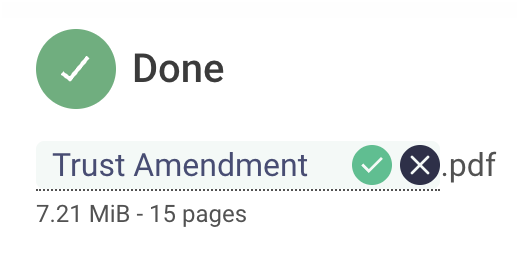
 |
Save | Confirm the changes and save the new file name. |
 |
Cancel | Discard the changes and revert to the original file name. |
Click the More actions button on the Done page to access additional options for managing your document:

 |
Send to print | Print your document directly. |
 |
Send the file as an email attachment. | |
 |
Sign | Add a digital signature to your document. |
 |
Collaborate | Share the document with others for collaboration in FormsPal. |